 by
by Sure! Here’s a detailed, beginner-friendly guide for how to make an easy crochet headband pattern with a one-row repeat — perfect if you’re new to crochet or want a quick project.
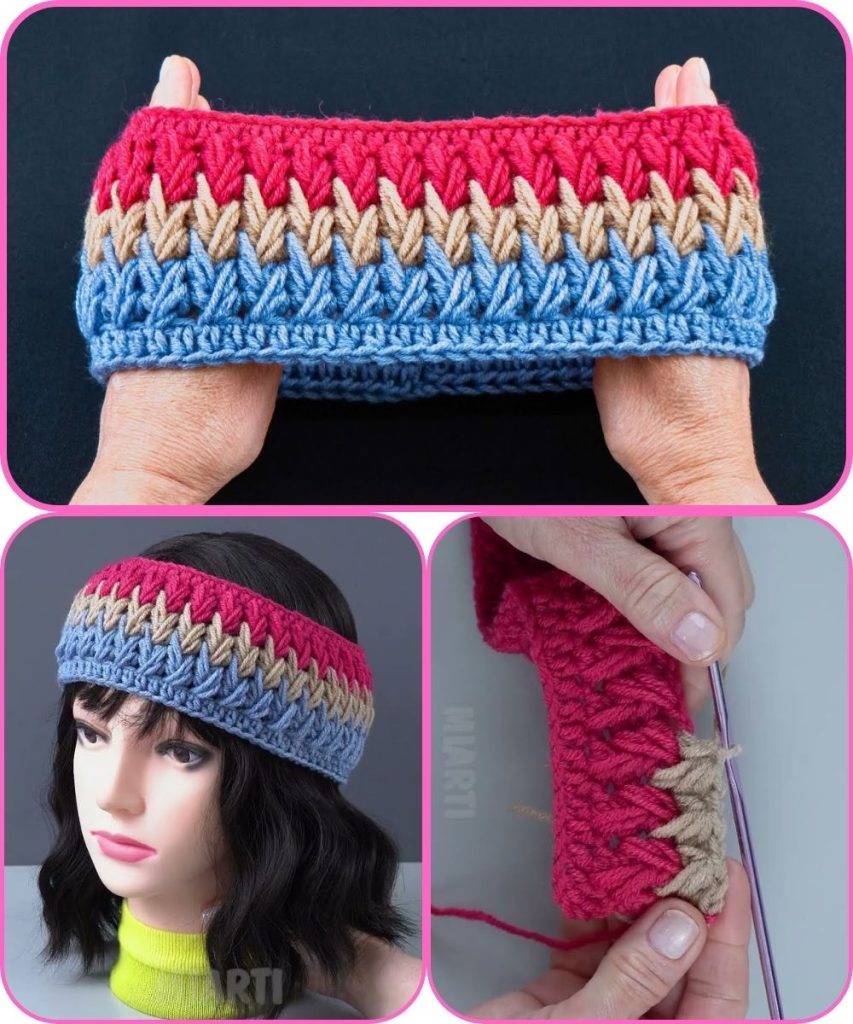
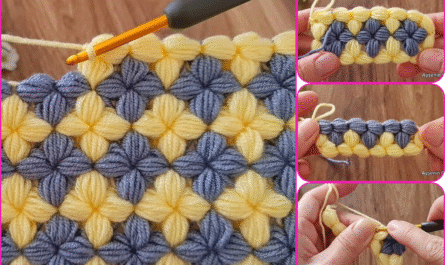
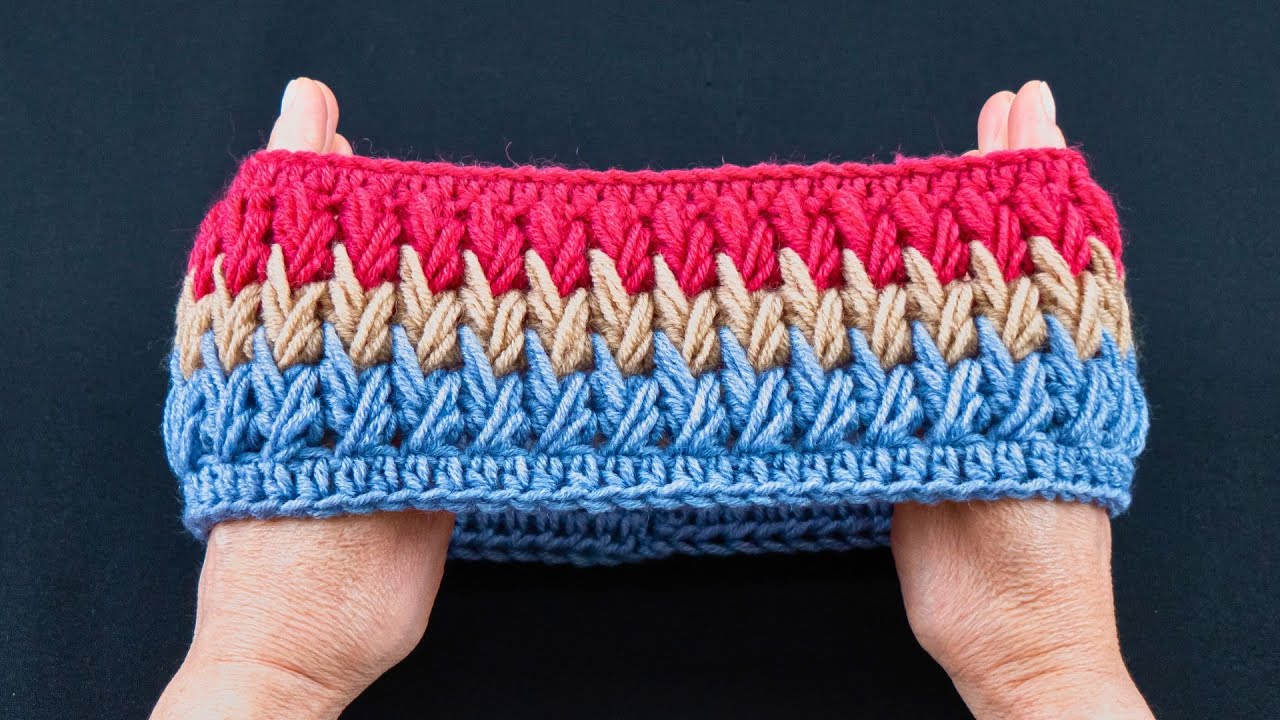
🧶 Easy Crochet Headband Pattern (One Row Repeat)
Skill Level:
Beginner
Project Time:
1–2 hours (depending on your speed)
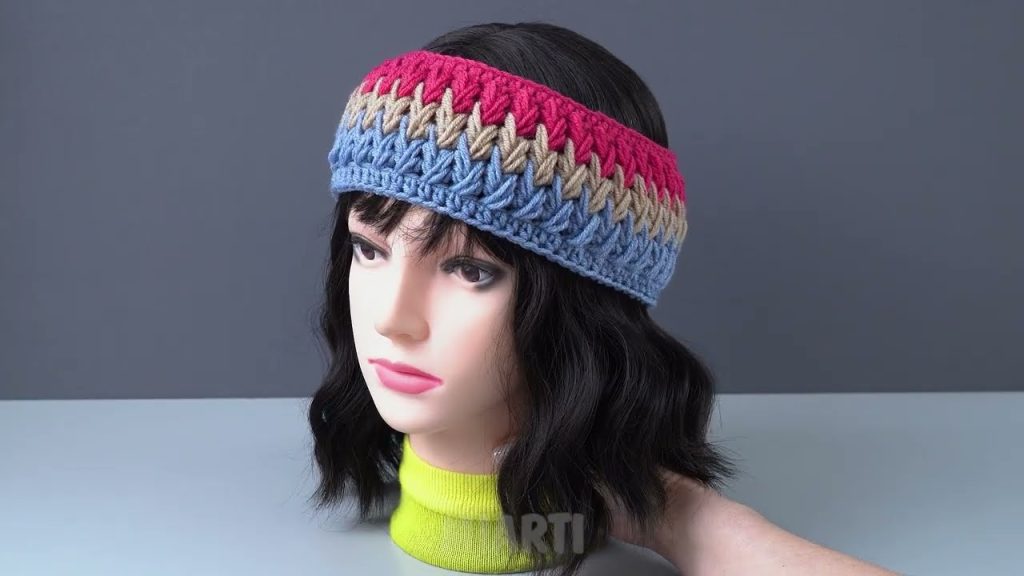
Finished Size:
Adjustable — fits most teens and adults.
(You can easily modify the length and width.)
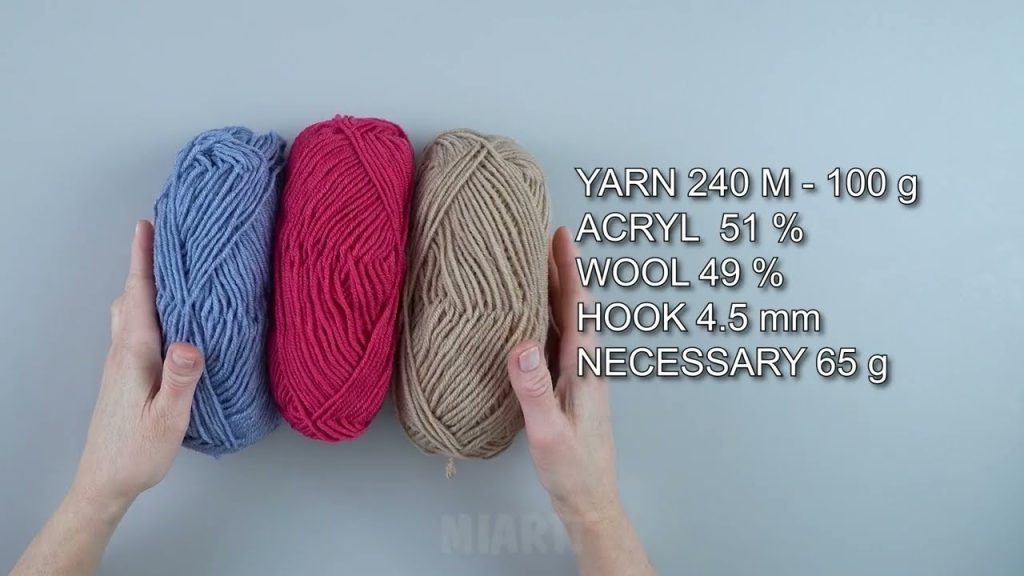
🪡 Materials Needed:
- Yarn: Medium weight (Category 4) yarn — acrylic, cotton, or a blend.
Example: Red Heart Soft, Caron Simply Soft, or any worsted yarn you like. - Hook: 5.0 mm (H/8) crochet hook
- Tapestry needle: For weaving in ends
- Scissors
✋ Stitches & Abbreviations (US Terms):
- ch – chain
- sc – single crochet
- hdc – half double crochet
- dc – double crochet
- sl st – slip stitch
- st(s) – stitch(es)
🧭 Gauge (Optional):
Not crucial for this project, but if you want precision:
- 4″ x 4″ = about 13 hdc stitches × 10 rows.
🪄 Pattern Instructions:
Step 1: Make the Foundation Chain
- Chain 14 (or any even number depending on desired width).
This makes a medium-width headband; chain fewer for a thinner band, or more for a wider one.
Step 2: Row 1 (Setup Row)
- In the 2nd ch from hook, work hdc.
- Continue hdc in each chain across.
- Chain 1 and turn your work.
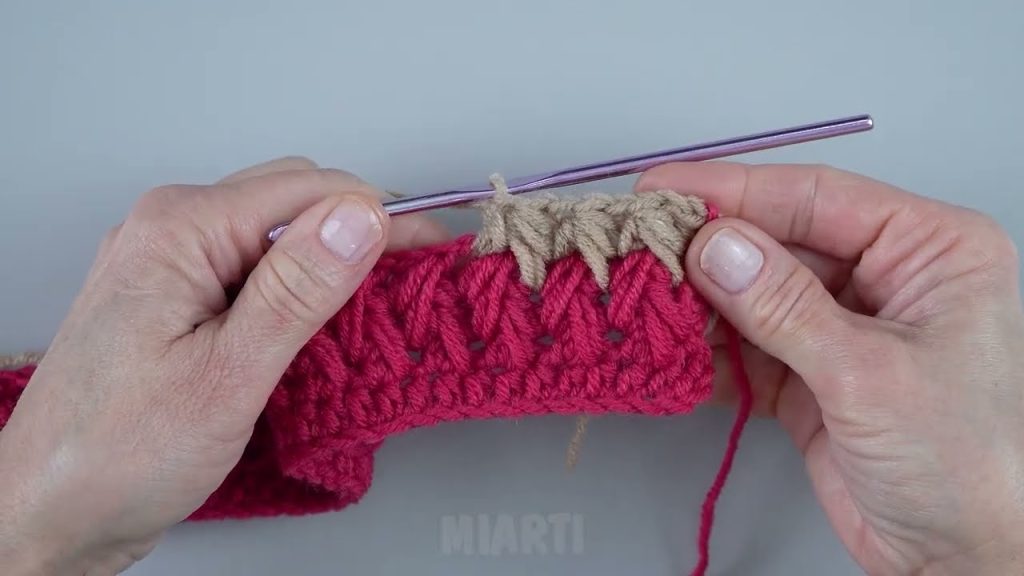
Step 3: Row 2 (One Row Repeat)
- Work hdc in the back loop only (BLO) in each stitch across the row.
- Chain 1 and turn.
✨ That’s it! This is your one-row repeat.
Keep repeating Row 2 until your headband reaches your desired length.
📏 Step 4: Measure and Join
- Stretch the band slightly and wrap it around your head (or measure approx. 20–22 inches for adults).
- Once it fits snugly, stop crocheting.
Join the Ends:
- Line up both ends of the band (right sides together).
- Slip stitch or sew through both layers to close the headband.
- Fasten off and weave in your yarn ends.
🎀 Optional Finishing Touches:
- Twist Front Style: Before joining the ends, twist one side once, then sew together — this gives that trendy “turban twist” look.
- Add a Bow: Crochet a small rectangle and wrap yarn around the center to form a bow; sew it on top.
- Decorate: Add buttons, flowers, or beads if you like.
💡 Tips for Beginners:
- Always keep your tension loose — it helps the band stay stretchy.
- The back loop only technique creates a lovely ribbed texture.
- You can substitute dc (double crochet) instead of hdc for a lighter, lacier texture.
🧵 Summary:
| Step | Stitch Used | Repeat | Note |
|---|---|---|---|
| Foundation | Chain 14 | — | Width of headband |
| Row 1 | hdc in each ch | — | Setup row |
| Row 2+ | hdc BLO | Repeat until length | Creates ribbed texture |
| Join | Slip stitch ends | — | Form a circle |
Would you like me to format this as a printable crochet pattern (PDF style) or blog post format with headings and photos placeholders?
Watch tutorial: