 by
by Sure thing! 😊
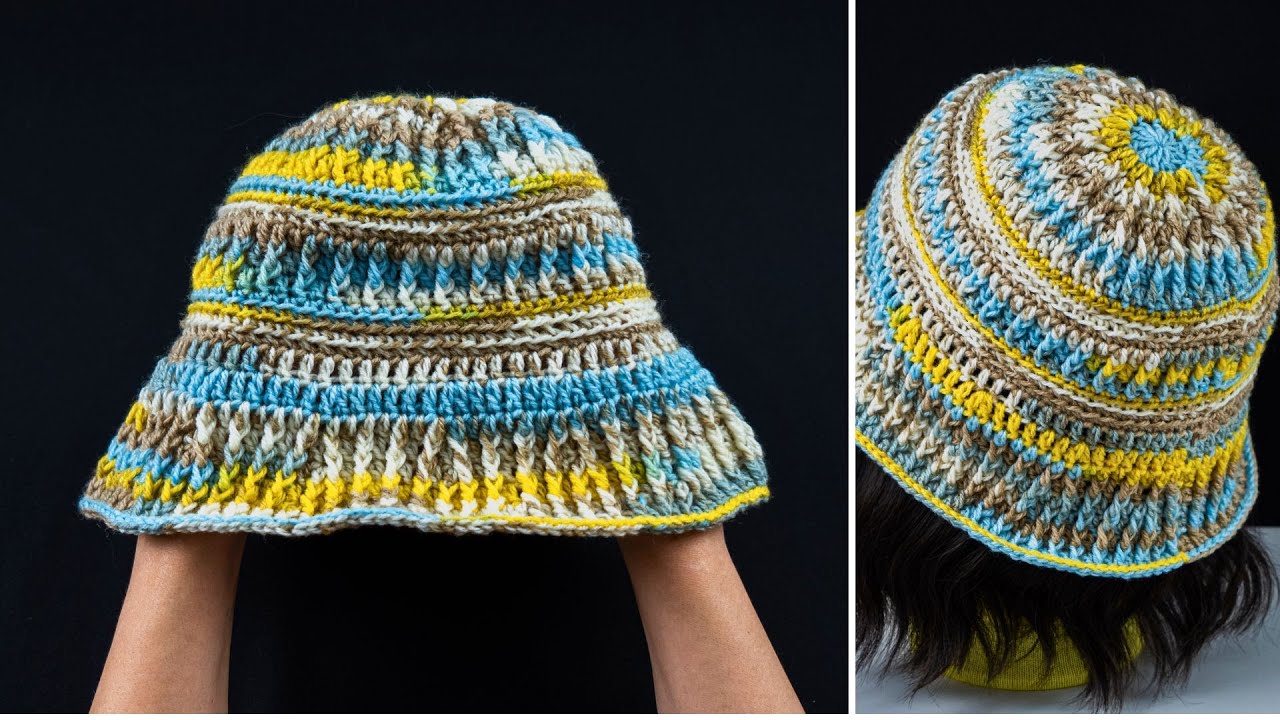
Here’s a detailed, beginner-friendly tutorial on how to make a simple crochet bucket hat. This pattern uses basic stitches, works in the round, and is easy to follow even if you’re new to crochet.
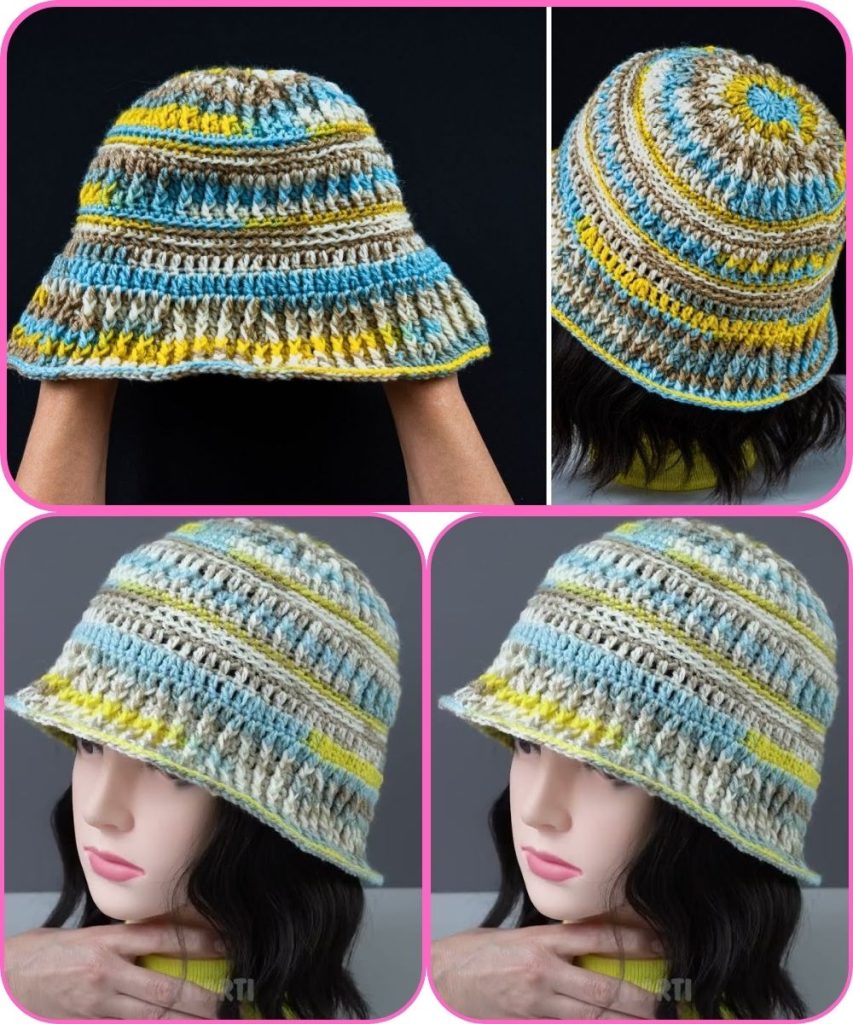
How to Make a Simple Crochet Bucket Hat
Step-by-Step Tutorial for Beginners
Skill Level
Beginner 🧶
Time Needed
About 2–3 hours
Materials You’ll Need
- Yarn: Medium-weight yarn (Category 4). Cotton yarn is great for bucket hats because it keeps its shape.
- Crochet Hook: 5.0 mm (H/8)
- Scissors
- Yarn needle (for weaving in ends)
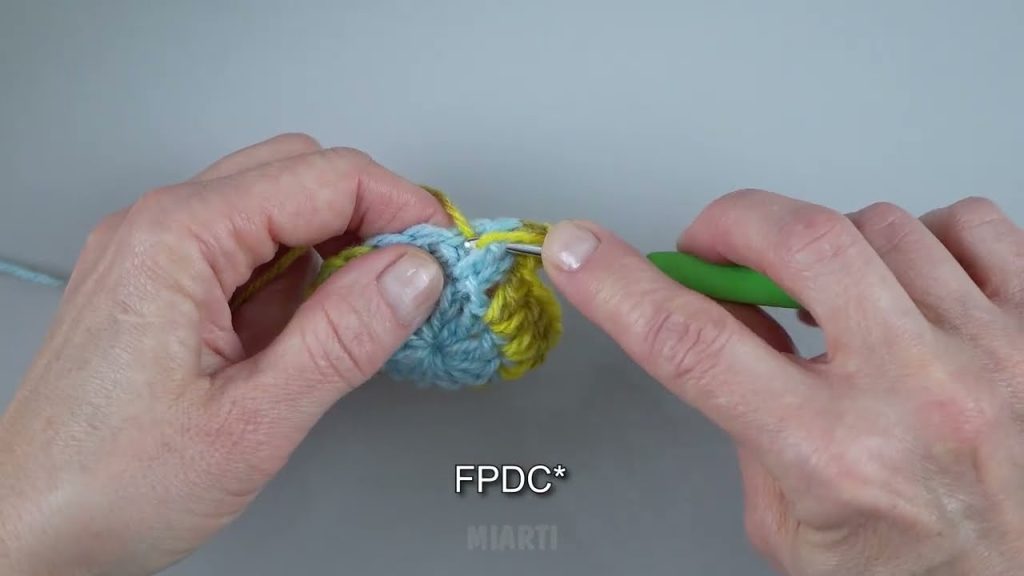
Crochet Abbreviations (US Terms)
- ch – chain
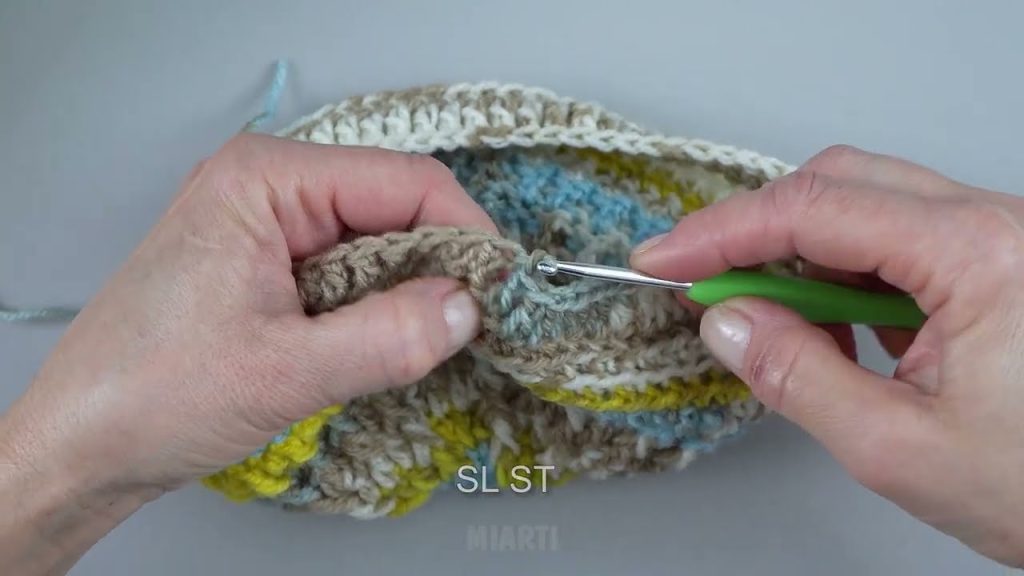
- sl st – slip stitch
- sc – single crochet
- inc – increase (2 sc in the same stitch)
- st(s) – stitch(es)
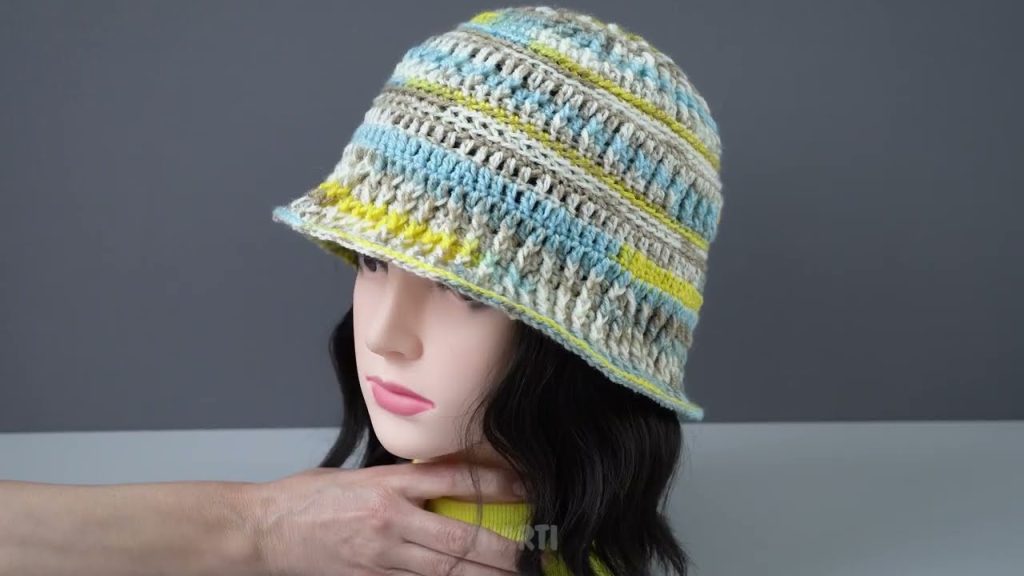
Finished Size (Approx.)
- Adult size head circumference: 21–23 inches
- Easily adjustable by adding or reducing rounds
Step-by-Step Instructions
Step 1: Start with a Magic Ring
- Make a magic ring
- Work 6 single crochet (sc) into the ring
- Pull tight and join with a slip stitch
Total: 6 stitches
💡 You can also chain 4 and join to form a ring if you prefer.
Step 2: Round 2 – Increase
- Chain 1
- Work 2 sc in each stitch around
- Join with slip stitch
Total: 12 stitches
Step 3: Round 3 – Continue Increasing
- Chain 1
- 1 sc in first stitch, inc in next stitch
- Repeat around
- Join with slip stitch
Total: 18 stitches
Step 4: Round 4 – Shape the Crown
- Chain 1
- 2 sc, inc
- Repeat around
- Join with slip stitch
Total: 24 stitches
👉 Continue increasing in this pattern (adding 6 stitches per round) until the crown measures about 6.5–7 inches across.
Step 5: Crochet the Hat Sides
- Chain 1
- Work 1 sc in each stitch around
- Do not increase
- Join with slip stitch
- Repeat for 4–6 rounds, depending on how deep you want the hat
🧠 Try it on to check the fit as you go.
Step 6: Create the Bucket Hat Brim
- Chain 1
- 5 sc, inc around
- Join with slip stitch
- Continue increasing slightly each round
- Work 3–5 brim rounds until you reach your desired width
🎩 This gives the hat its classic bucket shape.
Step 7: Finish the Hat
- Cut yarn, leaving a small tail
- Pull through the last stitch
- Weave in all loose ends with a yarn needle
✨ Your crochet bucket hat is complete!
Optional Customizations
- Change colors for stripes
- Use a smaller hook for a firmer brim
- Add a decorative edge (crab stitch or slip stitch)
- Sew on a label or patch
Beginner Tips
✔ Use stitch markers to mark the start of each round
✔ Keep your tension even
✔ Count stitches every round
✔ Don’t worry if it’s not perfect—practice helps!
If you’d like, I can:
- Adjust this pattern for kids or baby sizes
- Make a chunky or summer version
- Turn this into a print-friendly pattern
- Add a super-quick version for experienced beginners
Just tell me 🧶💛
Watch tutorial: