 by
by Sure! 😊
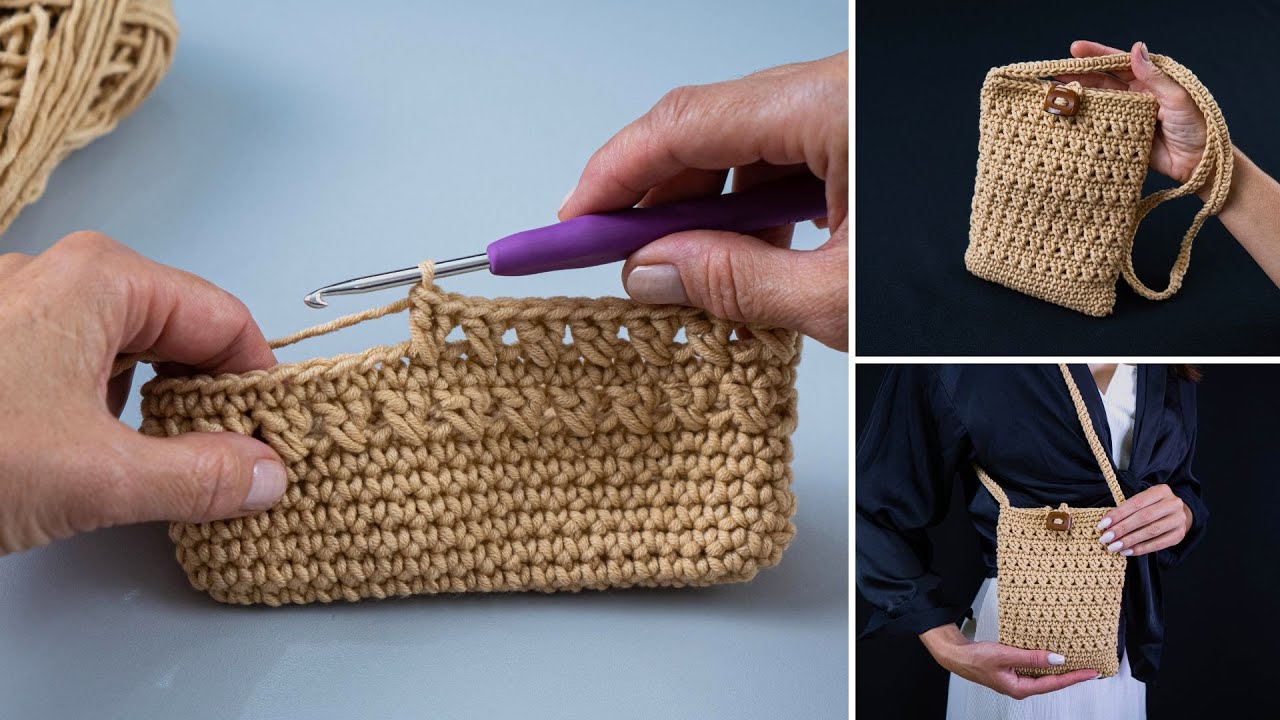
Below is a detailed yet easy-to-follow tutorial for making a mini crochet bag. This pattern is perfect for beginners and works up quickly—great for a small purse, gift bag, or accessory.
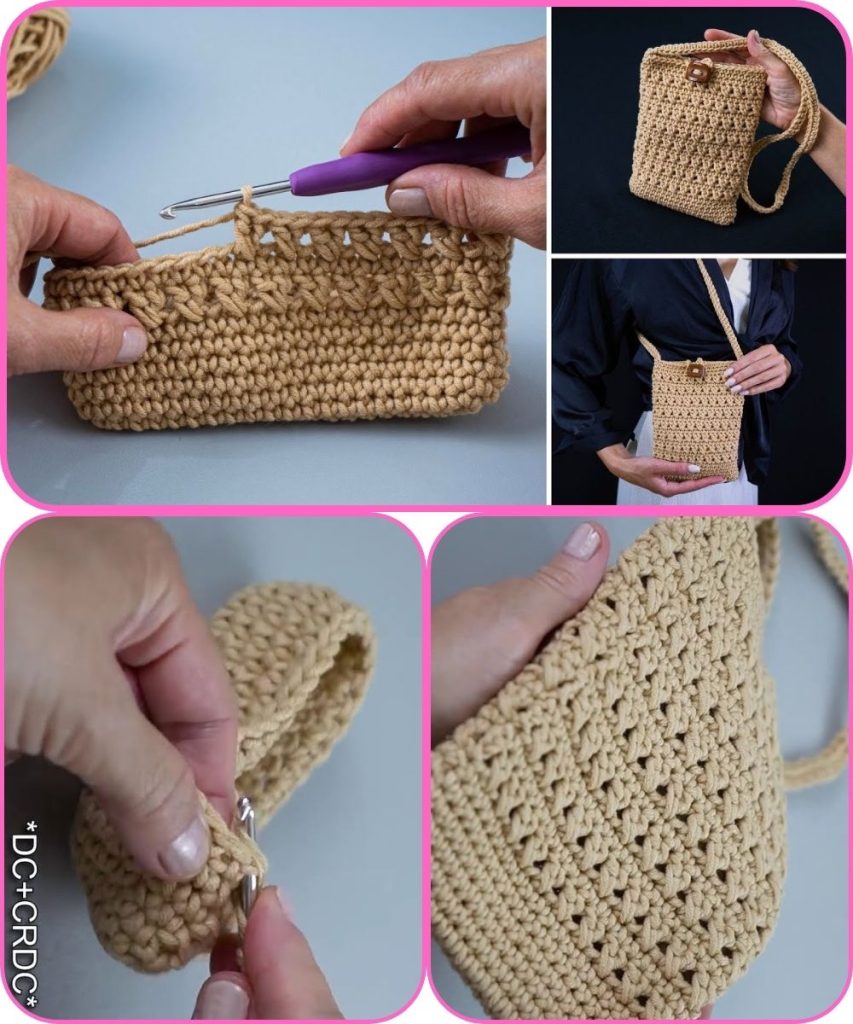
How to Make a Mini Crochet Bag
Easy Step-by-Step Pattern for Beginners
Skill Level
Beginner 🧶
Time Needed
About 1–2 hours
Materials You’ll Need
- Yarn: Medium-weight yarn (Category 4). Cotton yarn is ideal for mini bags because it’s sturdy and neat.
- Crochet Hook: 4.5–5.0 mm
- Scissors
- Yarn needle (for sewing and weaving in ends)
Crochet Abbreviations (US Terms)
- ch – chain
- sl st – slip stitch
- sc – single crochet
- hdc – half double crochet
- st(s) – stitch(es)
Finished Size (Approx.)
- Width: 6–7 inches
- Height: 6–7 inches
(Size is easy to customize)
Step-by-Step Instructions
Step 1: Make the Base Chain
- Chain 21 stitches
💡 This determines the width of your mini bag.
Step 2: Row 1 – Start the Base
- Insert hook into the second chain from the hook
- Work 1 sc in each chain across
- Chain 1 and turn
Total: 20 stitches
Step 3: Row 2 – Build the Base
- Work 1 sc in each stitch across
- Chain 1 and turn
Step 4: Repeat the Base Rows
- Repeat Row 2 until the base measures about 3 inches high
👉 This forms the bottom of the bag.
Step 5: Crochet the Bag Body
- Chain 1
- Continue working single crochet evenly around all sides of the base
- Place 2 sc in each corner to keep edges flat
- Do not turn—work in continuous rounds
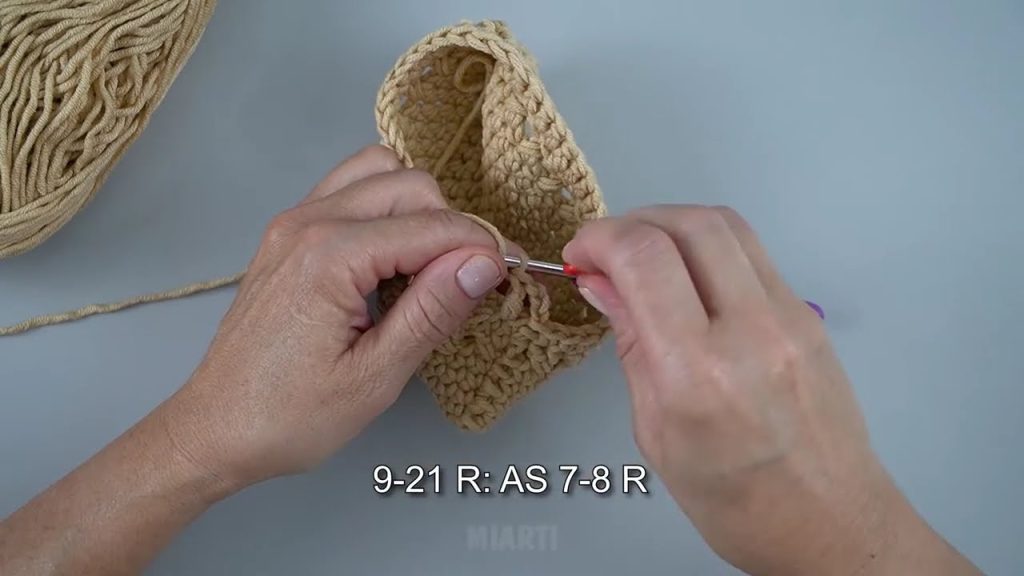
Step 6: Build the Bag Height
- Work 1 sc in each stitch around
- Continue for 6–8 rounds, depending on how tall you want the bag
🧠 Use a stitch marker to mark the beginning of each round.
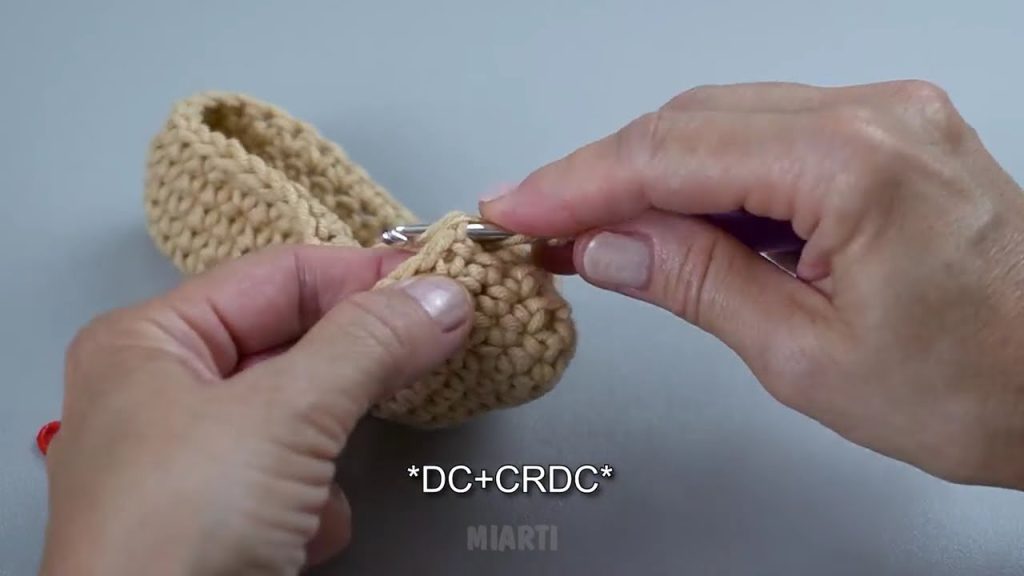
Step 7: Create the Bag Strap or Handle
Option 1: Short Handle
- Chain 20–25 stitches
- Skip stitches on the bag opening
- Attach with a slip stitch on the opposite side
Option 2: Long Strap
- Chain 60–80 stitches
- Attach to the opposite side
- Single crochet back along the chain for strength
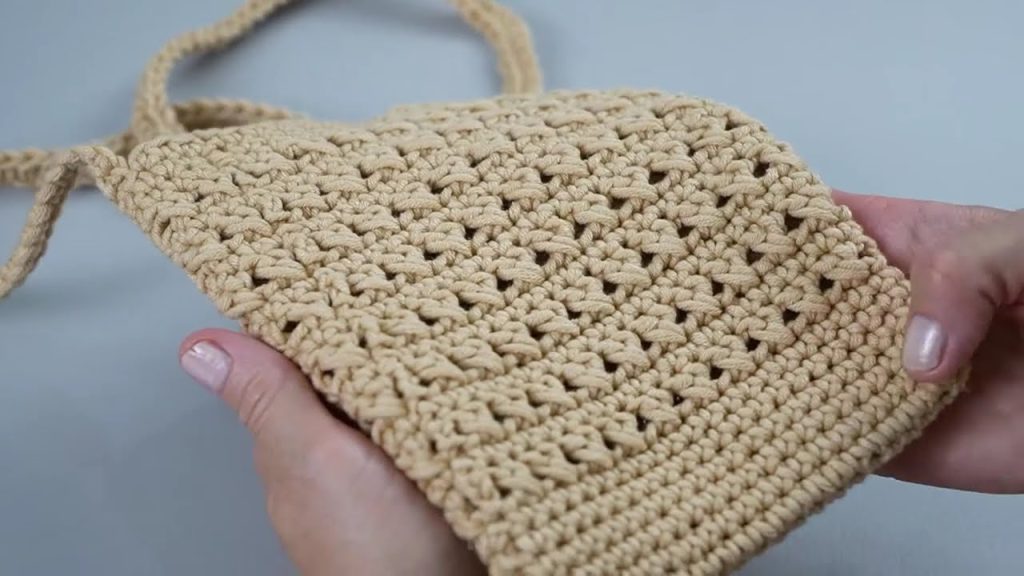
Step 8: Finish the Mini Bag
- Slip stitch to close the final round
- Cut yarn and pull through
- Weave in all loose ends securely
✨ Your mini crochet bag is finished!
Optional Decorations
- Add a button or snap closure
- Sew on a flower or charm
- Use two colors or stripes
- Line with fabric for extra durability
Beginner Tips
✔ Keep stitches tight for a neat look
✔ Use cotton yarn for best shape
✔ Count stitches each round
✔ Practice makes progress—don’t stress perfection!
If you’d like, I can also:
- Create a drawstring mini bag
- Adjust this for phone-size or coin pouch
- Turn it into a printable pattern
- Write a super quick version for markets or gifts
Just let me know 🧶💖
Watch tutorial: