 by
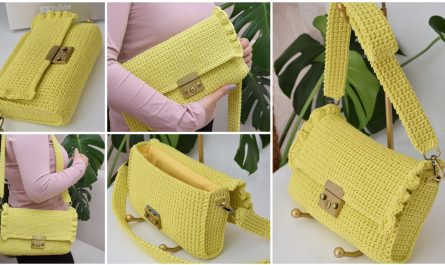
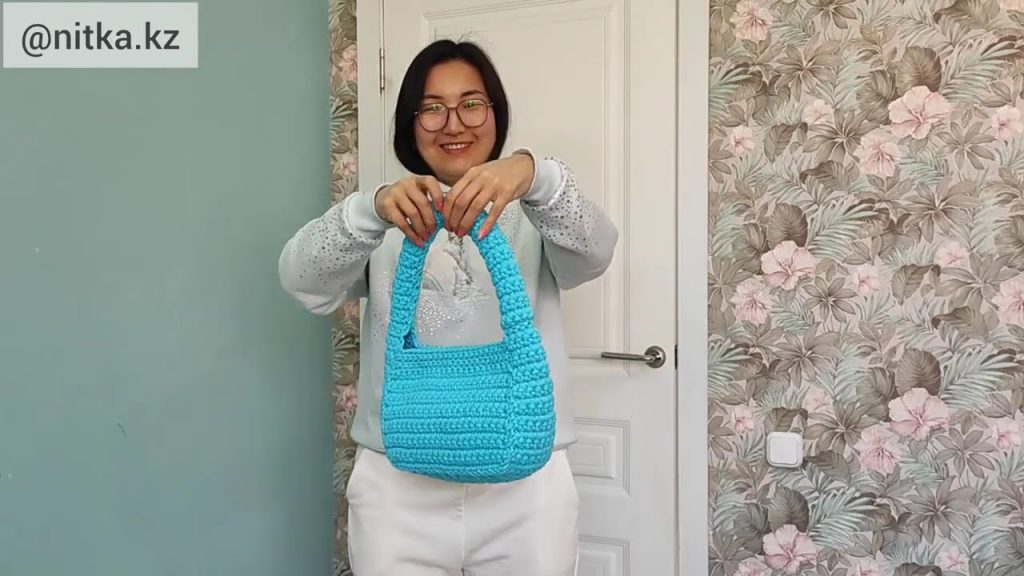
by Absolutely! Let’s create a detailed, beginner-friendly guide on how to crochet a life ring bag (lifebuoy bag) — a cute, trendy, and nautical-themed accessory you can make in about 3 hours.
🧶 How to Make a Crocheted Life Ring Bag in 3 Hours
⏱️ Estimated Time
3 hours (depending on your crochet speed)
🧰 Materials Needed
- Yarn:
- Red (for stripes)
- White (for main color)
- Optional: Navy blue for accents or handles
Choose a medium-weight (worsted weight, size 4) cotton yarn for structure.
- Crochet Hook: 4 mm (G/6) or 4.5 mm hook
- Tapestry Needle: for sewing ends and joining parts
- Scissors
- Stitch Markers (optional)
- Lining Fabric (optional): if you want a neat, finished interior
- Zipper or Button Closure (optional)
- Strap Materials: You can crochet a strap or attach a ready-made chain or rope
🪡 Step-by-Step Instructions
Step 1: Create the Base Circles (2 pieces)
You’ll make two flat crochet circles (front and back of the bag).
Using white yarn:
- Magic Ring, ch 2 (counts as first dc).
- Round 1: 11 dc into the ring. Join with sl st to top of first dc. (12 sts)
- Round 2: Ch 2, 2 dc in each st around. Join. (24 sts)
- Round 3: Ch 2, 1 dc in next st, 2 dc in next — repeat around. (36 sts)
- Round 4: Ch 2, 1 dc in next 2 sts, 2 dc in next — repeat around. (48 sts)
- Continue increasing evenly until your circle reaches about 25 cm (10 inches) in diameter.
Step 2: Add the Red Life Ring Stripes
To mimic a lifebuoy:
- Switch to red yarn.
- Crochet two or four short arcs of 3–4 rounds each, evenly spaced around the circle.
- Example: Crochet 8 rounds total in white, then 2 rounds in red, then 2 rounds in white again — repeat at opposite ends.
- Repeat the same pattern for the second circle (the back).
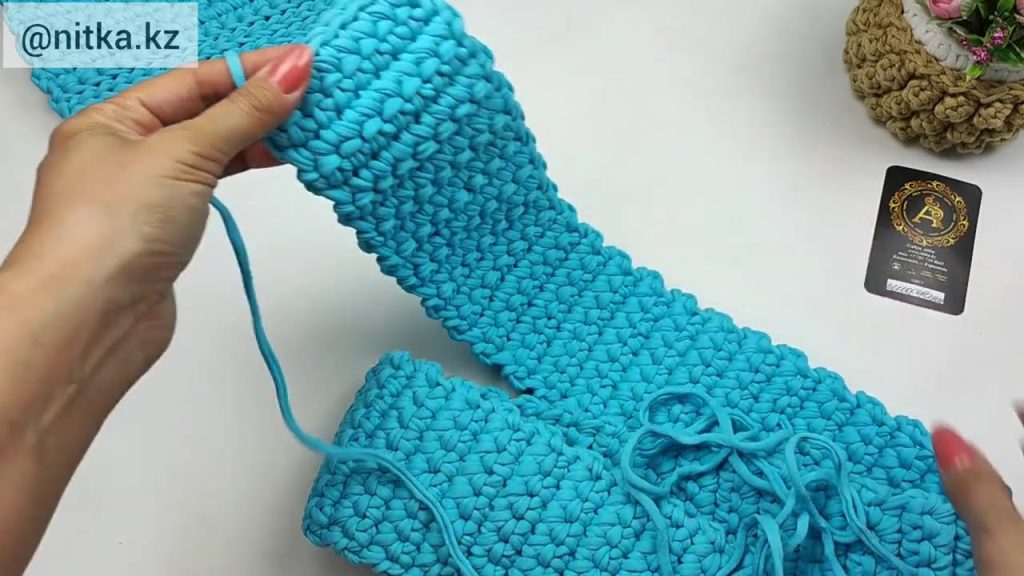
Step 3: Join the Circles to Form the Bag
- Place the two circles right sides facing out.
- Using white yarn, sc (single crochet) around the edges to join them, leaving a 6–8 inch (15–20 cm) opening at the top for the bag opening.
- For more depth, crochet a side panel strip:
- Ch enough to make a strip about 4 inches wide and 25 inches long, sc evenly.
- Sew or sc the strip around the edges of one circle, then attach the other circle to the opposite edge — forming a circular bag body.
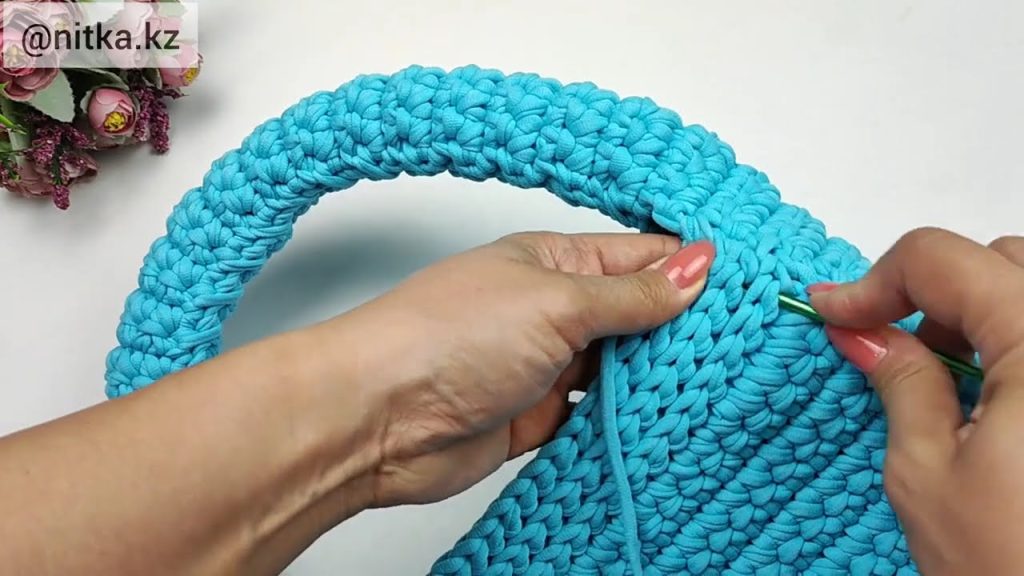
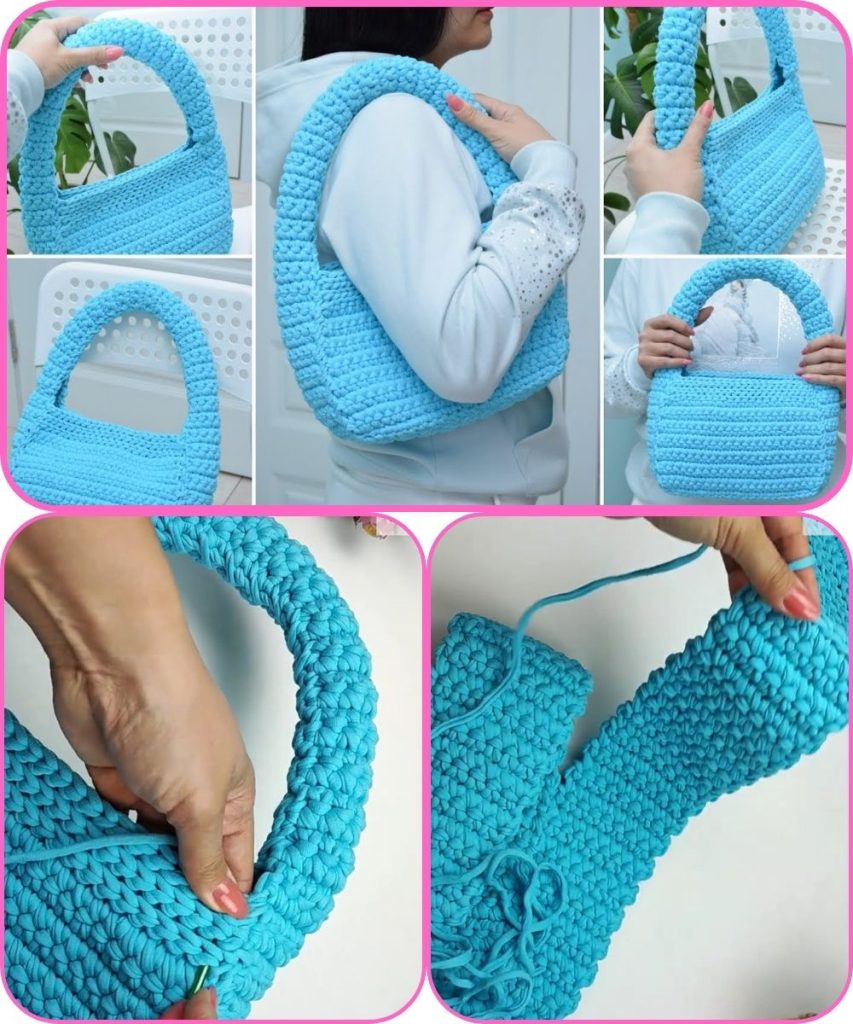
Step 4: Add the Handle or Strap
You can choose your favorite style:
- Crocheted Rope Strap:
- Ch about 100–120 stitches (for crossbody length).
- Work 2–3 rows of sc to make a flat strap.
- Sew ends securely to both sides of the bag.
- Nautical Rope Handle:
- Use thick white or jute rope to give a maritime touch.
- Thread through loops and knot firmly.
Step 5: Add Finishing Touches
- Lining (optional): Cut fabric circles the same size as your crochet ones, sew them together, and attach to the inside with hand stitches.
- Closure: Sew on a zipper, button, or magnetic clasp at the top.
- Decoration:
- Add an anchor charm, tassel, or small seashells for a coastal aesthetic.
- Embroider initials or patterns using a tapestry needle.
🌊 Style Tips
- Match with a summer dress, denim jacket, or beach outfit.
- You can experiment with pastel colors for a soft look or bright red/navy for a true nautical vibe.
- If you use chunky yarn, the bag will look plush and finish faster.
⚡ Quick Tips for Success
- Keep your tension consistent so the circles stay flat.
- Use a stitch marker to mark round starts.
- Block your finished pieces (lightly steam or dampen) for a clean, smooth look before assembly.
✅ Summary
| Step | Task | Time Estimate |
|---|---|---|
| 1 | Crochet two circles | 1 hr |
| 2 | Add red ring stripes | 30 min |
| 3 | Join and shape bag | 45 min |
| 4 | Add strap and closure | 30 min |
| 5 | Finishing touches | 15 min |
| Total | ≈3 hours |
Would you like me to include a crochet pattern chart (diagram) or a written stitch pattern layout for the circles and stripes? I can make a printable or visual version if you plan to follow it step by step.
Watch tutorial: