 by
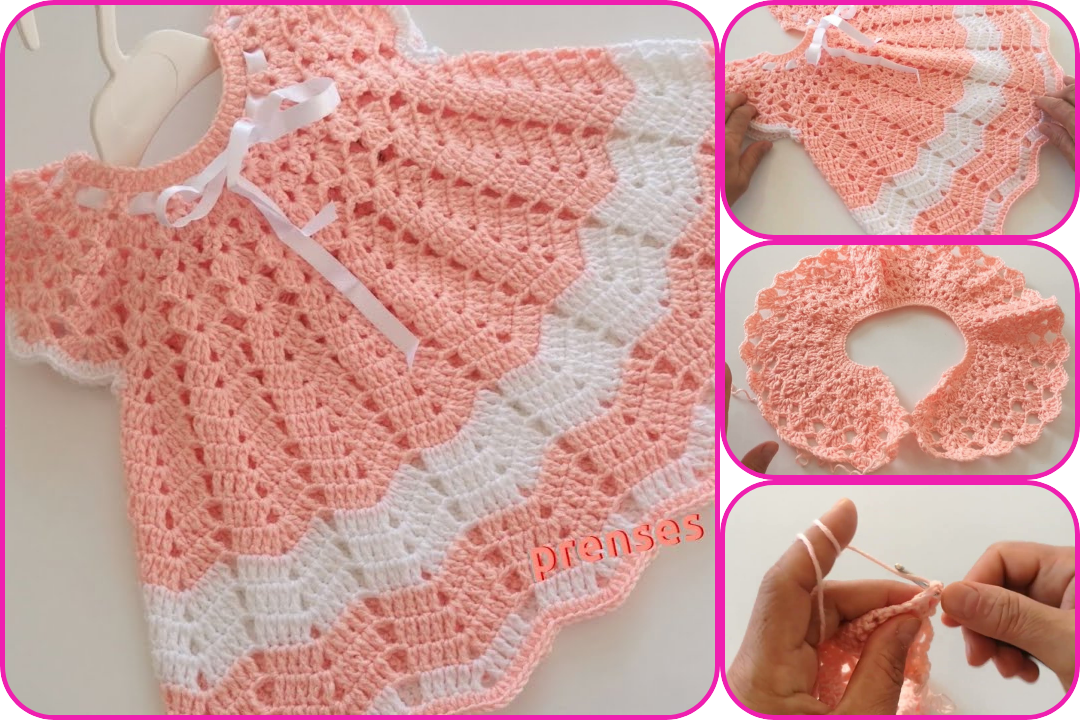
by Here’s a detailed guide on how to knit a princess baby dress, suitable for beginners to intermediate knitters. This guide walks through materials, measurements, and step-by-step instructions to help you create a charming, handmade dress for a baby aged 3 to 12 months.
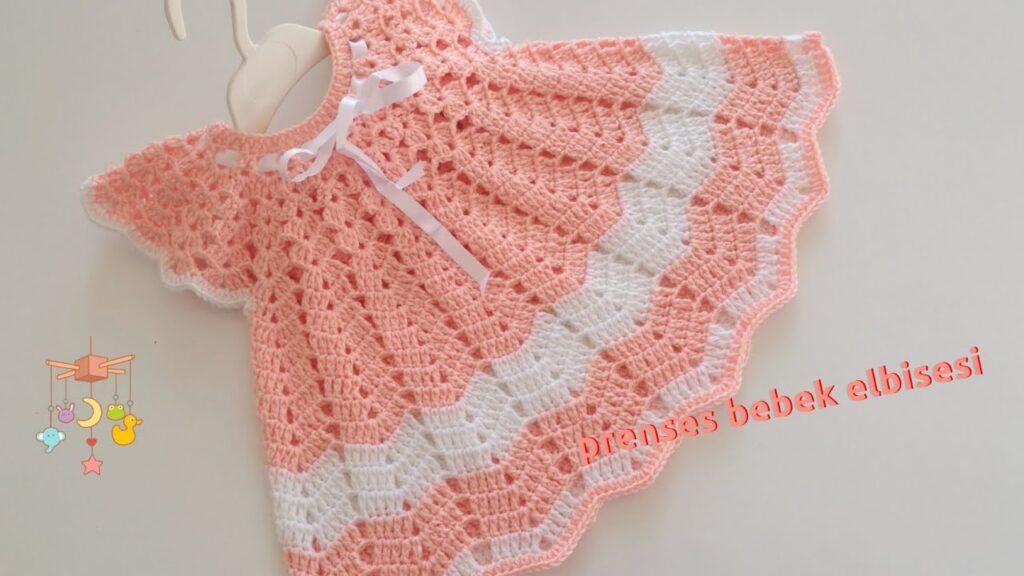
👗 How to Knit a Princess Baby Dress (Beginner to Intermediate)
🧶 Materials Needed
- Yarn: Soft baby yarn (e.g., acrylic or cotton blend)
- Color 1: Main color (e.g., pink, white, or lavender)
- Color 2: Contrast for edges or design (optional)
- Knitting Needles: Size US 6 (4 mm) or as required by yarn
- Stitch Markers
- Darning Needle
- Buttons or Ribbons (for back closure or embellishment)
- Measuring Tape
- Scissors
📏 Size Guide (Adjust as needed)
For 3–6 months:
- Chest circumference: 16 inches (40.5 cm)
- Dress length: 12 inches (30.5 cm)
For 6–12 months:
- Chest: 18 inches (45.5 cm)
- Length: 14 inches (35.5 cm)
🧵 Pattern Overview
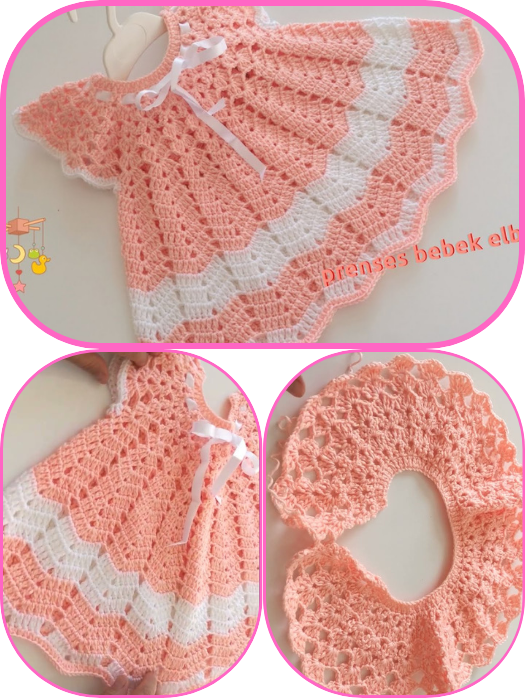
The dress is knit top-down in the round or in pieces and seamed later. It includes:
- A bodice with back-button or tie closure
- A flared skirt (can be plain or patterned like lace)
- Optional cap sleeves or ruffles
🪡 Step-by-Step Instructions
Step 1: Cast On & Knit the Yoke
You can knit flat or in the round.
- Cast on 64 stitches for 3–6 months (adjust for size).
- Work in garter stitch (knit every row) or rib (k1, p1) for 4–6 rows for the neckline.
- Switch to stockinette stitch (knit right side, purl wrong side) or continue in the round.
Step 2: Raglan Increases
Use markers for raglan increases at 4 points (front, back, both sleeves):
- Example raglan increase row:
- K to marker, yarn over, K1, yarn over — repeat at each marker.
- Increase every 2nd or 4th row until bodice width is about 16–18 inches (or desired chest size).
Step 3: Separate Body and Sleeves
Once the yoke reaches the desired depth (about 4–5 inches):
- Transfer sleeve stitches to scrap yarn or holders.
- Continue knitting the body only in the round (or flat).
- You can switch to a lace pattern or continue in stockinette.
Step 4: Knit the Skirt
Make it flared or princess-style:
- Increase stitches evenly every few rows for a flared skirt.
- Optional lace pattern (e.g., feather and fan, eyelets) for a delicate effect.
- Continue until desired length (12–14 inches total from shoulder).
Edge Finishing:
- Knit a few rows in garter stitch or picot edge for a decorative hem.
Step 5: Knit the Sleeves (Optional)
- Return sleeve stitches to needles.
- Knit short sleeves or cap sleeves in stockinette or lace.
- End with a frilly or ribbed edge.
Step 6: Finishing Touches
- Sew button band or attach ribbons to the back neckline.
- Weave in all ends neatly.
- Block the dress gently (wet it and pin to shape for a polished look).
Optional Embellishments
- Knit or crochet flowers or bows
- Add pearls or beads (securely)
- Use a contrast color for hem, neckline, or sleeves
🧸 Tips for Success
- Use stitch markers to track raglan increases and lace repeats.
- Choose machine-washable yarn for easy care.
- Test your gauge first to ensure the right fit.
- Make a matching headband or booties for a full princess set!
Watch video: