 by
by Absolutely! Let’s go through a step-by-step, detailed guide on how to crochet a matching neck warmer (or cowl) and scarf set — perfect for beginners or intermediate crocheters. I’ll cover the tools, materials, stitch patterns, and instructions for both pieces.
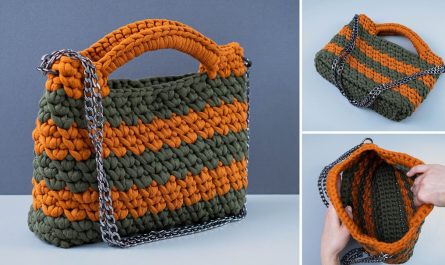
🧶 HOW TO MAKE A STEP-BY-STEP CROCHET NECK AND SCARF SET
✨ What You’ll Learn
- How to make a crochet scarf (rectangular)
- How to make a crochet neck warmer (cowl)
- Joining, edging, and finishing techniques
🧰 MATERIALS NEEDED
| Item | Description |
|---|---|
| Yarn | Medium weight (Category 4) acrylic, wool, or cotton yarn — about 400–500g total. |
| Crochet Hook | Size 5.0 mm (H/8) or appropriate for your yarn. |
| Tapestry Needle | For weaving in ends. |
| Scissors | For cutting yarn. |
| Measuring Tape | To check length and width. |
🧣 PART 1: CROCHET SCARF (BEGINNER-FRIENDLY)
Step 1: Foundation Chain
- Chain 200 stitches (for a long scarf).
Adjust if you want it shorter or longer. - Add 2 extra chains for turning.
Tip: Keep your foundation chain loose so it doesn’t curl.
Step 2: Row 1 – Half Double Crochet (HDC)
- Yarn over, insert your hook into the 3rd chain from the hook.
- Yarn over again and pull up a loop (3 loops on hook).
- Yarn over and pull through all 3 loops.
- Continue across the row.
You now have your first row of HDC stitches.
Step 3: Row 2 – Repeat Pattern
- Chain 2 and turn your work.
- HDC into each stitch across.
- Continue for about 20–25 rows or until scarf reaches desired width.
Step 4: Optional – Textured Stripe Pattern
If you want a design, alternate rows:
- Row A: Regular HDC in both loops.
- Row B: HDC in back loop only (BLO) for a ribbed texture.
Step 5: Edging (Optional)
To make the scarf look neat:
- Work single crochet (SC) evenly around all edges.
- Add fringes or tassels if desired.
Step 6: Finishing
- Cut yarn, leaving a 6-inch tail.
- Pull the yarn through the last loop to secure.
- Weave in all ends using a tapestry needle.
✅ Your scarf is complete!
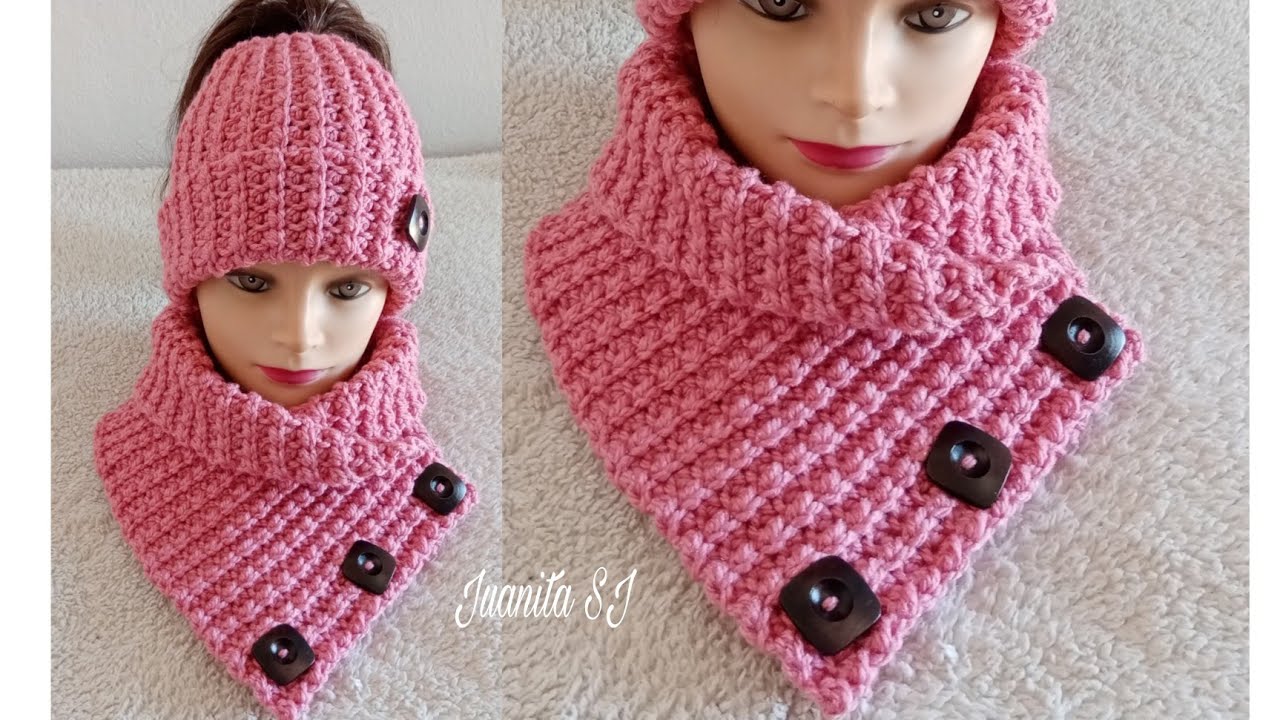
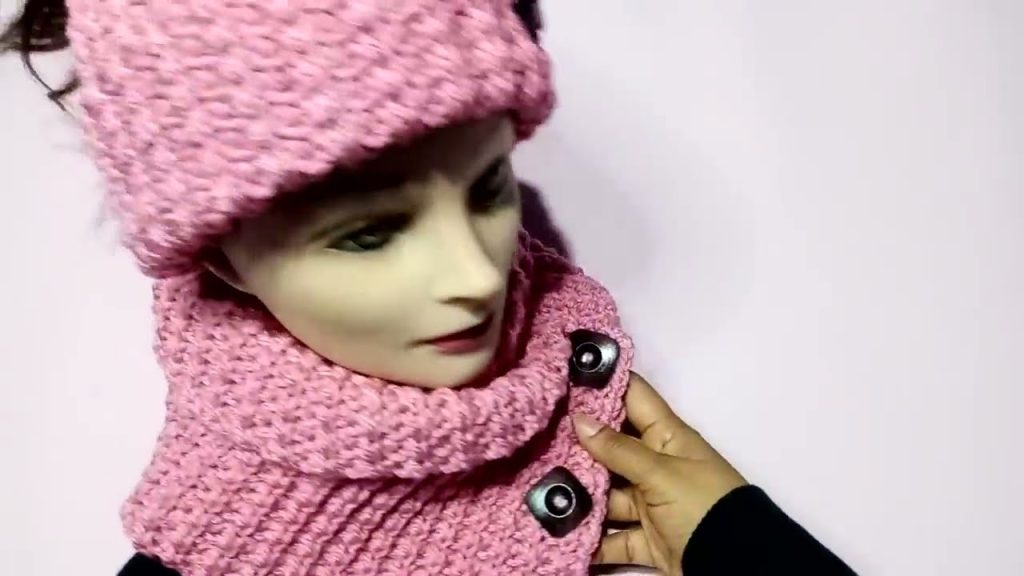
🧤 PART 2: CROCHET NECK WARMER (COWL)
Step 1: Foundation Chain
- Chain 60–70 stitches (depending on neck size).
- Join with a slip stitch to form a circle (make sure it’s not twisted).
- Chain 2 to begin the first round.
Step 2: Round 1 – Half Double Crochet
- Work one HDC in each chain around.
- Join with a slip stitch at the end of the round.
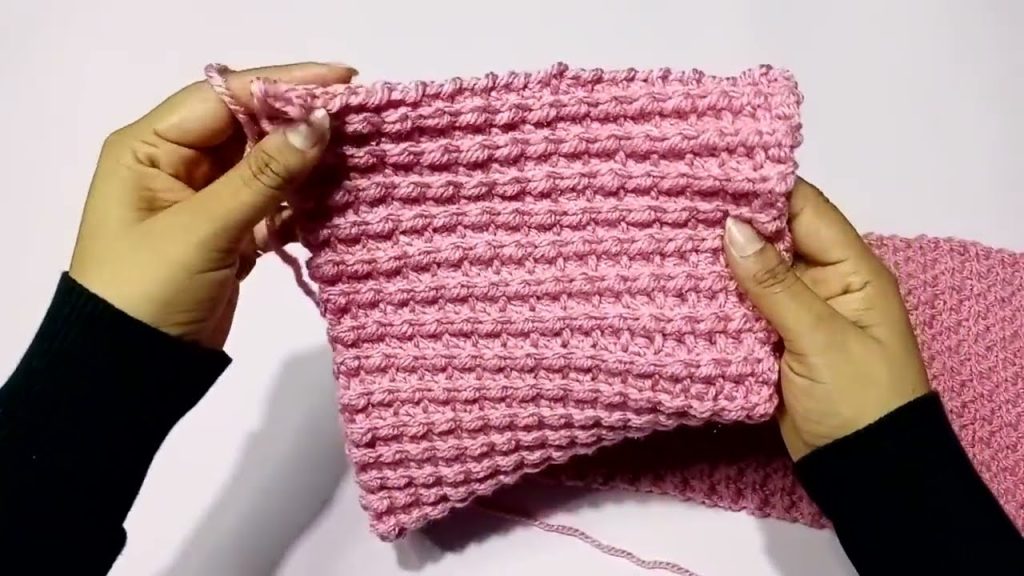
Step 3: Round 2 and Beyond
- Chain 2, HDC in back loop only (BLO) of each stitch around.
- Continue this for 15–20 rounds (or desired height).
This gives a stretchy, ribbed neck warmer that fits comfortably.
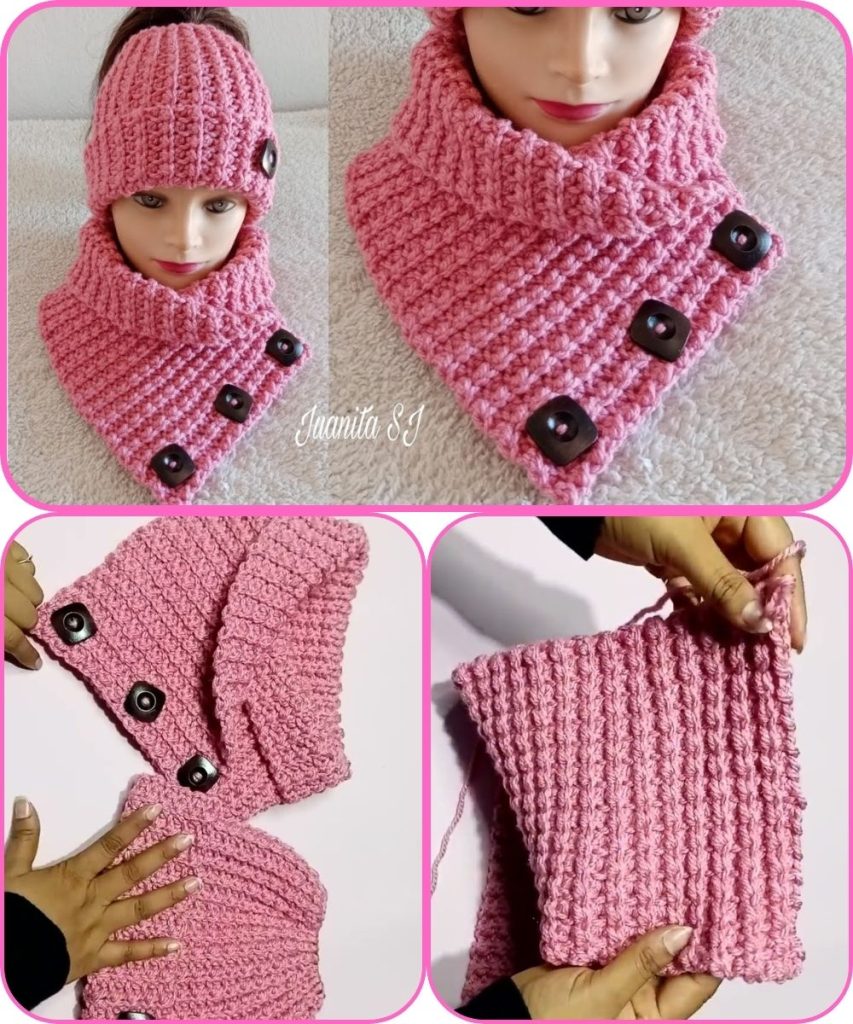
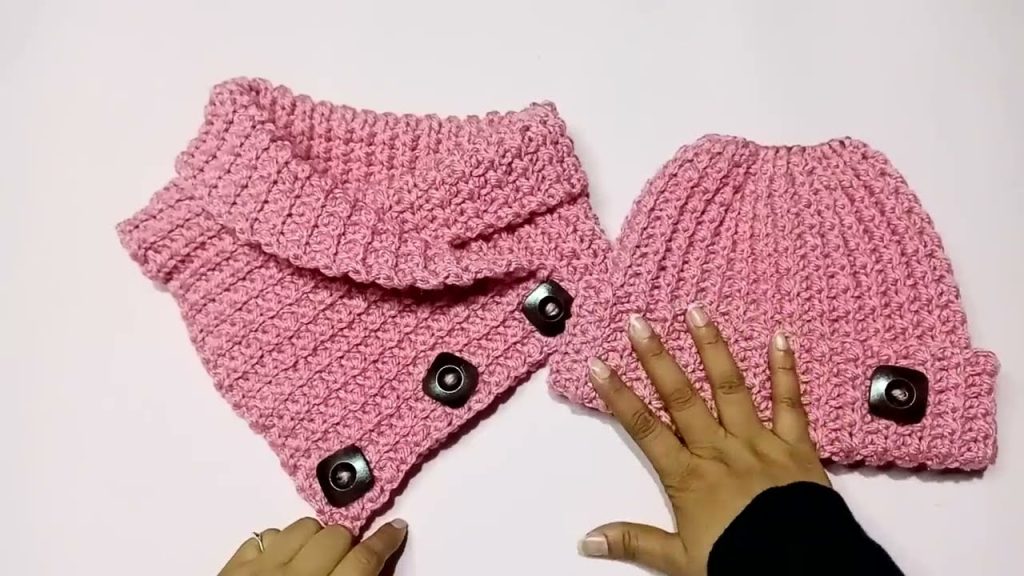
Step 4: Optional – Buttoned Neck Warmer
If you want it openable instead of a loop:
- Don’t join into a circle. Instead, crochet in rows (back and forth) until it wraps around your neck comfortably.
- Add buttons on one edge and buttonholes (chain spaces) on the other.
Step 5: Finishing Touches
- Fasten off your yarn.
- Weave in ends neatly.
- Add a small decorative border (like a shell stitch or picot edge) for a stylish finish.
🎀 DESIGN IDEAS
| Style | Description |
|---|---|
| Classic Ribbed | Made entirely with HDC in back loop only. |
| Striped Set | Alternate colors every 3–5 rows. |
| Chunky Cozy | Use bulky yarn and a 6.5 mm hook. |
| Lacy Elegant | Use double crochet with chain spaces for openwork. |
🧺 CARE INSTRUCTIONS
- Hand wash gently or use a delicate cycle.
- Lay flat to dry.
- Avoid stretching while wet.
🌟 TIPS FOR SUCCESS
- Practice tension control—keep your stitches even.
- Count stitches every few rows to prevent accidental increases/decreases.
- Use stitch markers when working in the round to track your starting point.
Would you like me to include a written pattern (with row-by-row stitch instructions) or a diagram/chart version next? I can also customize the pattern for beginner, intermediate, or advanced crocheters.
Watch tutorial: