 by
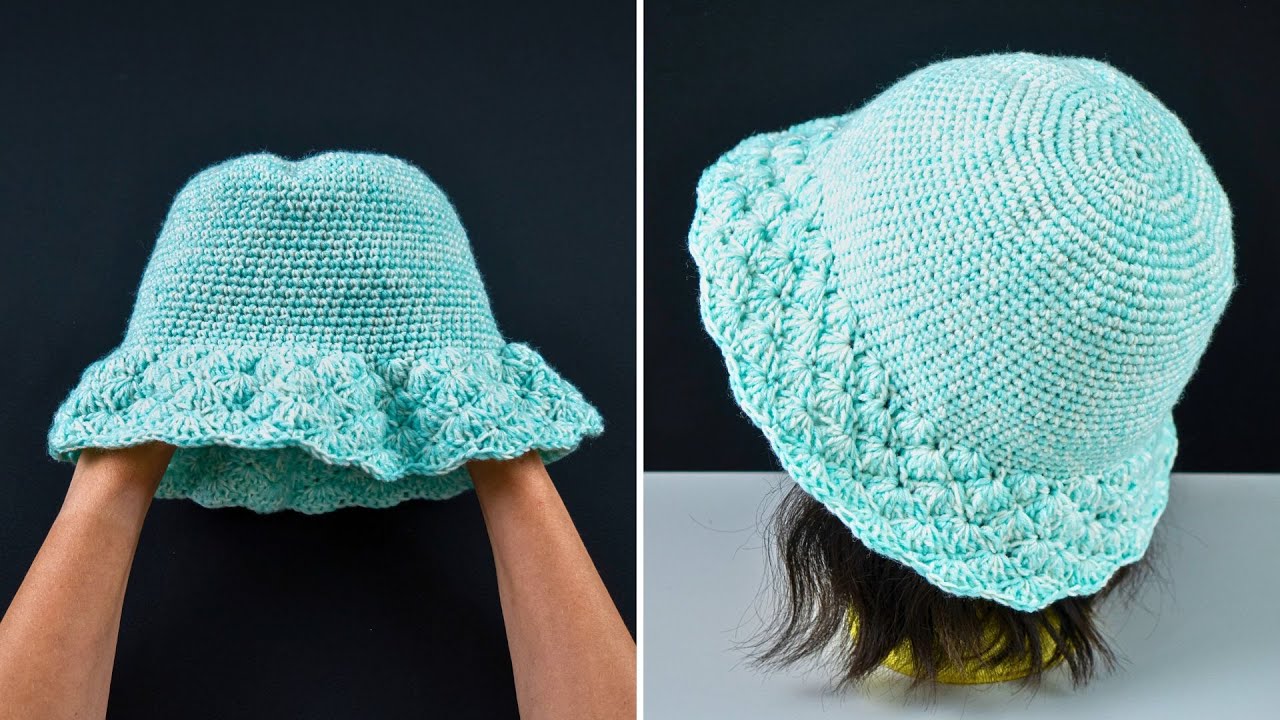
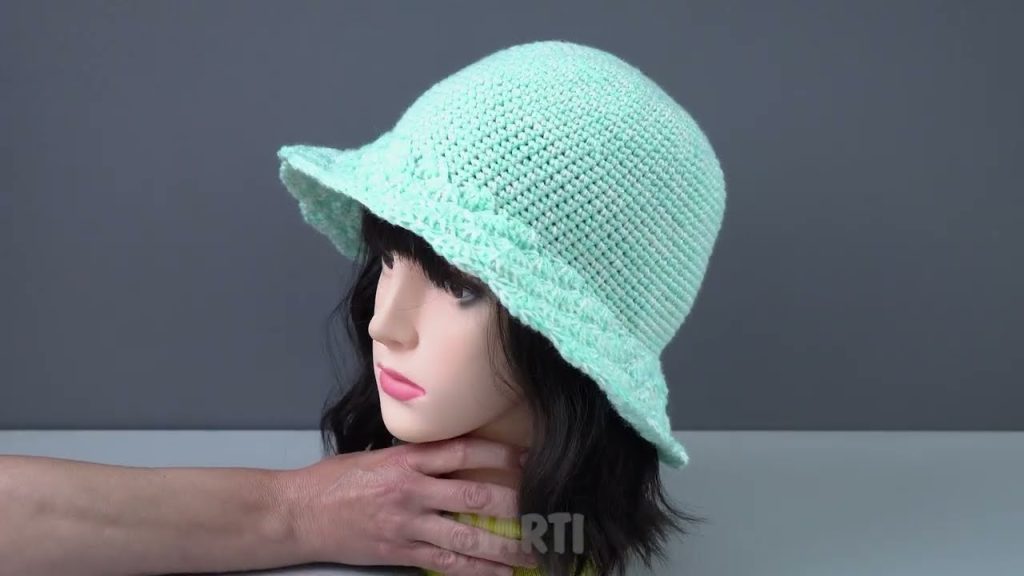
by Absolutely! I can give you a step-by-step guide to make an easy crochet summer bucket hat. I’ll break it down so it’s beginner-friendly but still detailed enough to get a nice, wearable hat. 🌞🧶
Materials You’ll Need
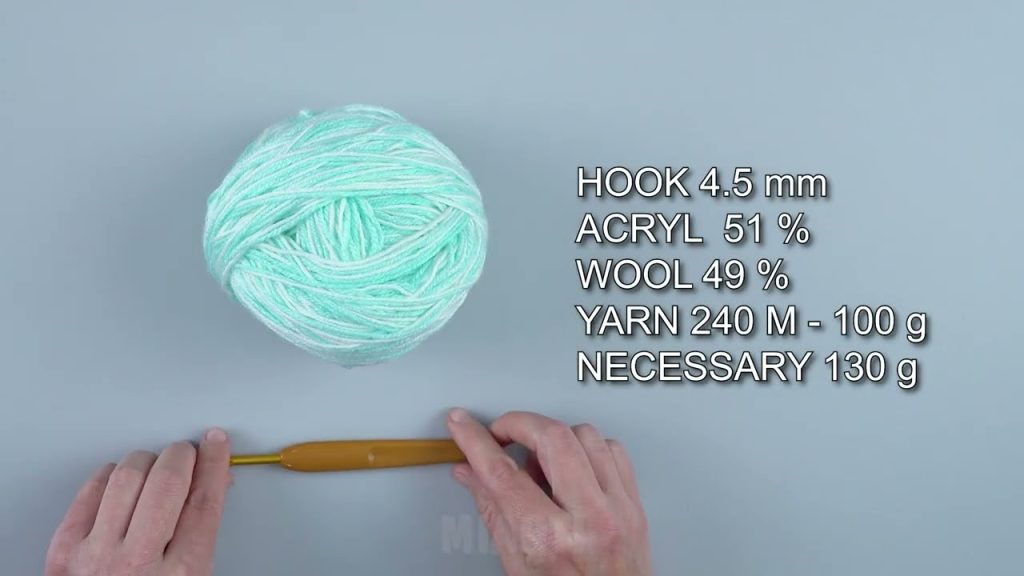
- Yarn:
- Lightweight cotton yarn (worsted weight or DK is perfect for summer hats).
- Choose a light color to keep it cool in the sun.
- Crochet Hook:
- Usually size 4 mm (G-6) works for DK or light worsted yarn.
- Check your yarn label for recommended hook size.
- Other Supplies:
- Scissors
- Yarn needle (for weaving in ends)
- Measuring tape (to check head size)
Step 1: Measure and Decide Size
- Standard bucket hat sizes (circumference):
- Small: 21” (53 cm)
- Medium: 22” (56 cm)
- Large: 23” (58 cm)
- Measure your head around the widest part (above ears) to customize.
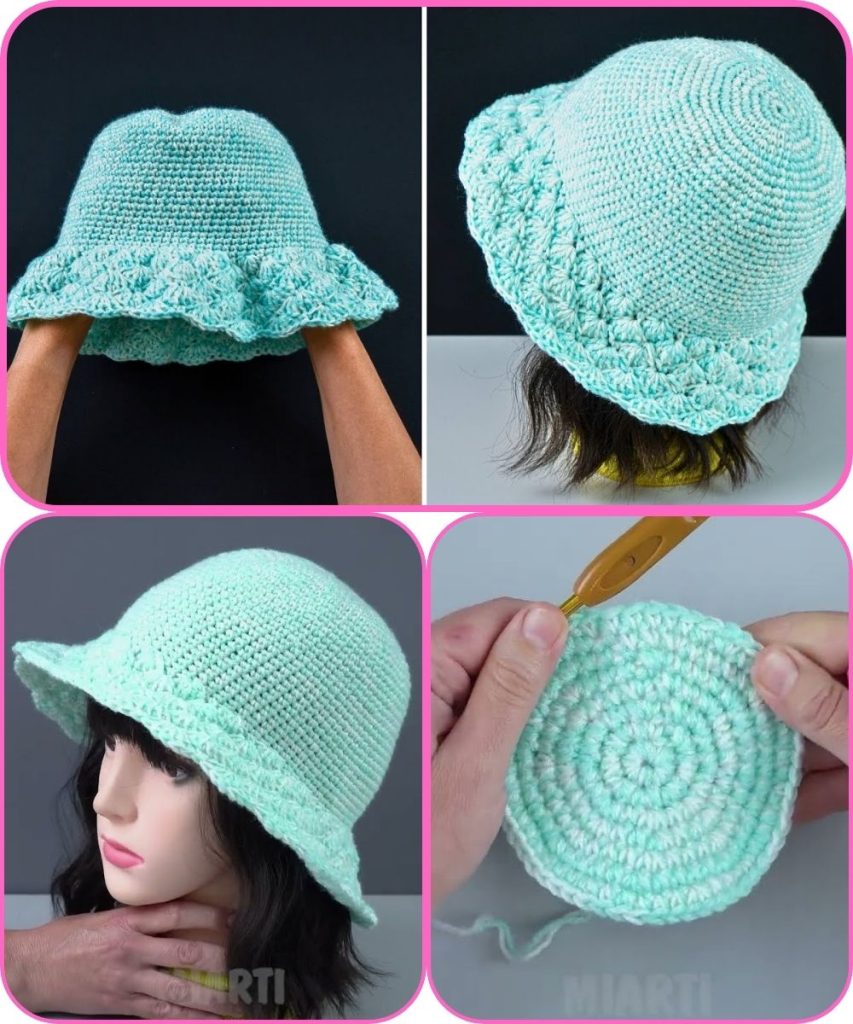
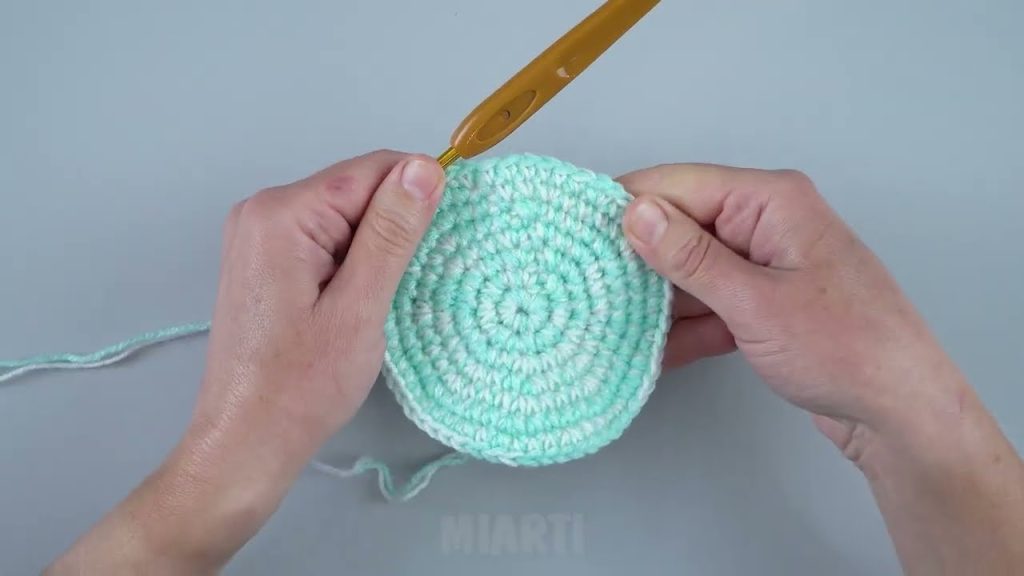
Step 2: Start with the Crown (Top of Hat)
- Magic Ring: Make a magic ring (adjustable loop) or chain 4 and join to make a small circle.
- Round 1: Crochet 6 single crochets (SC) into the ring. Pull tight to close.
- Round 2: 2 SC in each stitch around (12 stitches total).
- Round 3: 1 SC in next stitch, 2 SC in next stitch around (18 stitches).
- Round 4: 1 SC in next 2 stitches, 2 SC in next stitch around (24 stitches).
- Round 5: 1 SC in next 3 stitches, 2 SC in next stitch around (30 stitches).
Keep increasing like this until the circle matches the top diameter of your head (usually about 7–8 inches / 18–20 cm across).
Step 3: Crochet the Hat Sides
- Once the crown is wide enough, stop increasing.
- Crochet one SC in each stitch around.
- Continue for about 4–5 inches (10–12 cm) depending on how tall you want your hat.
This makes the sides straight; no shaping needed.
Step 4: Crochet the Brim
- To make the brim flare out, you need to start increasing again.
- Round 1 (Brim start): 1 SC in next 4 stitches, 2 SC in next stitch around.
- Round 2: 1 SC in next 5 stitches, 2 SC in next stitch around.
- Continue adding 1 stitch between increases each round until the brim is about 2–3 inches (5–7 cm) wide.
- Optional: You can switch to half double crochet (HDC) for a looser, more flexible brim.
Step 5: Finishing Touches
- Fasten off the yarn.
- Use a yarn needle to weave in all ends neatly.
- Optional: Add decorative touches: a crochet flower, ribbon, or a small cord around the base of the crown.
Tips for a Perfect Summer Hat
- Use cotton yarn for breathability.
- Keep your tension loose for a softer, more flexible hat.
- Blocking your hat (lightly wetting and shaping) will help the brim sit nicely.
- Experiment with stripes or open stitch patterns for a stylish look.
If you want, I can also draw a simple stitch diagram with labels for crown, sides, and brim so you can follow it visually—it makes this much easier for beginners.
Watch tutorial: