 by
by Here’s a detailed outline and step-by-step script you can use to create a “Crochet Crossbody Bag from One Skein of Yarn” video tutorial for beginners. This includes what to say, show, and emphasize, so you can make an engaging and clear video that helps viewers follow along easily.
🎥 VIDEO TITLE:
“Crochet a Cute Crossbody Bag from ONE Skein of Yarn | Easy Beginner Tutorial + Step-by-Step Instructions”
🧶 INTRO (0:00 – 0:45)
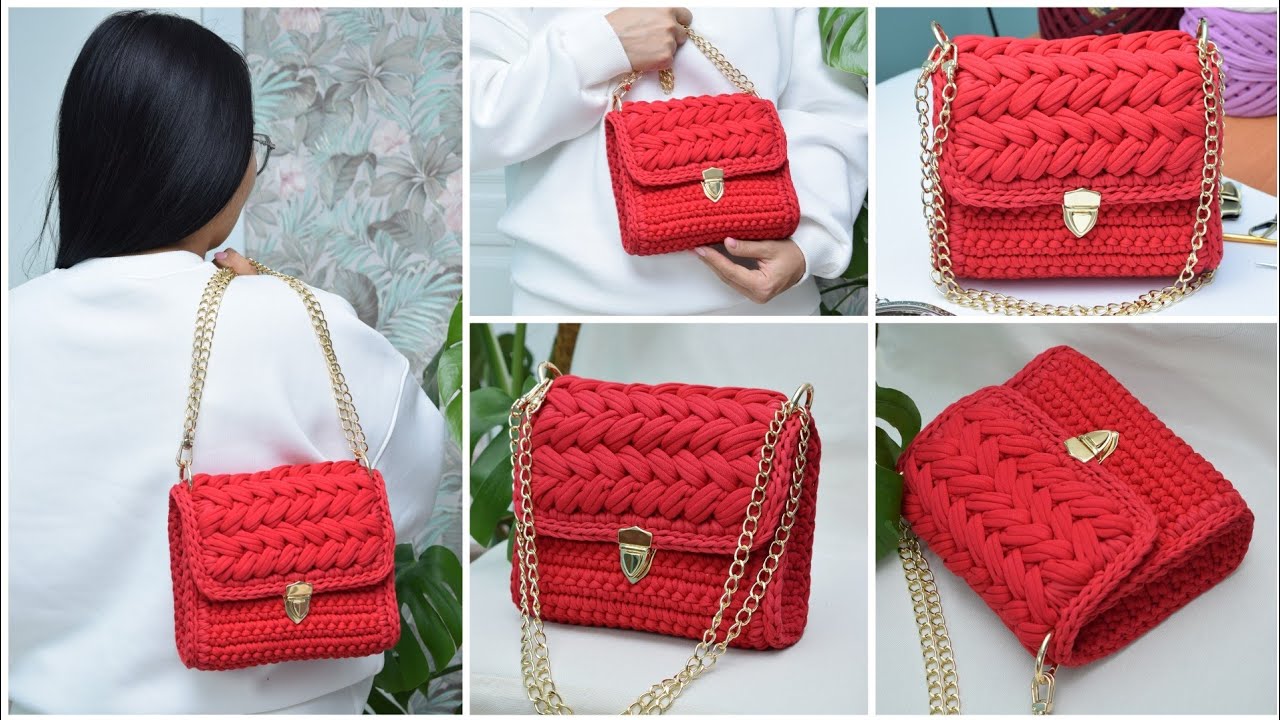
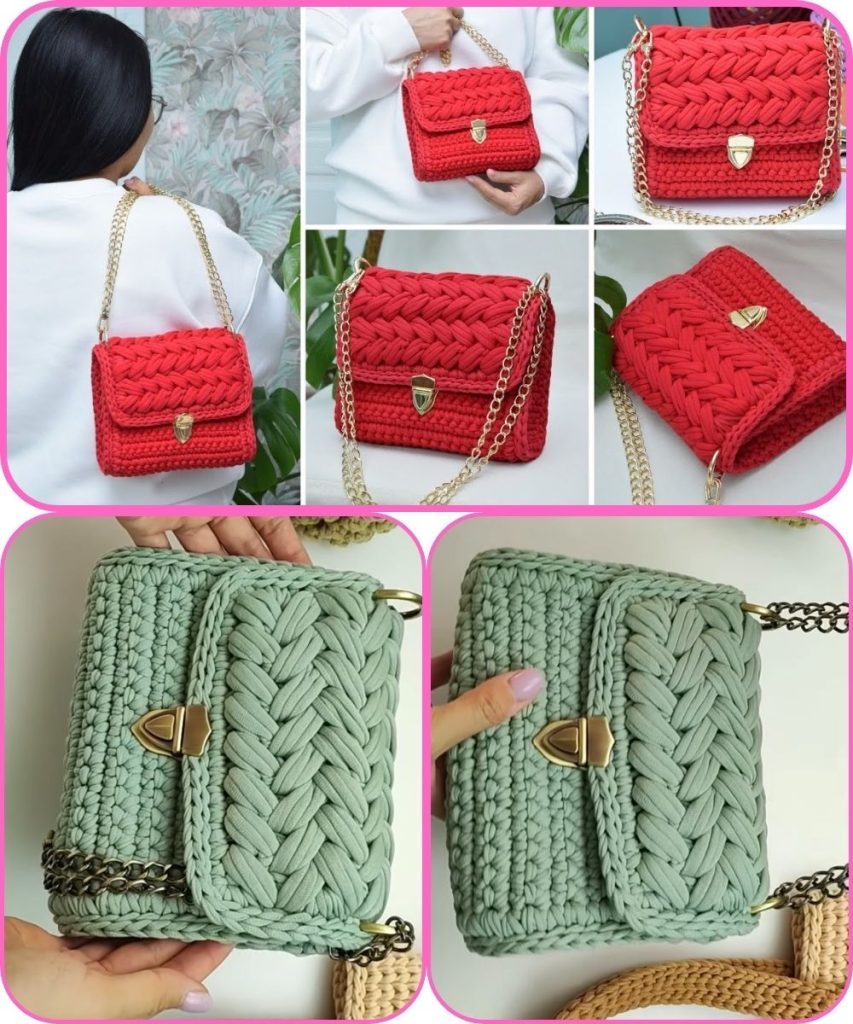
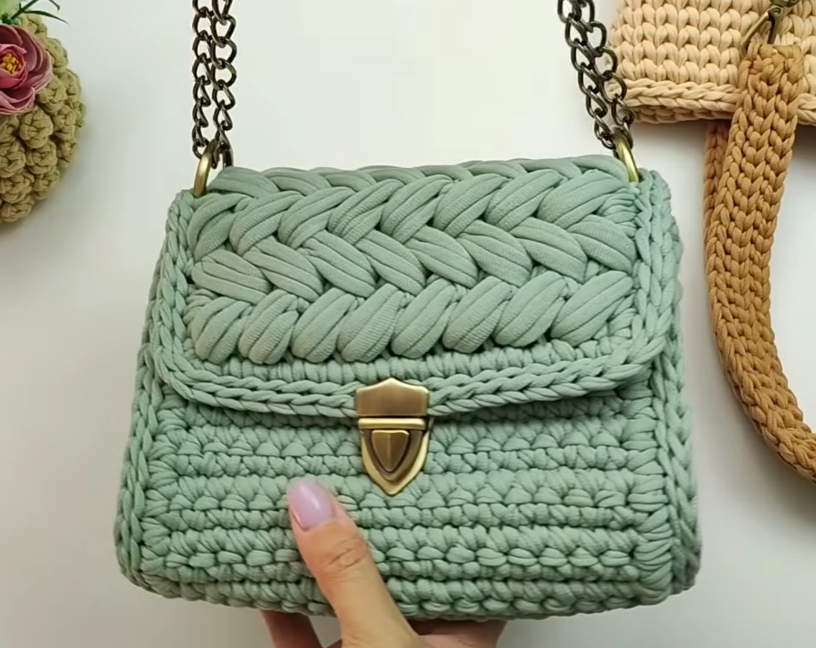
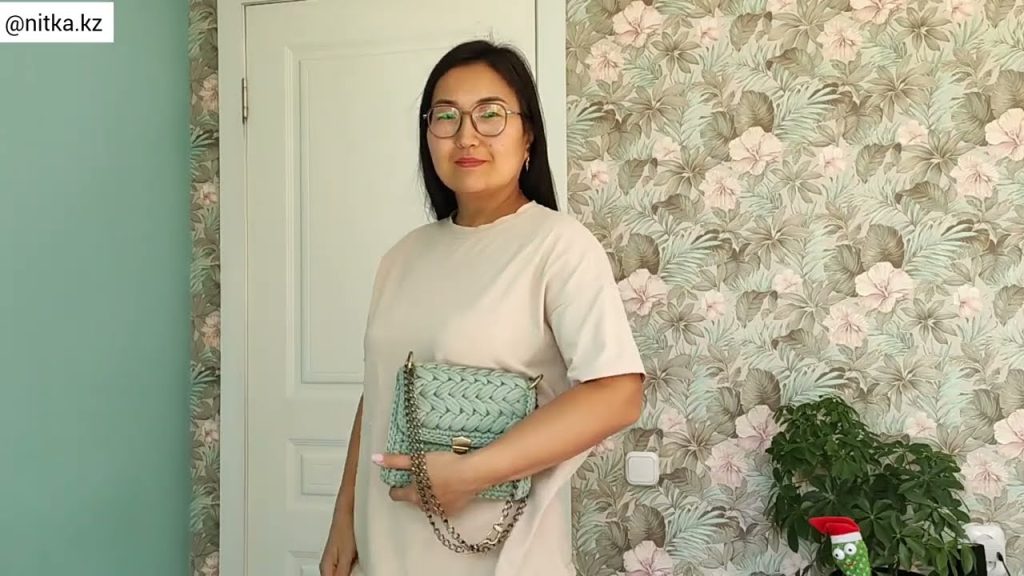
Visuals: Show the finished bag hanging on your shoulder or on a flat surface.
Audio / Voice-over:
“Hi everyone! Welcome back to my channel. Today, I’ll show you how to crochet this super cute and practical crossbody bag — and the best part is, you can make it with just one skein of yarn! This tutorial is perfect for beginners, and I’ll walk you through every step, from choosing yarn and hook size to assembling and adding the strap.”
🧵 MATERIALS YOU’LL NEED (0:45 – 1:30)
Visuals: Show each material as you mention it.
List:
- 1 skein of medium-weight (worsted) cotton yarn (approx. 100–150g / 180–200m)
- Crochet hook (size H/5 mm or as recommended on yarn label)
- Yarn needle
- Scissors
- Stitch markers (optional)
- Button or magnetic snap for closure (optional)
“Cotton yarn works great for this project since it gives your bag structure and durability.”
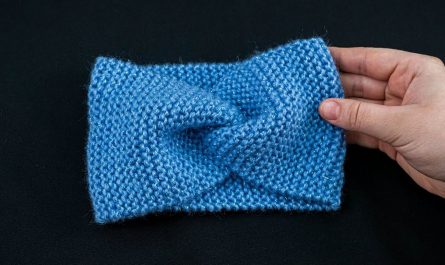
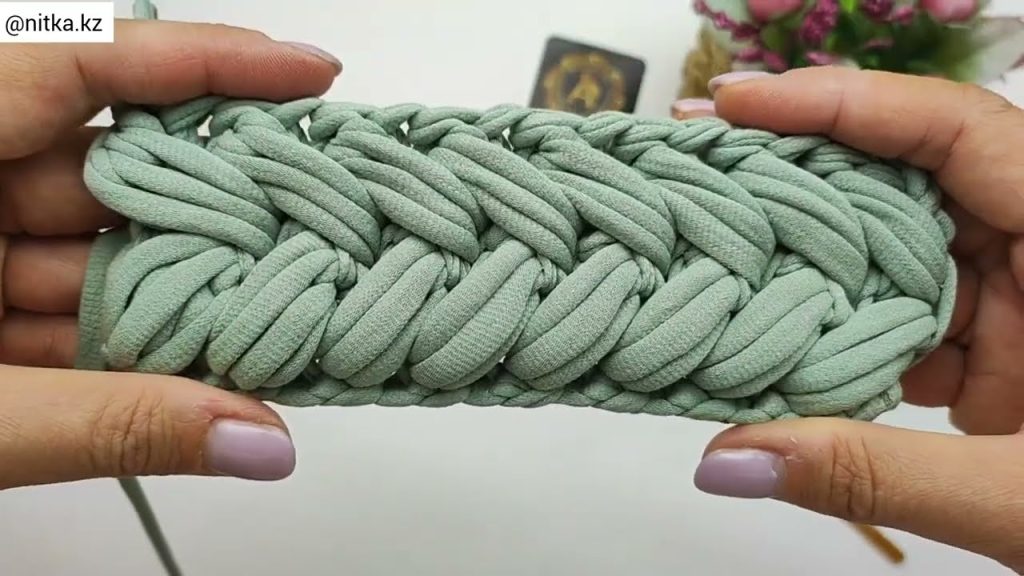
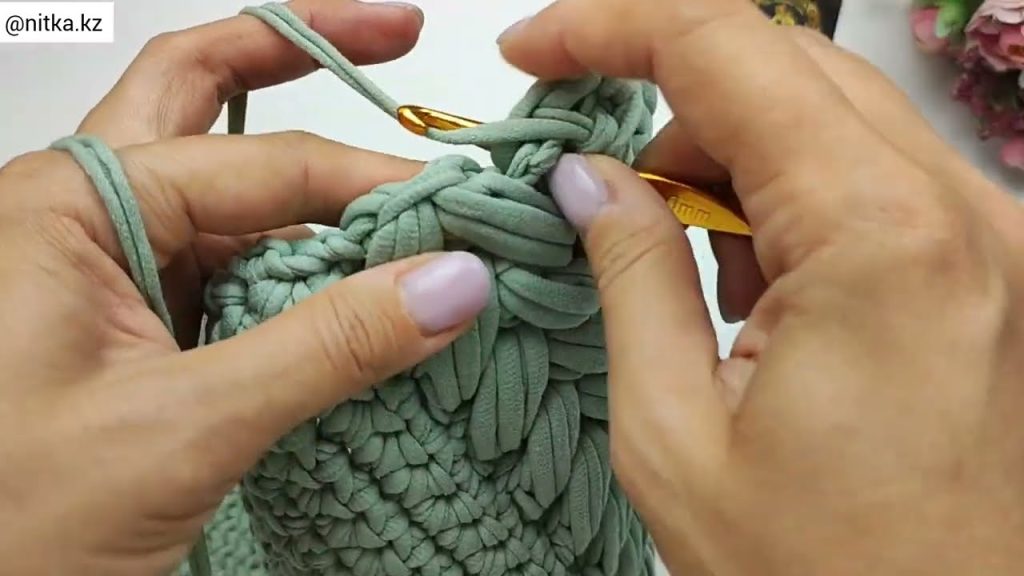
🪡 STEP 1: BASE OF THE BAG (1:30 – 4:00)
Visuals: Show hands crocheting.
Instructions:
- Start with a slip knot and chain 25 stitches (this will be the width of your bag).
- In the second chain from the hook, make 1 single crochet (sc).
- Continue across the row with single crochets (sc) — you should have 24 stitches.
- Chain 1 and turn your work.
- Continue crocheting sc across each row until your rectangle measures about 8 inches tall.
“This rectangle forms the body of your bag. You can make it wider or taller depending on your preference — just keep your stitches even.”
🪡 STEP 2: SHAPING THE BAG (4:00 – 6:30)
Visuals: Demonstrate folding and crocheting sides.
Instructions:
- Once you’ve finished the rectangle, fold it in half so that the short edges meet — this creates the bag shape.
- Use single crochet stitches to join the two sides together, working up from the bottom corners.
- When you reach the top, fasten off and weave in your ends.
“Now your bag has structure! The open side will be the top where we’ll add the strap next.”
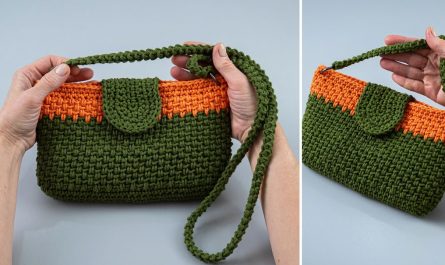
🧵 STEP 3: MAKING THE STRAP (6:30 – 8:30)
Visuals: Show measuring the strap against your body.
Instructions:
- Chain 120–140 stitches (depending on your height and how long you want the strap).
- Go back along the chain with single crochet stitches to make it sturdy.
- Attach one end of the strap to one top corner of the bag using your yarn needle and secure with tight knots or stitches.
- Repeat with the other end of the strap on the opposite corner.
“Make sure both sides are attached firmly since the strap will carry the weight of your bag.”

🪡 STEP 4: OPTIONAL — ADD A CLOSURE OR DECORATION (8:30 – 9:30)
Visuals: Show button or magnet clasp.
Instructions:
- For a button closure, sew a button on one side of the bag and crochet a small loop on the other side to fasten it.
- For a magnetic clasp, simply attach it to the inner top edges.
“You can also add tassels, beads, or a small patch for a personal touch.”
🎀 STEP 5: FINISHING TOUCHES (9:30 – 10:30)
Visuals: Show weaving in loose ends and displaying the final bag.
Instructions:
- Weave in all ends neatly with a yarn needle.
- Block your bag lightly if needed (use a damp cloth to shape it nicely).
- Try it on and adjust strap length if necessary.
💡 TIPS FOR BEGINNERS
- Keep your tension consistent so your bag shape stays even.
- Use a stitch marker at the start of each row if you’re new to counting stitches.
- If your yarn is too stretchy, use a smaller hook for a tighter fabric.
👜 FINAL REVEAL (10:30 – 11:00)
Visuals: Model the bag, show inside view, and spin it around.
Audio:
“And that’s it! You’ve just made your very own crossbody bag from a single skein of yarn! It’s lightweight, practical, and perfect for everyday use. If you found this tutorial helpful, don’t forget to like, subscribe, and share your creations with me in the comments. Happy crocheting!”
🧩 OPTIONAL VIDEO ADDITIONS
- On-screen text: Add stitch names (“Row 1: SC across,” “Fold and Join Sides,” etc.)
- Close-ups: Show hook insertion and yarn movement clearly for beginners.
- Background music: Gentle instrumental, not too loud.
- Chapters: Add timestamps in YouTube description for easy navigation.
Would you like me to write a full video script with dialogue and camera directions (e.g., what to say and what to show on screen per scene)? That would make it ready for filming.
Watch tutorial: