 by
by Absolutely! 🧶 Let’s go step-by-step through how to crochet a hat with a visor (also called a brimmed hat or newsboy cap) — perfect for beginners to intermediate crocheters.
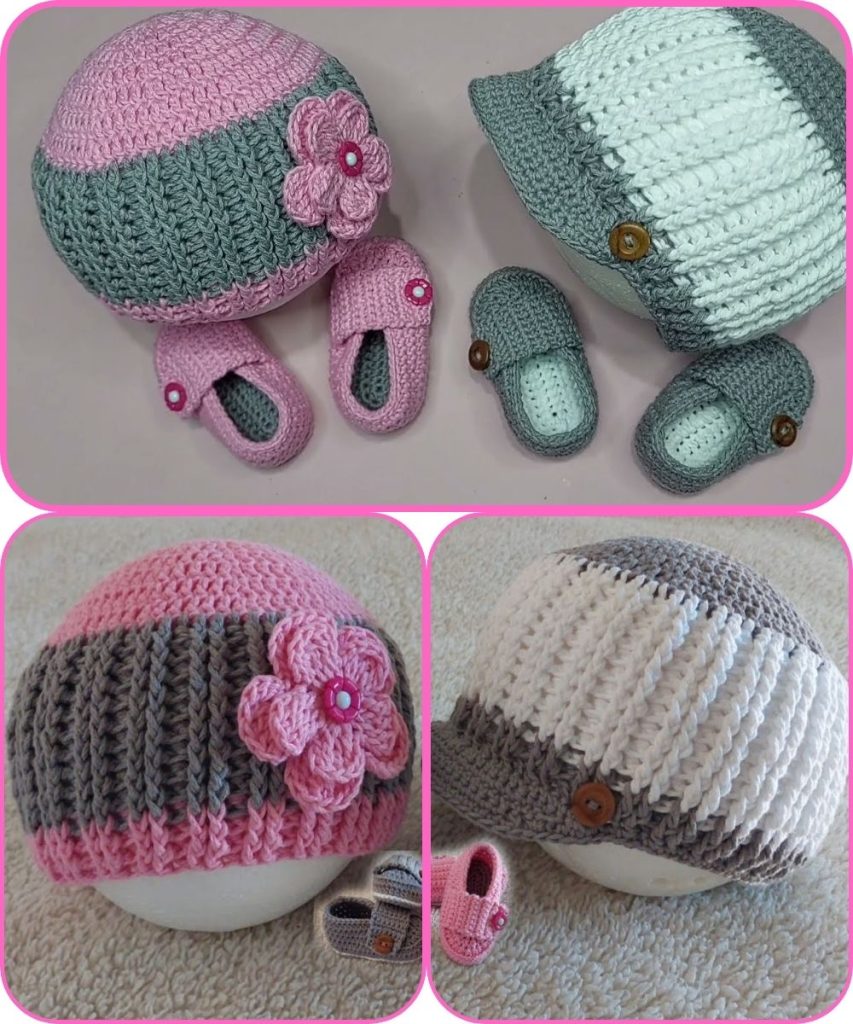
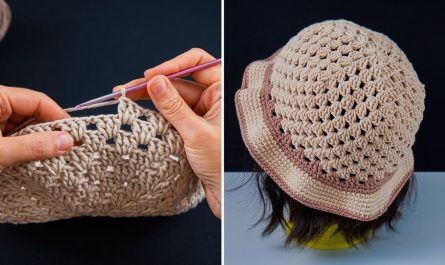
🧢 Crochet Hat with Visor — Step-by-Step Guide
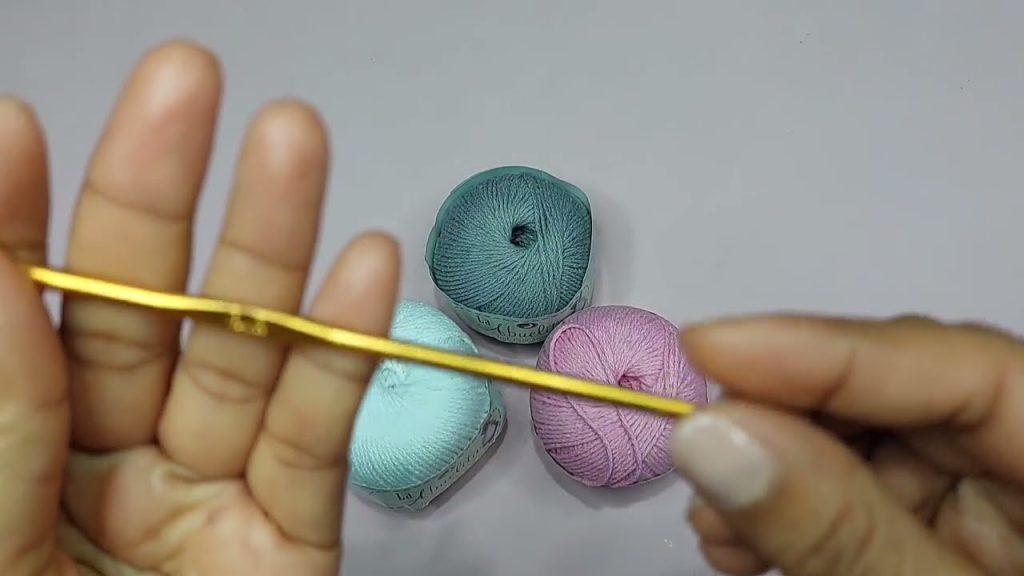
🧶 Materials Needed
- Yarn: Medium weight (Category 4) yarn — acrylic, cotton, or wool blend (approx. 150–200 yards)
- Hook: Size H/5.0mm or I/5.5mm (check your yarn label)
- Yarn needle: for weaving in ends
- Stitch markers: optional but useful
- Scissors
- Plastic canvas or interfacing (optional): to stiffen the visor
🪡 Abbreviations (US Terms)
| Abbreviation | Meaning |
|---|---|
| ch | chain |
| sl st | slip stitch |
| sc | single crochet |
| hdc | half double crochet |
| dc | double crochet |
| inc | increase (2 sts in one stitch) |
| dec | decrease (crochet two sts together) |
| st(s) | stitch(es) |
| rnd | round |
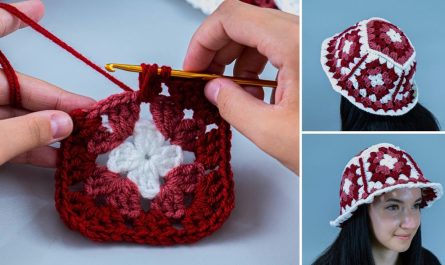
🧩 STEP 1: Make the Crown (Top of the Hat)
- Magic ring (or chain 4 and join with sl st to form a ring).
- Rnd 1: Ch 2 (counts as first dc), make 11 dc into ring. Join with sl st to top of ch-2. (12 dc)
- Rnd 2: Ch 2, dc in same st, 2 dc in each st around. Join. (24 dc)
- Rnd 3: Ch 2, 2 dc in next st, dc in next st — repeat around. Join. (36 dc)
- Rnd 4: Ch 2, 2 dc in next st, dc in next 2 sts — repeat around. Join. (48 dc)
- Rnd 5: Ch 2, 2 dc in next st, dc in next 3 sts — repeat around. Join. (60 dc)
🪄 Tip: Stop increasing when the crown’s diameter equals the measurement from your head circumference ÷ 3.14 (e.g., 22″ ÷ 3.14 ≈ 7″ diameter).
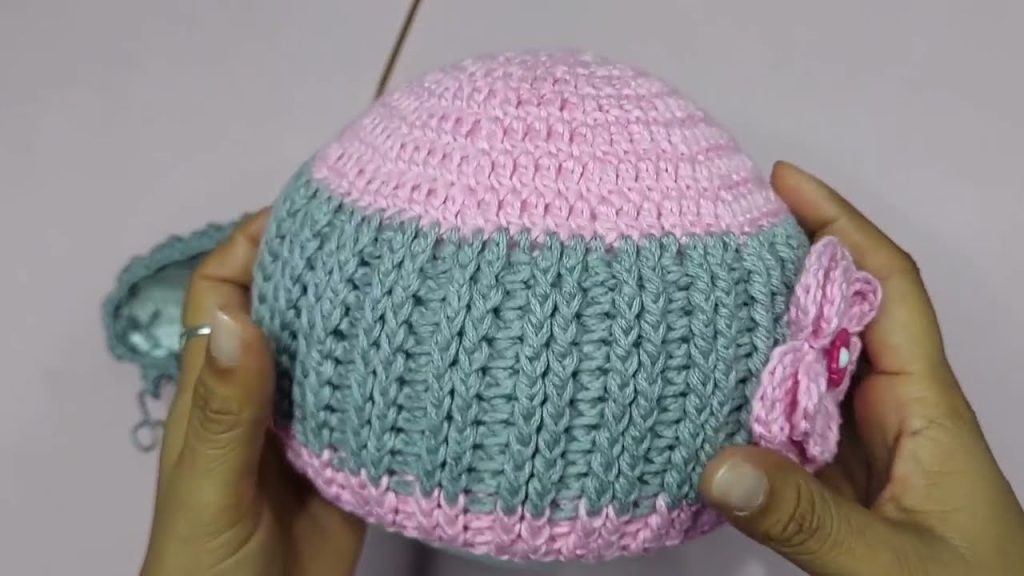
🧵 STEP 2: Form the Body (Sides of the Hat)
- Rnd 6–12: Ch 2, dc in each st around. Join with sl st at end of each round.
- Continue until the hat measures about 7–8 inches from crown to edge (or desired length).
💡 Optional: For a snugger fit, switch to hdc stitches for the last 1–2 rounds.
🧢 STEP 3: Add the Band (Rim Before the Visor)
- Rnd 13: Ch 1, work 1 sc in back loops only around. Join with sl st.
- This creates a neat ridge and gives structure to the brim area.
- Rnd 14: Ch 1, sc in each st around. Join.
You can add another sc round if you want a thicker band.
🧺 STEP 4: Crochet the Visor (Brim)
- Row 1: Ch 1, sc in next 20 sts (centered on front of hat). Turn.
- Row 2: Ch 1, sc in first 2 sts, hdc in next 16 sts, sc in last 2 sts. Turn.
- Row 3: Ch 1, sc in first 2 sts, hdc in next 14 sts, sc in last 2 sts. Turn.
- Row 4: Ch 1, sc in first 2 sts, hdc in next 12 sts, sc in last 2 sts. Turn.
- This gradual decrease gives the visor a nice curve.
🪄 Optional: To stiffen the visor, cut a matching shape from plastic canvas or interfacing and sandwich it inside when folding.
🧶 STEP 5: Finish the Visor Edge
- Fold the visor upward slightly (you can fold it in half to trap your stiffener).
- Sc evenly around the edge of the visor and around the entire hat rim to join it neatly.
- Sl st to join and fasten off.
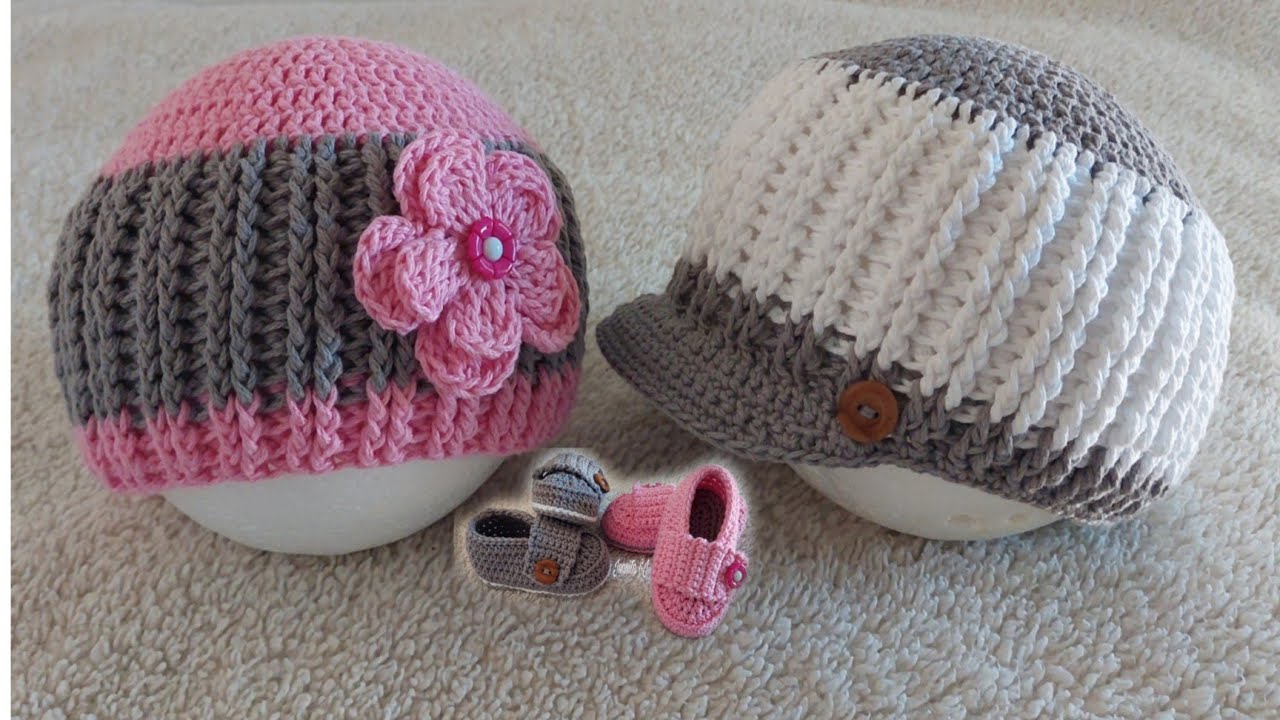
✨ STEP 6: Finishing Touches
- Weave in ends using a yarn needle.
- Block the hat lightly if needed (especially cotton yarn).
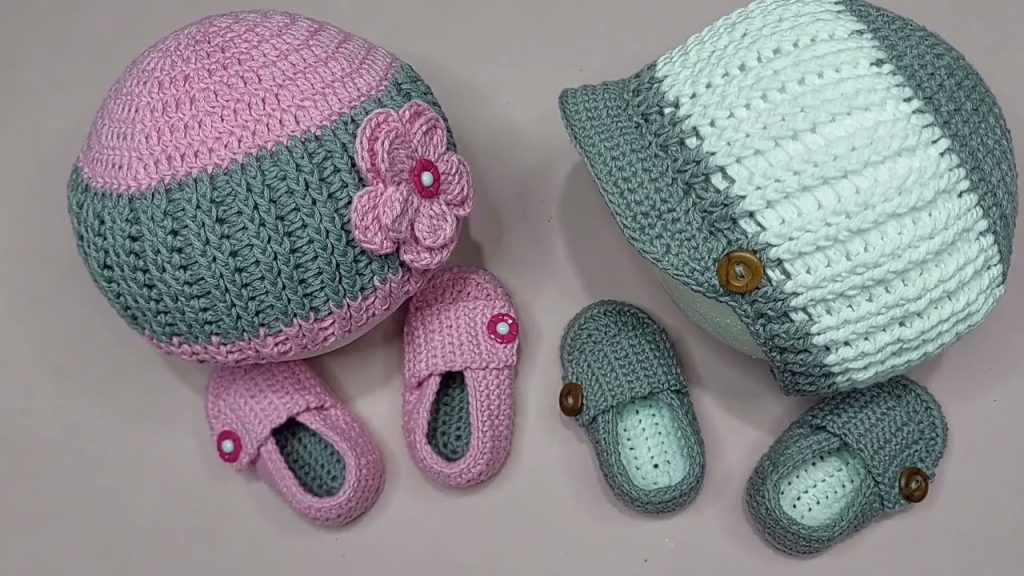
- Optional: Add buttons on the sides where the visor meets the hat, or a decorative band.
📏 Size Adjustments
| Size | Head Circumference | Crown Diameter | Hat Height |
|---|---|---|---|
| Child | 19–20″ | 6″ | 6.5″ |
| Teen/Small Adult | 21–22″ | 7″ | 7″ |
| Adult | 22–23″ | 7.5″ | 8″ |
To make larger/smaller sizes, adjust the number of increase rounds in the crown.
🪶 Optional Design Variations
- Use bulky yarn for a winter cap look.
- Add color stripes or textured stitches (e.g., front post dc for ribbing).
- Crochet a buttoned strap across the visor for a newsboy-style hat.
Would you like me to write this as a printable pattern (with row-by-row instructions and gauge) — or a photo/video-style tutorial script next?
Watch tutorial: