 by
by Here’s a clear, beginner-friendly, original guide you can use for a project, blog, or assignment on making an Easy Granny Square Crochet Bag 🧶
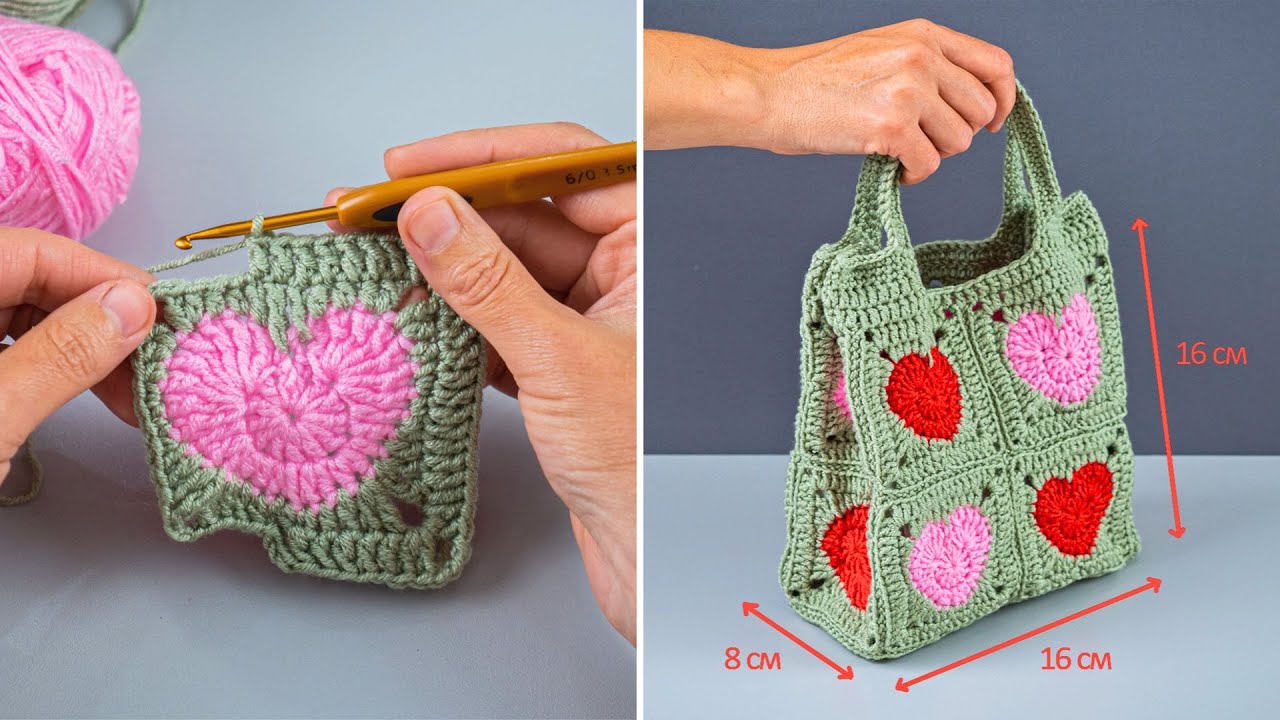
How to Make an Easy Granny Square Crochet Bag 🧶
A granny square crochet bag is a fun and simple project that’s perfect for beginners. It uses basic crochet stitches and can be customized with different colors, sizes, and handles. This bag is great for everyday use, shopping, or as a handmade gift.
Materials Needed
- Yarn: Medium-weight (worsted) yarn
- Cotton yarn works best for bags because it’s strong
- Use 2–3 colors or just one color
- Crochet hook: Size 4.5–5.5 mm (check yarn label)
- Scissors
- Yarn needle (for sewing pieces together)
- Stitch marker (optional)
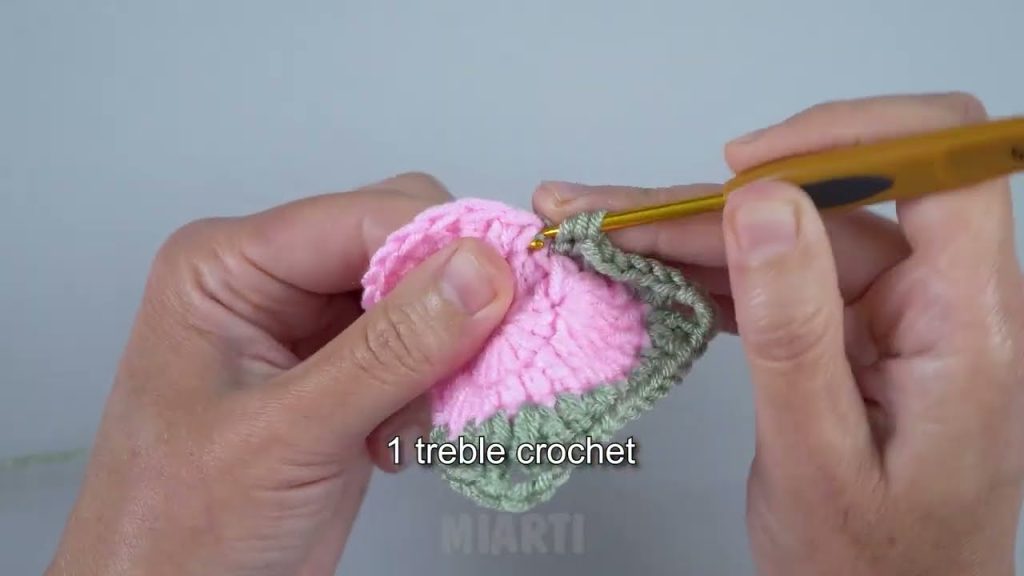
Basic Crochet Stitches Used
- Chain (ch)
- Slip stitch (sl st)
- Double crochet (dc)
- Magic ring or chain ring
These stitches are beginner-friendly and commonly used in granny squares.
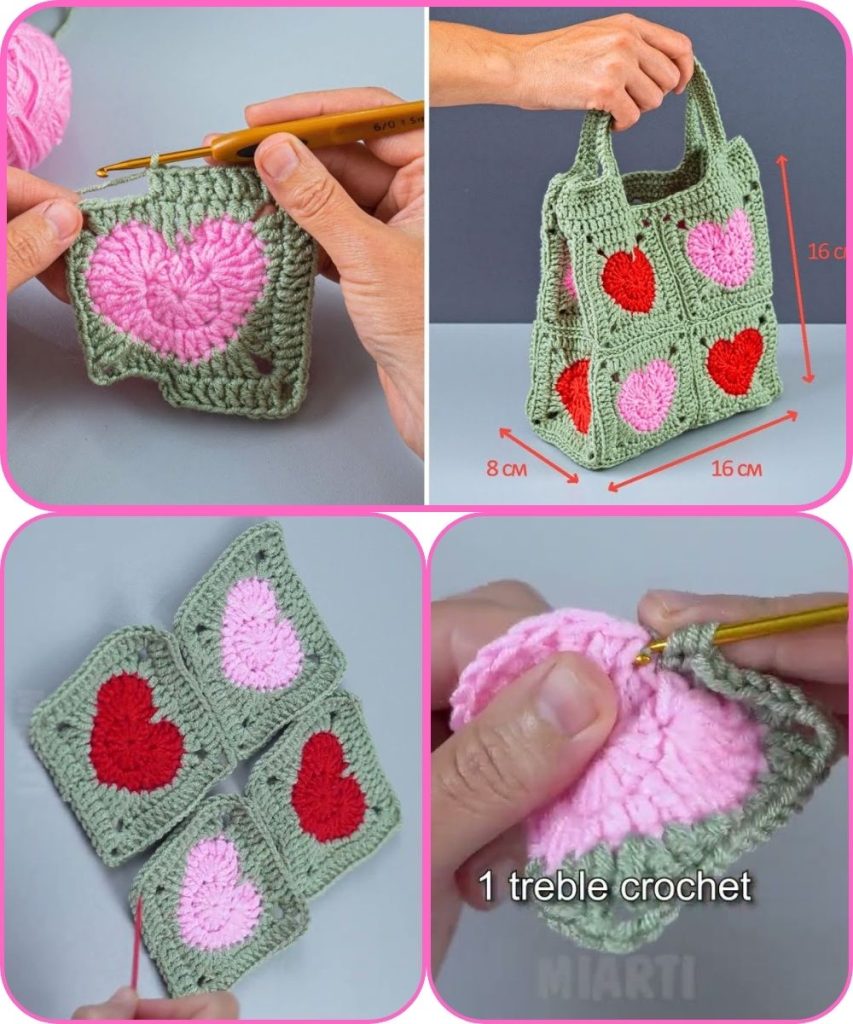
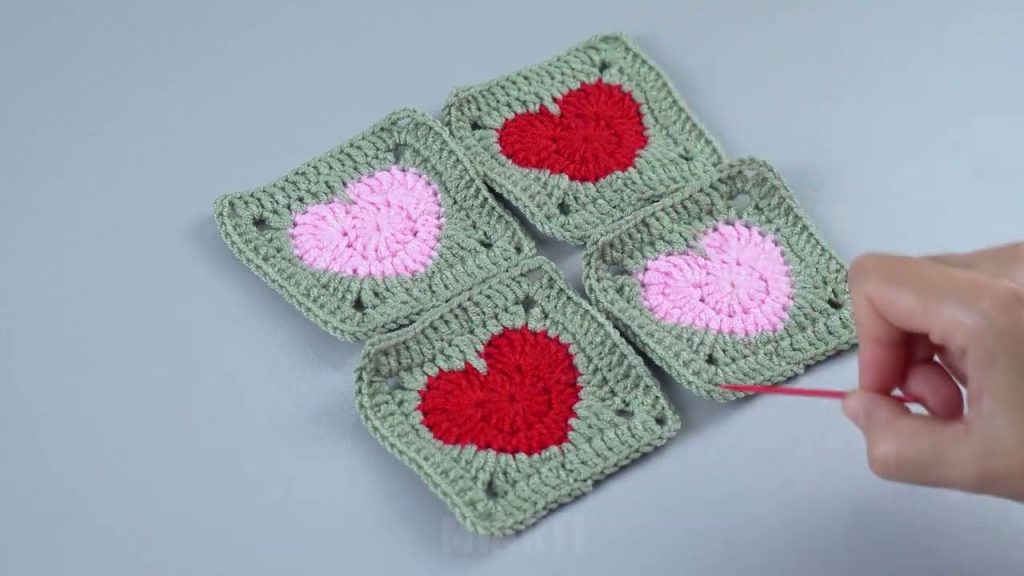
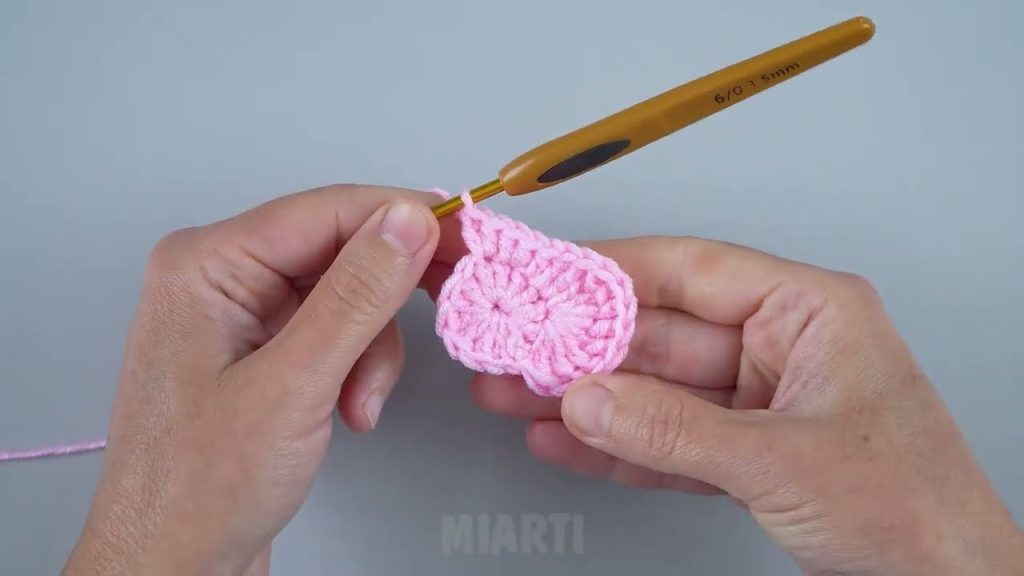
Step 1: Make the Granny Squares
You will need 8–13 granny squares, depending on how big you want your bag.
Basic Granny Square Instructions:
- Start with a magic ring (or chain 4 and join with a slip stitch).
- Chain 3 (counts as first double crochet).
- Work 2 double crochets, chain 2.
- Repeat 3 dc + ch 2 three more times (4 corners total).
- Join with a slip stitch.
- For the next round, crochet 3 dc into each space, chain 2 at the corners.
- Continue adding rounds until the square is your desired size (usually 10–12 cm).
Fasten off and weave in ends. Repeat for all squares.
Step 2: Arrange the Squares
Lay your squares flat to decide the bag shape:
- Front: 4 squares
- Back: 4 squares
- Sides/Bottom: 1–3 squares
This helps you visualize the final look before sewing.
Step 3: Join the Squares
Use a yarn needle or crochet slip stitches to join the squares:
- Place squares right sides together
- Sew along the edges using whip stitch or single crochet
- Join front, back, sides, and bottom
Leave the top open.
Step 4: Crochet the Top Edge
To make the bag neat and strong:
- Attach yarn to the top edge
- Crochet 1 round of single crochet evenly around
- Add another round if you want a thicker edge
Step 5: Make the Handles
Simple Crochet Handle:
- Attach yarn to one side of the bag
- Chain 40–60 stitches (depending on length)
- Attach to the opposite side with a slip stitch
- Single crochet back across the chain for strength
- Repeat for the second handle
You can also use:
- Braided yarn
- Wooden or metal bag handles
Step 6: Finish the Bag
- Weave in all loose ends
- Stretch the bag slightly to shape it
- Optional: Sew in fabric lining for extra strength
Tips for Beginners
- Use tight stitches so the bag doesn’t stretch too much
- Cotton yarn holds shape better than acrylic
- Practice one granny square before making many
- Keep all squares the same size
Customization Ideas
- Add a button or zipper
- Use bright or pastel colors
- Add a fabric lining
- Attach tassels or flowers
Final Result
You’ll have a cute, handmade granny square crochet bag that’s stylish, reusable, and unique 💖
If you want, I can also:
- Simplify this for a school project
- Turn it into a step-by-step pattern
- Help with pictures or diagrams
- Adjust it for absolute beginners
Watch tutorial: