by
by Absolutely! Here’s a detailed, step-by-step guide on how to make an amazing crochet shoulder bag, including materials, stitches, and helpful tips to make it stylish and durable.

🧶 How to Make an Amazing Crochet Shoulder Bag (Free Pattern & Guide)
🌸 Overview
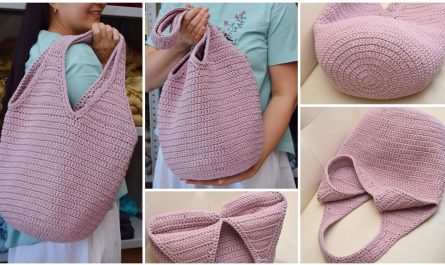
This crochet shoulder bag combines style, practicality, and creativity. It’s perfect for beginners to intermediate crocheters who want a trendy accessory that’s fully customizable in size, color, and texture.
You’ll learn how to create the base, body, straps, and finishing details, including lining and closures if you want to add them.
✂️ Materials You’ll Need
| Material | Description / Recommendation |
|---|---|
| Yarn | Worsted weight (medium #4) cotton or acrylic yarn (approx. 300–400g) — cotton is best for structure |
| Hook | 4.0 mm (G) or 4.5 mm crochet hook |
| Scissors | For cutting yarn |
| Yarn Needle | For weaving in ends |
| Stitch Markers | Optional, helps mark rounds or stitch counts |
| Lining fabric (optional) | Cotton fabric to line inside bag for durability |
| Magnetic snap or button | Optional closure |
🧵 Crochet Stitches Used
- ch – chain
- sc – single crochet
- hdc – half double crochet
- dc – double crochet
- sl st – slip stitch
- inc – increase (2 stitches in one stitch)
- dec – decrease (stitch two together)
👜 Pattern Instructions
1. Make the Base
You can make either a rectangular or oval base. Here’s the oval base method (common for tote-style bags).
Round 1:
- Ch 31.
- Sc in 2nd ch from hook and in next 28 ch.
- 3 sc in last ch (this curves the corner).
- Now crochet on the opposite side of the chain: sc in next 28 ch, 2 sc in the same as the first sc (to mirror the other end).
- Sl st to join. (Total: 62 sts)
Round 2:
- Ch 1, sc in each stitch around, increasing at both ends (add 2 sc in each corner).
- Continue increasing evenly every round until your base is the desired width.
👉 Tip: For a medium shoulder bag, make about 6–8 rounds. The base should measure roughly 10–12 inches long.
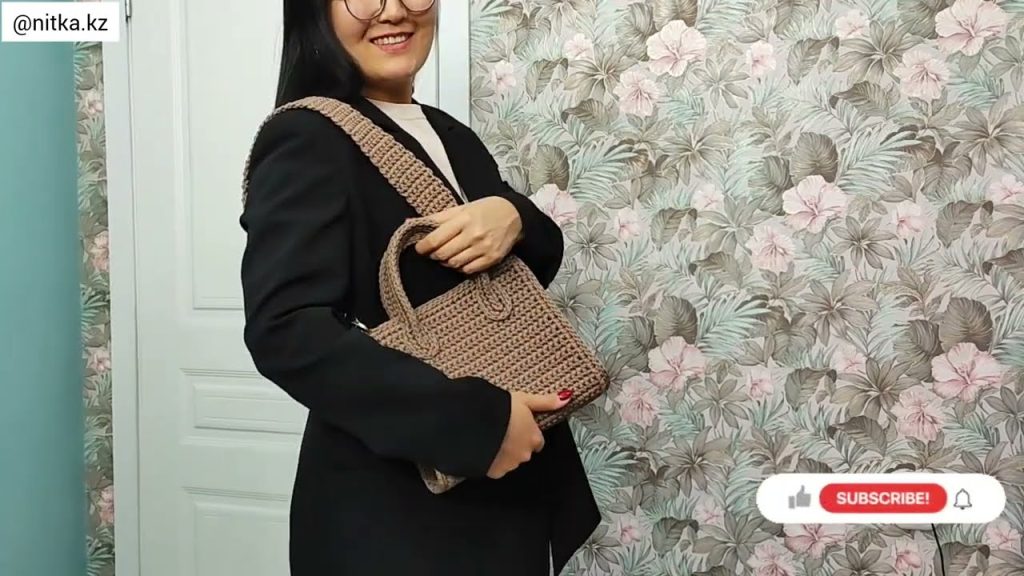
2. Build the Body
- From here, stop increasing and work 1 sc in each stitch around for 20–25 rounds (or until desired height).
- For added texture, alternate between 1 round of sc and 1 round of hdc.
Optional: Try a granny stripe or moss stitch pattern for color and texture variety.
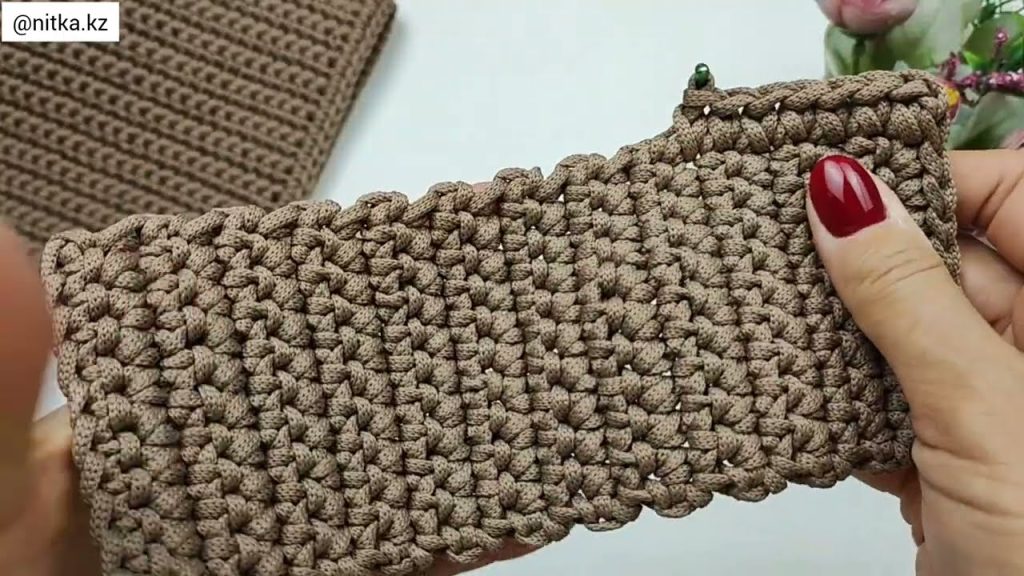
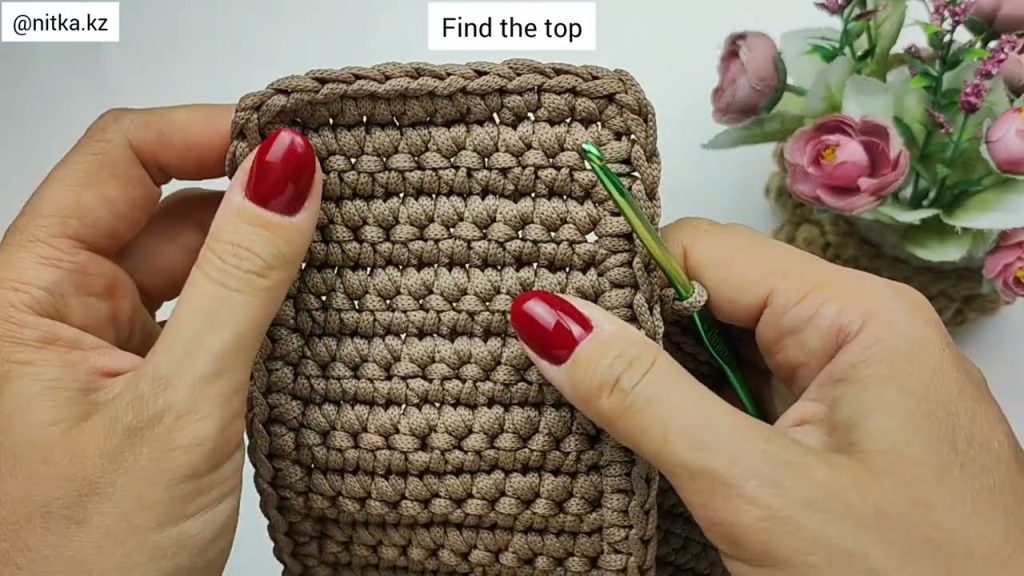
3. Add the Top Edge
To make the edge firm and neat:
- Work 1 round of sc through the back loop only.
- Then add 1 round of sl st all around to reinforce the rim.
4. Crochet the Strap
You can choose from two options:
A. Simple Strap
- Ch 100 (or your preferred length).
- Hdc in 2nd ch from hook and across.
- Continue 2–3 rows for thickness.
- Attach each end securely to the inside of the bag using your yarn needle.
B. Flat Woven-Look Strap
- Make a foundation chain to your desired strap length.
- Work 5–6 sc wide rows until strap reaches your desired width.
- Sew each end to the bag using a whip stitch.
👉 Tip: For extra strength, crochet around a cotton cord or rope.
5. Optional: Lining and Closure
- Cut a piece of fabric slightly larger than your bag.
- Sew the lining and attach it to the inside using a needle and thread.
- Add a magnetic snap, zipper, or button loop closure.
6. Finishing Touches
- Weave in all loose ends with a yarn needle.
- Add tassels, pom-poms, or crochet flowers for decoration.
- Block your bag lightly with steam to shape it.
🌈 Design Ideas
| Style | Yarn Suggestion | Colors | Extra Touch |
|---|---|---|---|
| Boho Chic | Cotton | Earth tones + fringe | Add beads or tassels |
| Minimalist | Cotton blend | Neutrals (cream, grey) | Leather strap |
| Summer Bag | Raffia or jute | Bright or pastel shades | Wooden handle |
| Chunky Style | T-shirt yarn | Bold colors | Big stitches for texture |
🪡 Tips for Success
- Use tight stitches to avoid a saggy bag.
- Reinforce corners and strap attachments.
- Mix stitch textures for visual interest.
- Add a lining if you plan to carry heavier items.
Would you like me to write this as a printable crochet pattern (with row-by-row stitch counts and chart)?
That would make it easier to follow and share.
Watch tutorial: