 by
by Absolutely! 😊
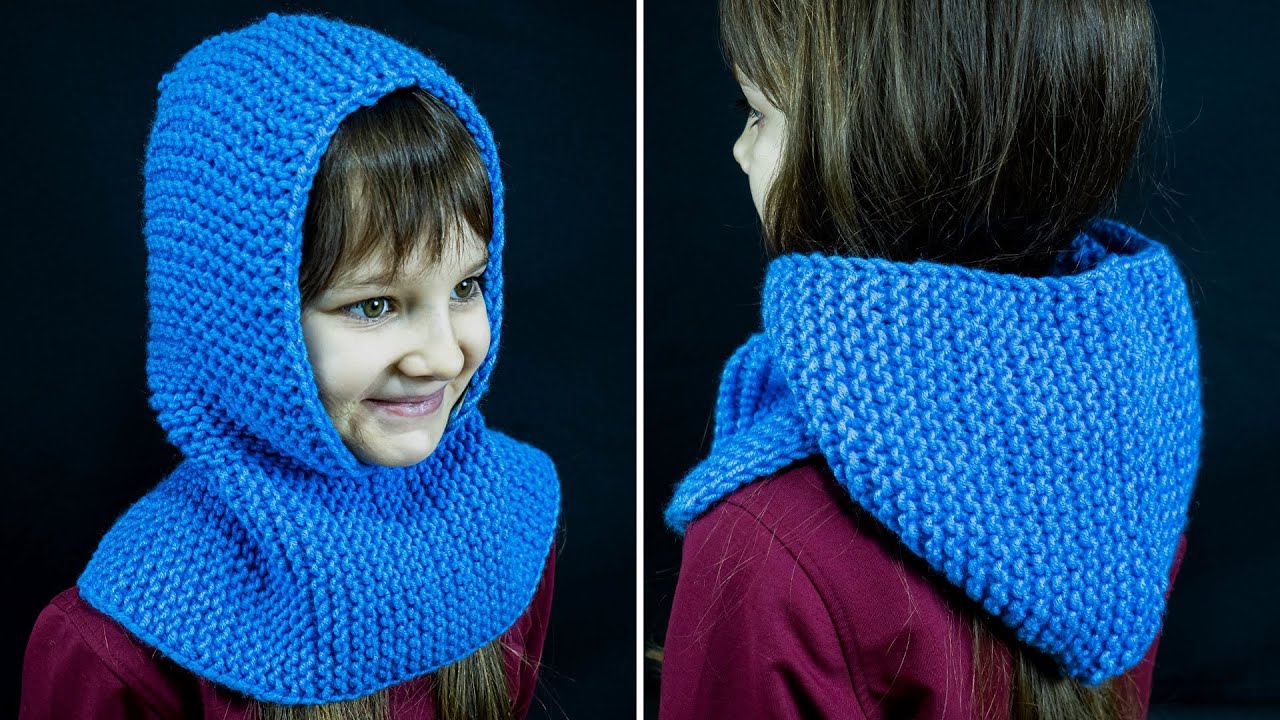
Here’s a detailed, beginner-friendly guide on how to make a warm knitted hood (or snood) using just 2 straight knitting needles — no circulars, no fancy stitches. It’s cozy, stylish, and super easy to make even if you’ve just started knitting.
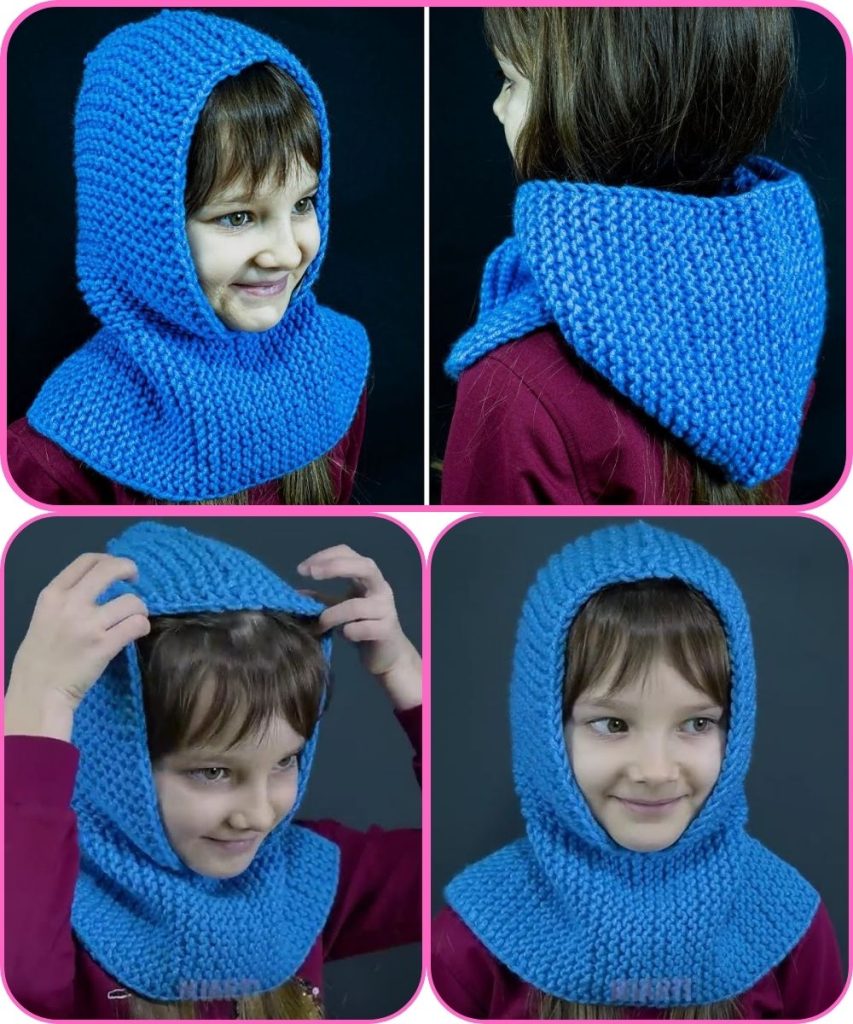
🧶 How to Make a Warm Hood/Snood on 2 Knitting Needles (Beginner Friendly)
✨ What You’ll Need:
- Yarn:
Bulky or super bulky weight yarn (approx. 200–250 g for adult size).
Choose something soft and warm — acrylic, wool blend, or chunky alpaca are great. - Knitting needles:
Size 8–10 mm (US 11–15) straight needles — suitable for your yarn weight. - Tapestry (darning) needle: for sewing seams.
- Scissors
- Measuring tape
🪡 Step 1: Measure and Cast On
You’ll knit a rectangular piece that will fold into a hood.
Approximate measurements for adults:
- Width (around your face + extra for looseness): about 18–20 inches (46–51 cm)
- Height (from neck to top of head): about 24 inches (61 cm)
To get that size:
- Make a small gauge swatch — see how many stitches you get per inch.
- Multiply that by your target width (around 18–20 inches).
- Example: If you get 2 stitches per inch → 2 × 20 = 40 stitches to cast on.
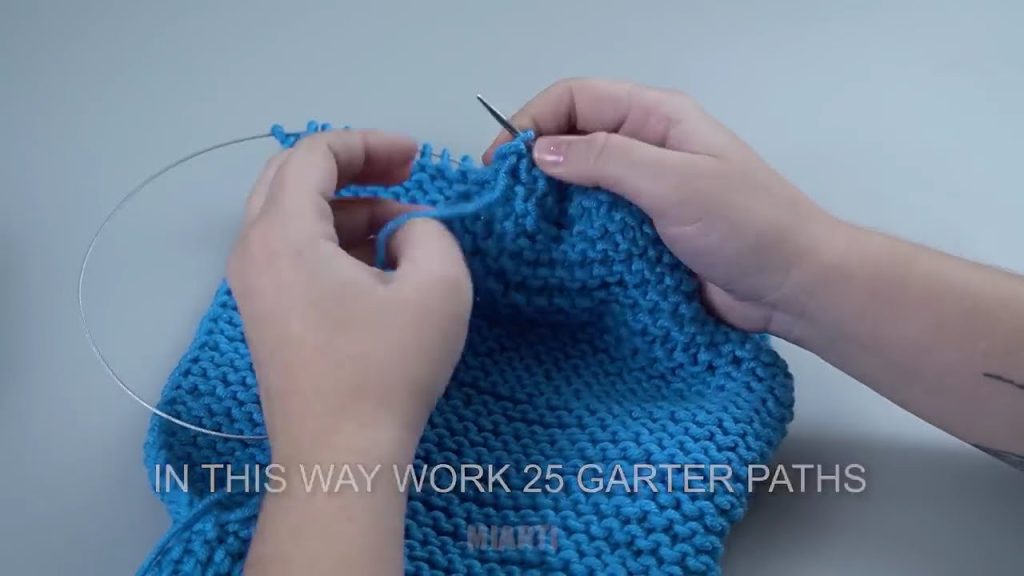
🧵 Step 2: Knit the Main Rectangle
Now knit straight until the piece measures about 24 inches long.
You can choose any of these simple stitches:
Option 1: Garter Stitch (Easiest)
- Knit every row.
- Result: Stretchy, thick, and warm — no curling edges.
Option 2: Rib Stitch (A bit more fitted)
- Row 1: K2, P2 across.
- Row 2: Repeat K2, P2.
- Gives a stretchy, snug texture.
Option 3: Stockinette Stitch (Smooth look)
- Row 1: Knit across.
- Row 2: Purl across.
- Edges may curl — so you can add 4 garter-stitch stitches at each edge for stability.
🧵 Step 3: Bind Off
When your rectangle measures about 24 inches, bind off loosely so the edge isn’t tight.
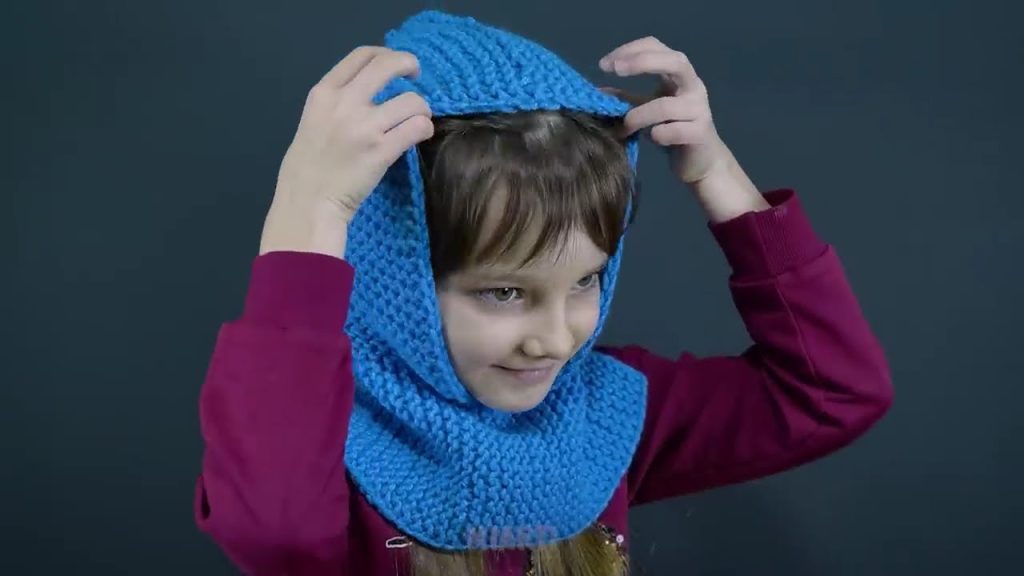
🧶 Step 4: Assemble the Hood
Now, let’s turn your rectangle into a hood!
- Lay the piece flat — right side (the “pretty” side) facing up.
- Fold it in half widthwise (short edge to short edge), so it looks like a square.
- Sew the top seam (from the folded edge toward the back) — this will form the top of your hood.
- Use a mattress stitch or backstitch with your yarn tail.
Now you have a basic hood shape!
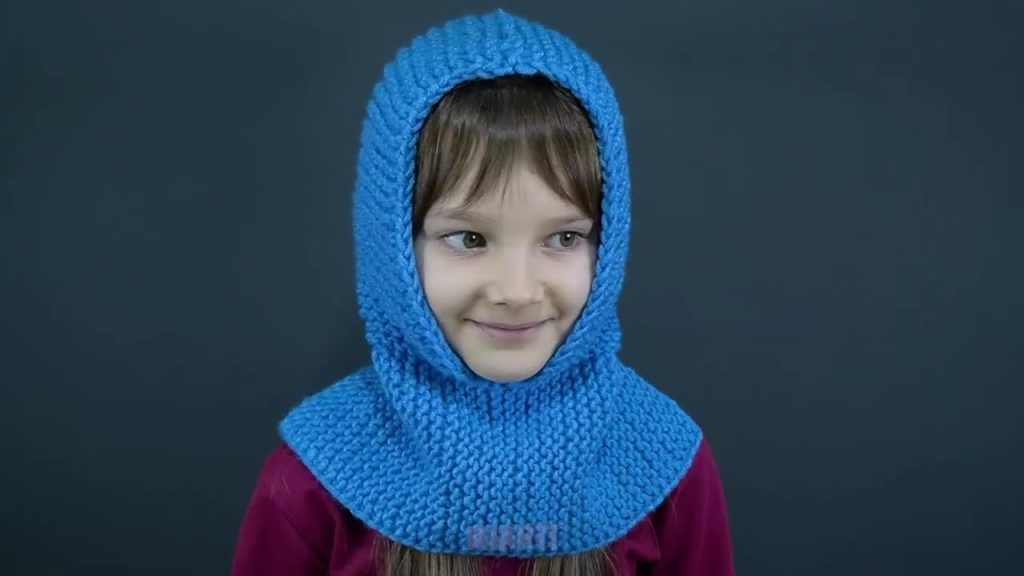
🧣 Step 5: Add the Snood (Neck Warmer) Option
If you want it to sit snugly around your neck (like a hooded cowl):
- Pick up stitches along the bottom edge of the hood (the open side).
- Knit 5–8 inches down in rib stitch (K2, P2) or garter stitch.
- Bind off loosely.
This makes a cozy, stretchy snood that stays on without needing a scarf.
🎀 Optional: Add Finishing Touches
- Drawstring or ties: Thread a cord or i-cord through the front edge.
- Pom-poms or faux fur trim: Add to the top corners.
- Decorative edge: Crochet or picot bind-off around the face opening.
🧤 Easy Variations
- Kids’ version: Cast on fewer stitches (around 30–35) and knit to 18–20 inches.
- Extra thick winter version: Use two strands of yarn held together.
- Striped snood: Alternate colors every 6–8 rows for a fun look.
❤️ Summary
| Step | Action | Result |
|---|---|---|
| 1 | Cast on stitches for 18–20″ width | Start your base |
| 2 | Knit 24″ rectangle | Main hood fabric |
| 3 | Bind off loosely | Ready to assemble |
| 4 | Fold and sew top edge | Creates hood shape |
| 5 | (Optional) Knit extra rib for snood | Warmer, neck-covering fit |
Would you like me to include a simple pattern chart (row-by-row instructions) or a visual guide (illustrations or diagrams showing folding and sewing)?
That can make it even easier to follow for beginners.
Watch tutorial: