 by
by Absolutely! Here’s a detailed, beginner-friendly master class on how to crochet a crossbody bag in about 2 hours. This project is simple, stylish, and quick—perfect if you’re new to crochet or want a satisfying weekend project.
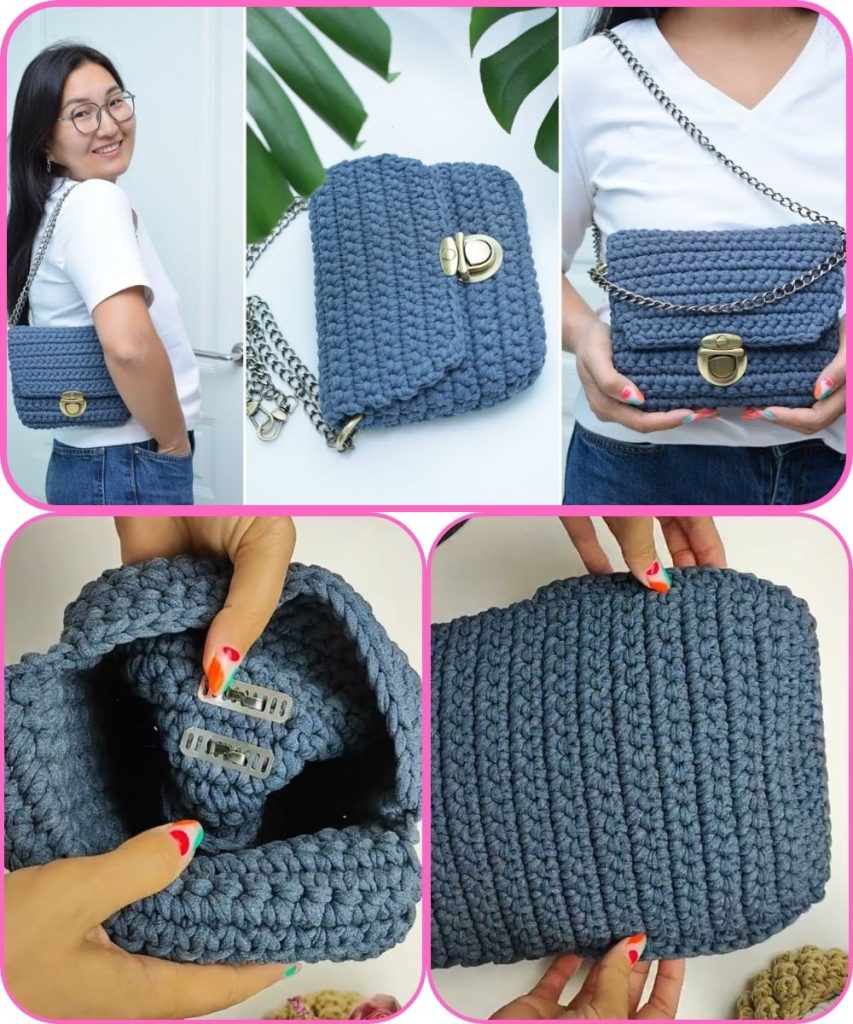
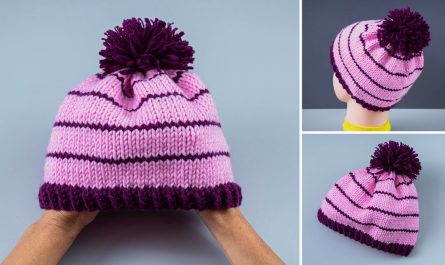
🧶 How to Crochet a Crossbody Bag in 2 Hours
Skill level: Beginner
Time required: About 2 hours
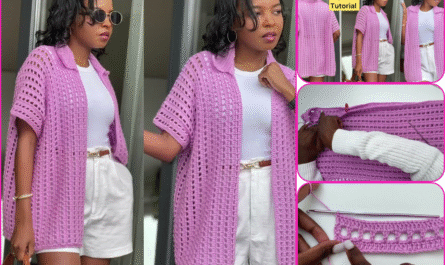
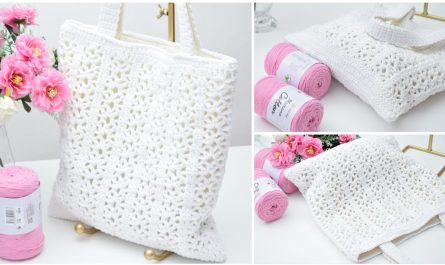
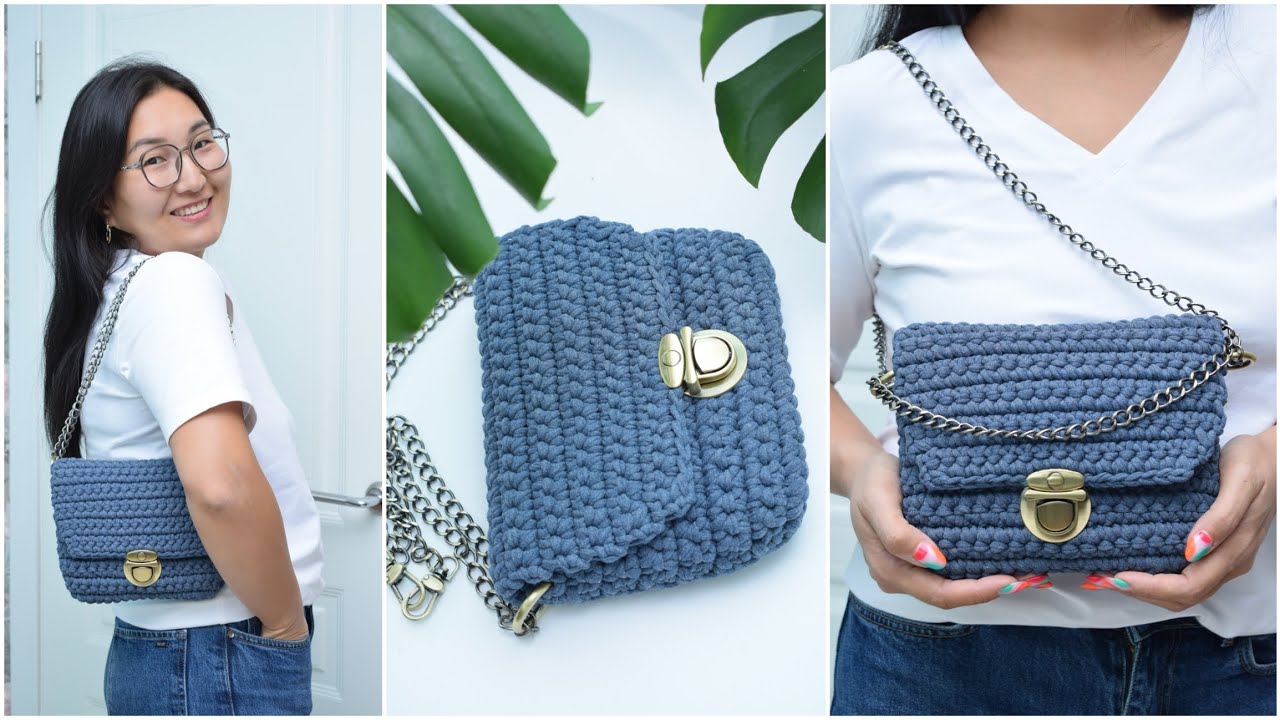
Bag style: Simple rectangular crossbody bag with strap
Finished size: ~8 x 6 inches (adjustable)
🪡 Materials Needed
| Item | Description |
|---|---|
| Yarn | Medium weight (Category 4) cotton or acrylic yarn – about 100g. Choose a sturdy yarn so your bag keeps its shape. |
| Crochet hook | Size 4.5mm (US 7) or 5mm (H) hook – match to yarn label. |
| Yarn needle | For weaving in ends and sewing the strap. |
| Scissors | For trimming yarn. |
| Optional | Magnetic clasp, button, or zipper for closure. |
✨ Step-by-Step Instructions
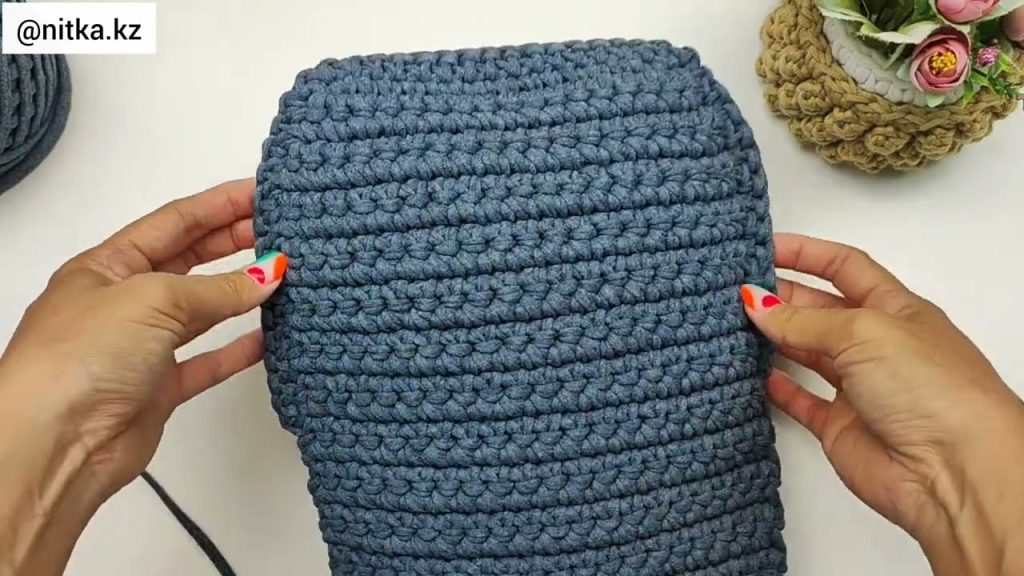
Step 1: Make the Base (Bag Body)
- Start with a slip knot and chain (ch) 26 (or the width you want for your bag).
- This will be around 8 inches wide.
- In the second chain from the hook, make 1 single crochet (sc).
- Continue making sc across the chain (you’ll have 25 stitches).
- Chain 1, turn your work.
- Row 2-40: Continue working 1 sc in each stitch across, chaining 1 and turning at the end of each row.
- Adjust the number of rows to make your bag taller or shorter.
- You should end up with a rectangle roughly 8 x 12 inches.
✅ Tip: Keep your tension even. A firm fabric makes the bag sturdy.
Step 2: Fold and Join the Sides
- Fold the rectangle in half—short ends together.
- The fold forms the bottom of the bag.
- Use slip stitches (sl st) or single crochet to sew up both sides.
- Work from bottom to top on each side.
- When both sides are joined, fasten off and weave in the ends.
✅ Tip: You can also use a yarn needle to whip stitch the sides for a neater seam.
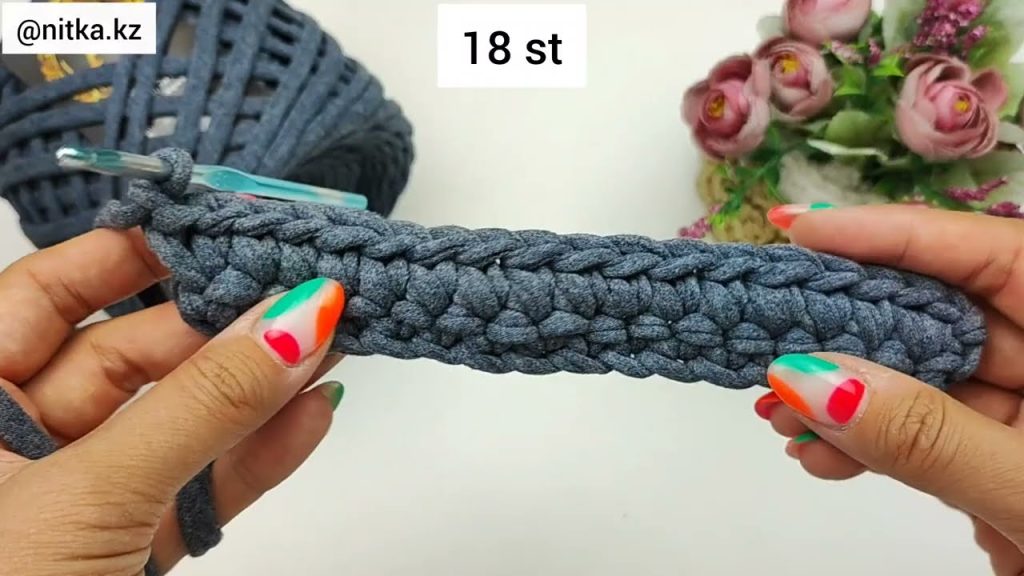
Step 3: Make the Strap
- Chain 120–140 (depending on how long you want the strap).
- 120 for a shoulder bag, 140–150 for a crossbody fit.
- Single crochet in the second chain from the hook, and continue across.
- When you reach the end, fasten off and leave a long tail for sewing.
- Attach each end of the strap to the inside top corners of the bag using the yarn needle. Sew securely with several stitches.
✅ Tip: For extra strength, double up the yarn when making the strap.
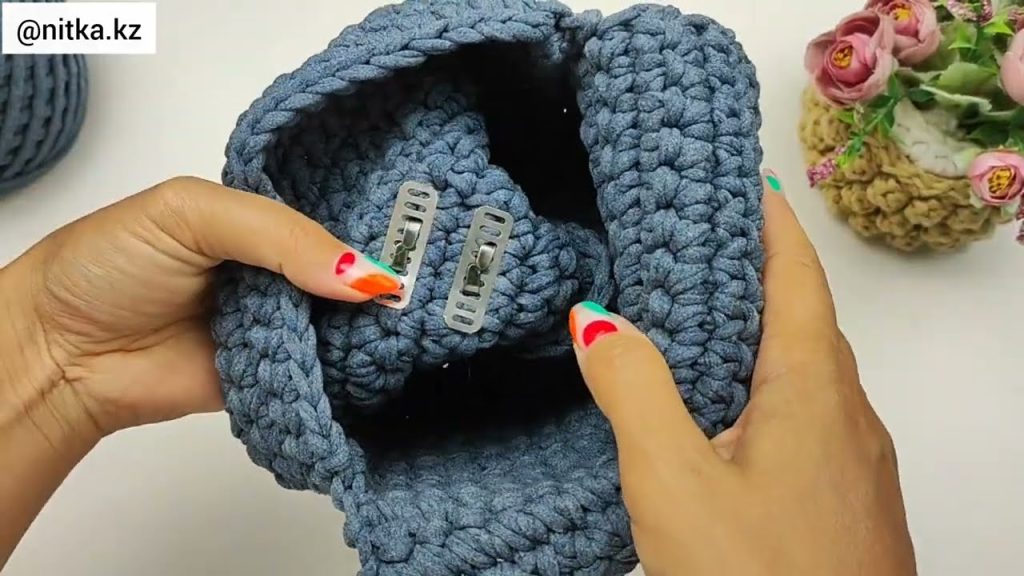
Step 4: Optional Closure
You can finish your bag in a few ways:
- Magnetic snap: Sew it on the inside top edges.
- Button & loop: Crochet a small chain loop and sew on a matching button.
- Zipper: Hand sew a zipper along the top opening for a polished finish.
Step 5: Finishing Touches
- Weave in all loose ends using your yarn needle.
- Add a tassel, pom-pom, or crochet flower for decoration if you like.
- Lightly steam block the bag to even out stitches and shape it nicely.
💡 Optional Variations
- Color stripes: Switch yarn colors every few rows for a striped look.
- Texture: Try half double crochet (hdc) or double crochet (dc) stitches for a looser texture.
- Lining: Hand sew a fabric lining inside for a professional touch.
🧵 Summary (Quick Reference)
| Step | Task | Time |
|---|---|---|
| 1 | Crochet base rectangle | 60 min |
| 2 | Fold & seam sides | 20 min |
| 3 | Crochet & attach strap | 30 min |
| 4 | Add closure & finishing | 10 min |
| Total | ≈ 2 hours |
❤️ Why This Project Is Great for Beginners
- Uses only one basic stitch (single crochet).
- Minimal shaping—just a rectangle.
- Fast results with everyday materials.
- Teaches you joining, finishing, and strap-making.
Watch tutorial: