by
by Absolutely! Let’s go step by step on how to make a crochet beret. I’ll include all the details, including materials, stitches, and shaping tips. I’ll assume a beginner-to-intermediate level and provide clear instructions.

Materials Needed
- Yarn – Worsted weight (medium, 4) yarn works well. You can use any color you like.
- Crochet hook – Size recommended on your yarn label (usually 5mm / H-8 for worsted weight).
- Scissors – For cutting yarn.
- Tapestry needle – For weaving in ends.
- Stitch marker – Optional but helpful for marking rounds.
Basic Crochet Stitches Used
- Chain (ch)
- Slip stitch (sl st)
- Single crochet (sc)
- Half double crochet (hdc)
- Double crochet (dc)
Step-by-Step Instructions
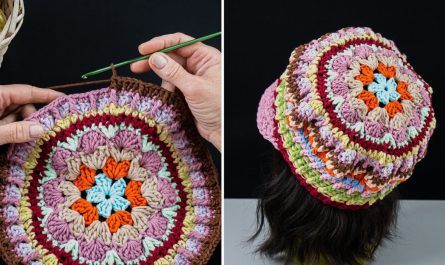
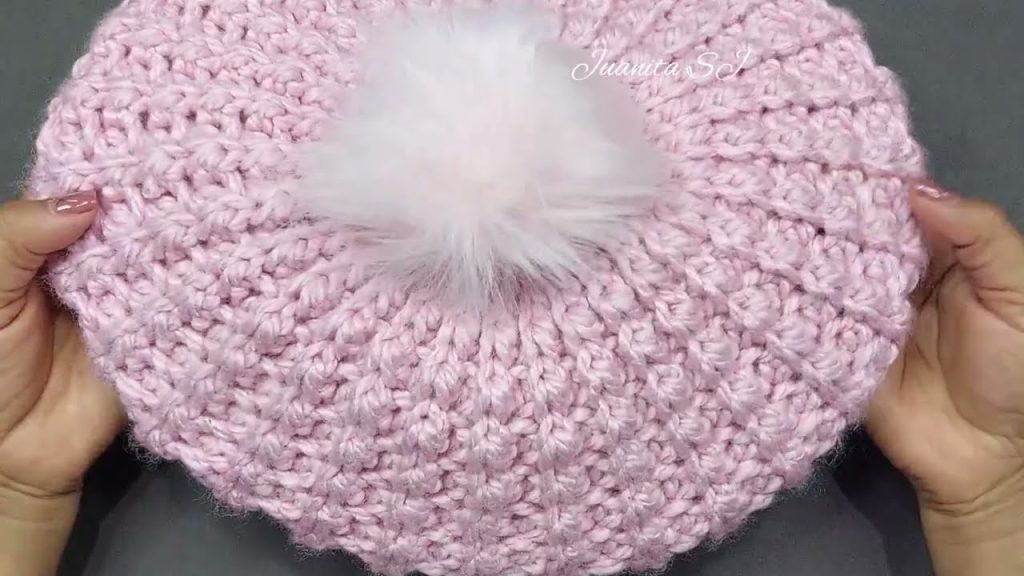
Step 1: Make the Crown
The beret starts from the center of the crown.
- Magic Ring / Adjustable Loop:
Create a magic ring (or chain 4 and join with a slip stitch to form a ring). - Round 1:
- Ch 3 (counts as first dc)
- Crochet 11 dc into the ring
- Join with sl st to the top of the starting ch-3 → Total: 12 dc
- Round 2:
- Ch 3 (counts as first dc)
- 1 dc in the same stitch
- 2 dc in each dc around
- Join with sl st → Total: 24 dc
- Round 3:
- Ch 3
- 1 dc in next dc, 2 dc in next dc repeat around
- Join with sl st → Total: 36 dc
- Round 4:
- Ch 3
- 1 dc in next 2 dc, 2 dc in next dc repeat around
- Join → Total: 48 dc
- Round 5:
- Ch 3
- 1 dc in next 3 dc, 2 dc in next dc repeat around
- Join → Total: 60 dc
Continue increasing in this pattern until your crown is the desired size for your head (usually 7–8 rounds for adult size). The formula is: each round, increase evenly by adding 1 extra single dc between increases.
Step 2: Work the Body
Once the crown is the right diameter:
- Stop increasing.
- Crochet in rounds of dc or hdc without increasing to create the body of the beret.
- Usually 5–8 rounds of straight stitches make a nice slouchy look.
Tip: Try the beret on as you go to get the desired slouch.
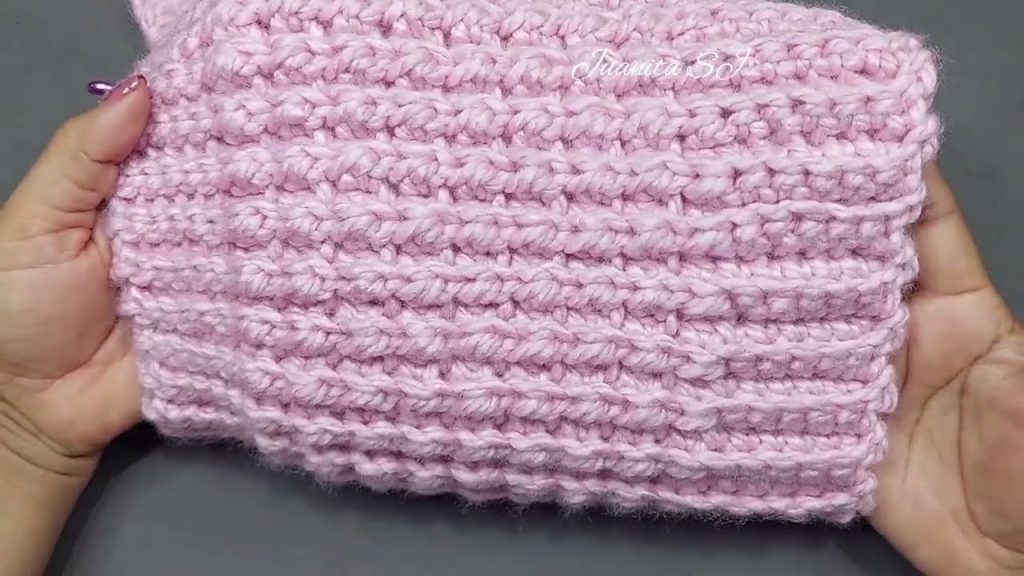
Step 3: Make the Band
The band makes the beret fit snugly.
- Switch to sc or hdc for a tighter stitch.
- Crochet 1–2 inches (2–4 rounds) around the edge.
- Optional: Use front loop only for a ribbed effect.
Step 4: Finishing
- Fasten off the yarn.
- Weave in the ends using a tapestry needle.
- Block the beret (optional) to shape it nicely:
- Soak in lukewarm water, gently squeeze out water, shape over a bowl or your head, and let dry.
Tips for a Perfect Beret
- If you want a classic French-style beret, keep the body slightly loose and the band snug.
- You can experiment with different yarn textures (wool gives warmth, cotton gives a lighter look).
- Adding a small stem in the center: crochet a few extra chains at the very top and fold/secure them.
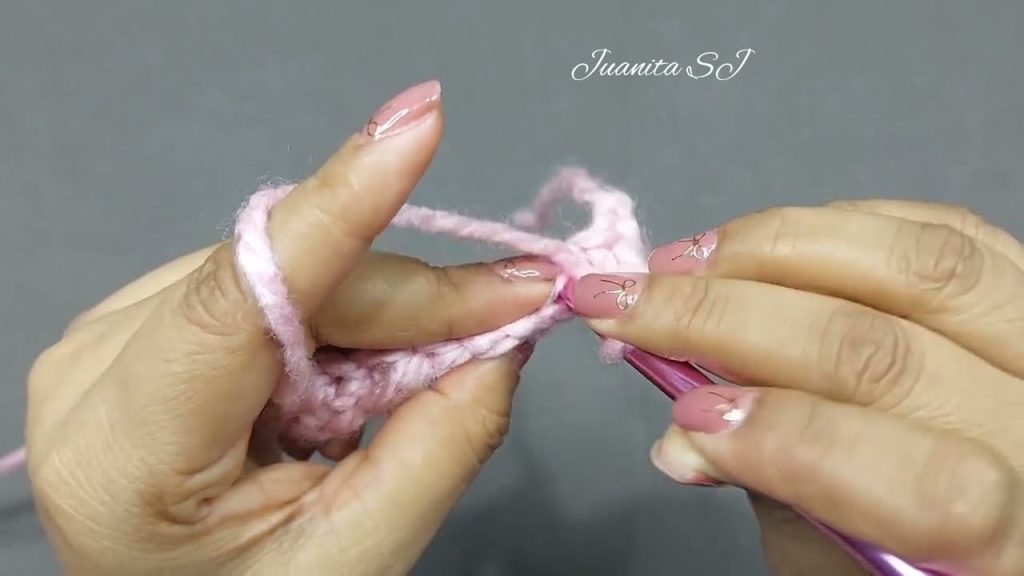
- For beginners: a video tutorial may help with the increases, as counting stitches is key.
If you want, I can make a diagram showing each round visually. This often makes crocheting a beret much easier, especially for beginners.
Watch tutorial: