 by
by Absolutely! 🌸 Here’s a detailed, beginner-friendly step-by-step guide on how to make a crochet beret — perfect whether you’re new to crochet or looking to refine your technique.
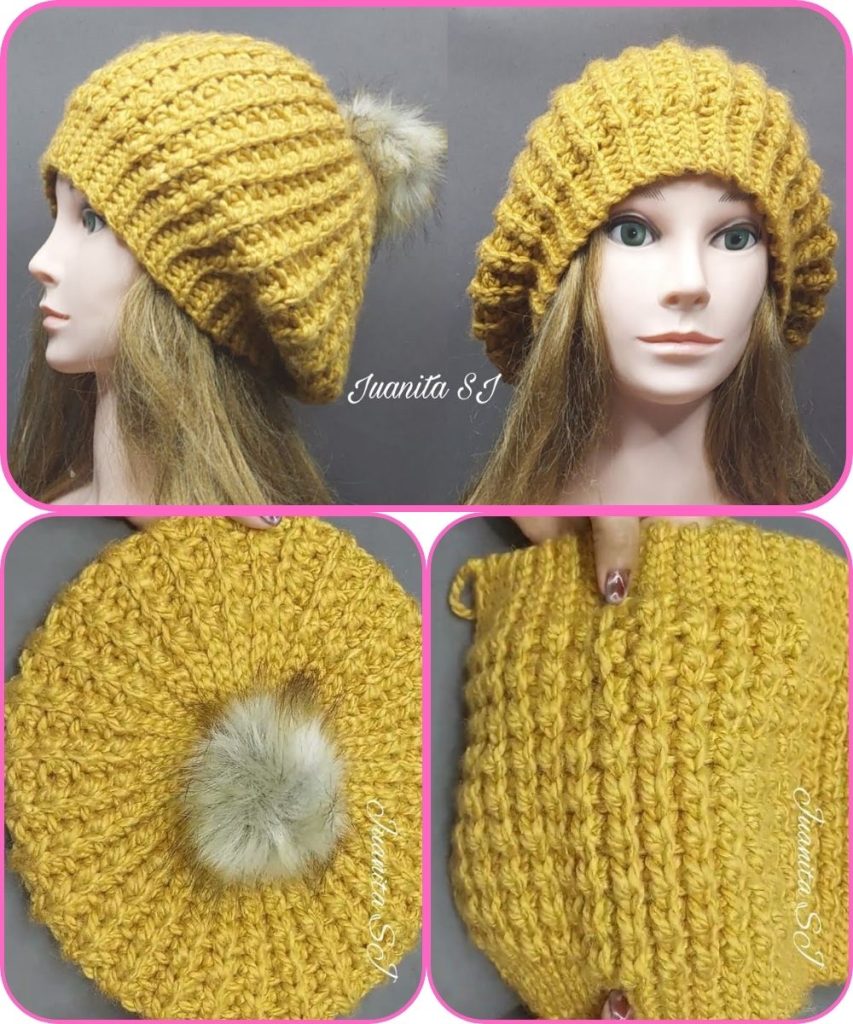
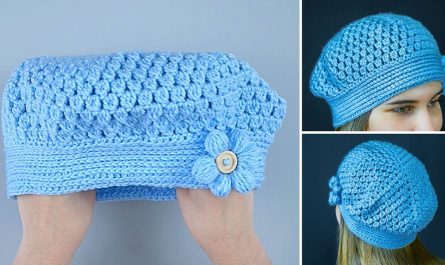
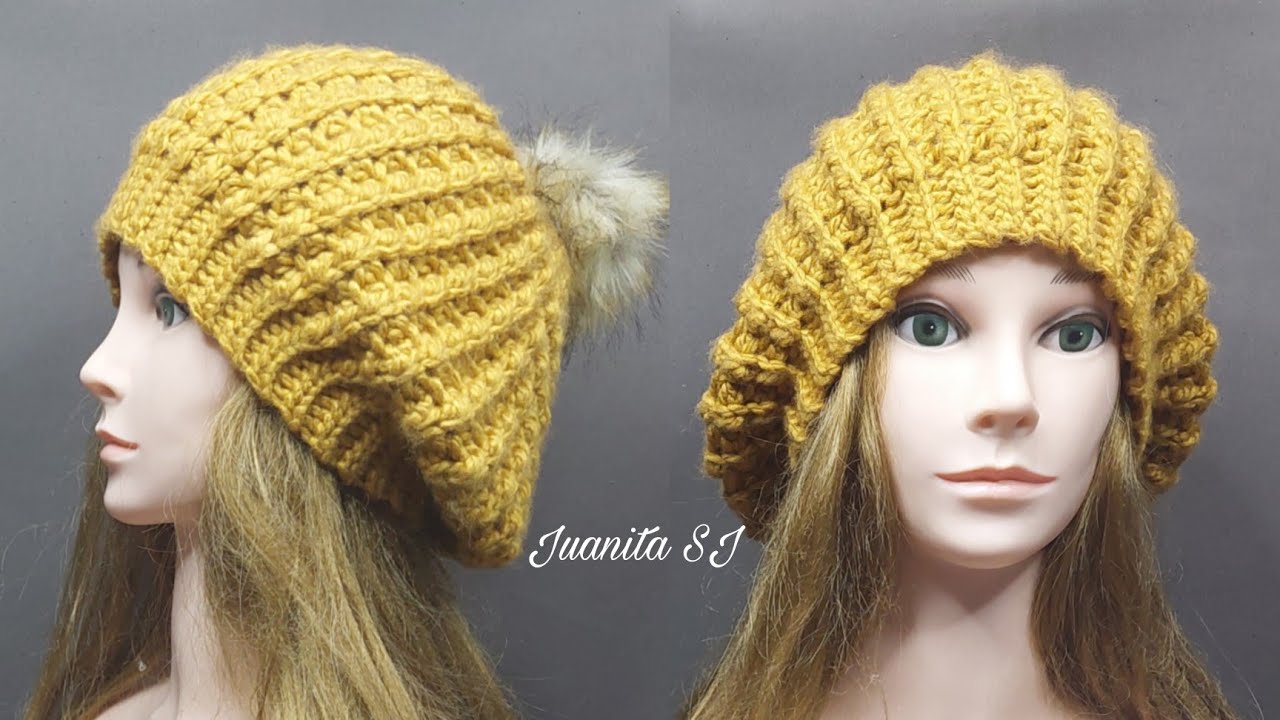
🧶 How to Crochet a Beret Step by Step
🧵 Materials You’ll Need
- Yarn:
- Medium-weight yarn (#4) or worsted weight is common.
- Cotton or acrylic yarns both work well.
- Approx. 100–150 grams depending on size and design.
- Crochet hook:
- Usually 4.0mm to 5.0mm (G/H), depending on your yarn’s label.
- Tapestry needle – for weaving in ends.
- Scissors
- Measuring tape
🎯 Step 1: Make a Magic Ring (Center of the Crown)
- Create a magic ring (also called an adjustable ring).
- Round 1: Chain 2 (does not count as a stitch). Make 12 double crochets (DC) into the ring.
- Pull the ring tight and join with a slip stitch into the first DC.
- ✅ You now have 12 stitches.
🎯 Step 2: Start Increasing the Crown
You’ll now work in rounds, increasing evenly to form the circular top of the beret.
| Round | Instruction | Total Stitches |
|---|---|---|
| 2 | Ch 2, 2 DC in each stitch around. Join. | 24 |
| 3 | Ch 2, 1 DC in next st, 2 DC in next; repeat around. Join. | 36 |
| 4 | Ch 2, 1 DC in next 2 sts, 2 DC in next; repeat around. Join. | 48 |
| 5 | Ch 2, 1 DC in next 3 sts, 2 DC in next; repeat around. Join. | 60 |
| 6 | Ch 2, 1 DC in next 4 sts, 2 DC in next; repeat around. Join. | 72 |
👉 Continue increasing this way (adding one more DC between increases each round) until your circle measures:
- 6–7 inches (15–18 cm) in diameter for an adult size.
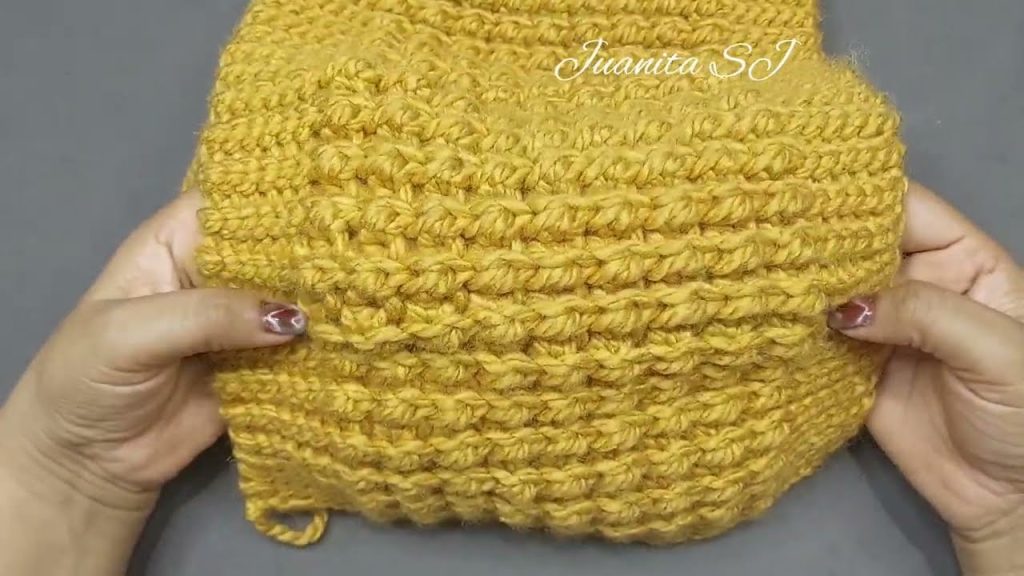
🎯 Step 3: Work Even Rounds (No Increases)
Once your crown is the desired size:
- Work 1 DC in each stitch around (no increases).
- Join each round with a slip stitch.
- Continue this for 5–7 rounds or until the beret has the slouch/height you want.
- More rounds = slouchier beret.
🎯 Step 4: Start Decreasing for the Band
To shape the beret so it fits snugly on your head:
| Round | Instruction | Approx. Stitches |
|---|---|---|
| 1 | Ch 2, 1 DC in next 5 sts, DC2tog (decrease); repeat around. | ~60 |
| 2 | Ch 2, 1 DC in next 4 sts, DC2tog; repeat around. | ~50 |
| 3 | Ch 2, 1 DC in next 3 sts, DC2tog; repeat around. | ~40 |
Continue decreasing gradually until the opening fits comfortably around your head (usually 20–22 inches / 51–56 cm).
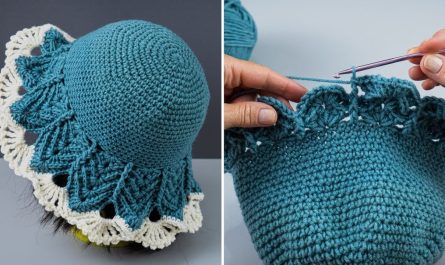
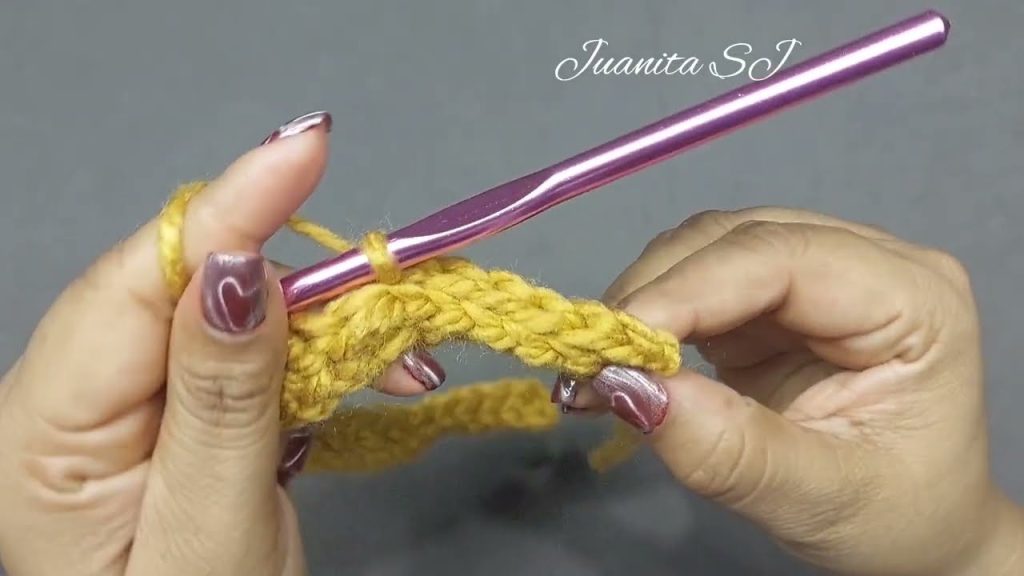
🎯 Step 5: Create the Ribbed Band
You can make a simple ribbed edge using front post and back post double crochets (FPDC, BPDC):
- Ch 2.
- FPDC around next stitch, BPDC around next stitch — repeat around.
- Join with slip stitch.
- Repeat this ribbing round 3–4 more times for a thicker band.
🎯 Step 6: Finish and Weave in Ends
- Fasten off your yarn securely.
- Thread the tapestry needle and weave in all yarn ends neatly inside the hat.
- You can lightly block the beret (steam or damp block) to smooth and shape it nicely.
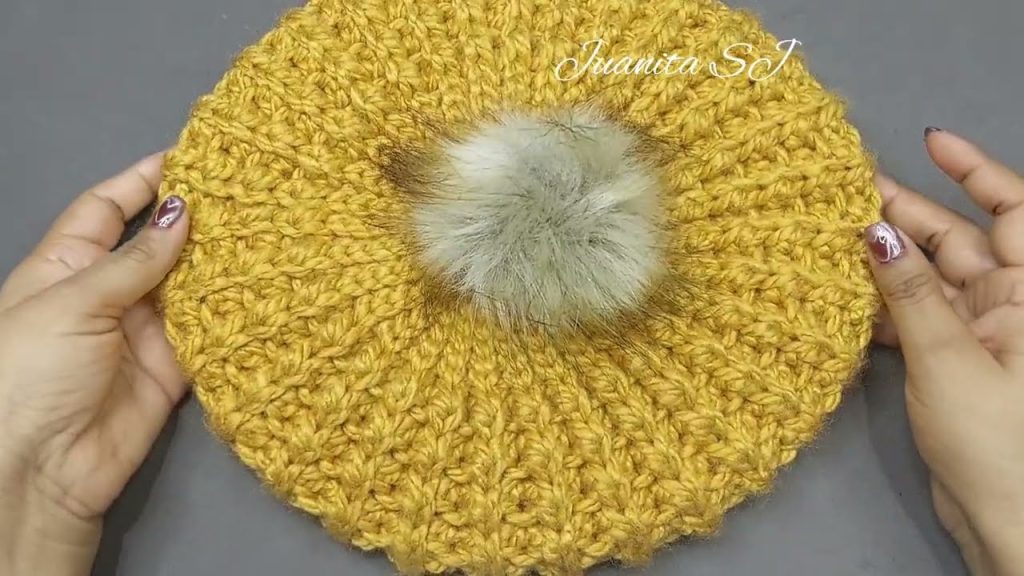
🌼 Optional Additions
- Add a small pompom on top for a cute French-inspired style.
- Decorate with buttons, appliqués, or embroidery.
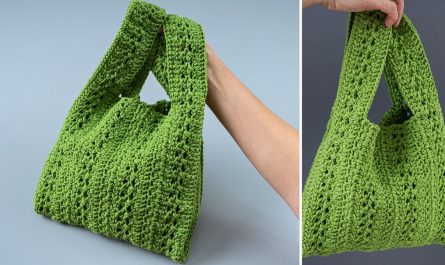
- Experiment with different stitches (e.g., half double crochet, puff stitch) for texture.
🧡 Quick Summary
| Step | Description |
|---|---|
| 1 | Magic ring, 12 DC |
| 2 | Increase evenly to form a flat circle |
| 3 | Work even rounds for slouch |
| 4 | Decrease for the head opening |
| 5 | Add ribbed band |
| 6 | Weave in ends and block |
Would you like me to include a beginner-friendly written pattern (with stitch counts and exact round instructions) or a visual chart/diagram to go with it?
Watch tutorial: