by
by Sure! Let’s go step-by-step through how to make a crochet bag called “Denise” — a simple, beautiful, and beginner-friendly project that you can customize easily. I’ll include details about the materials, stitches, and a lovely pattern idea that looks elegant but is easy to follow.
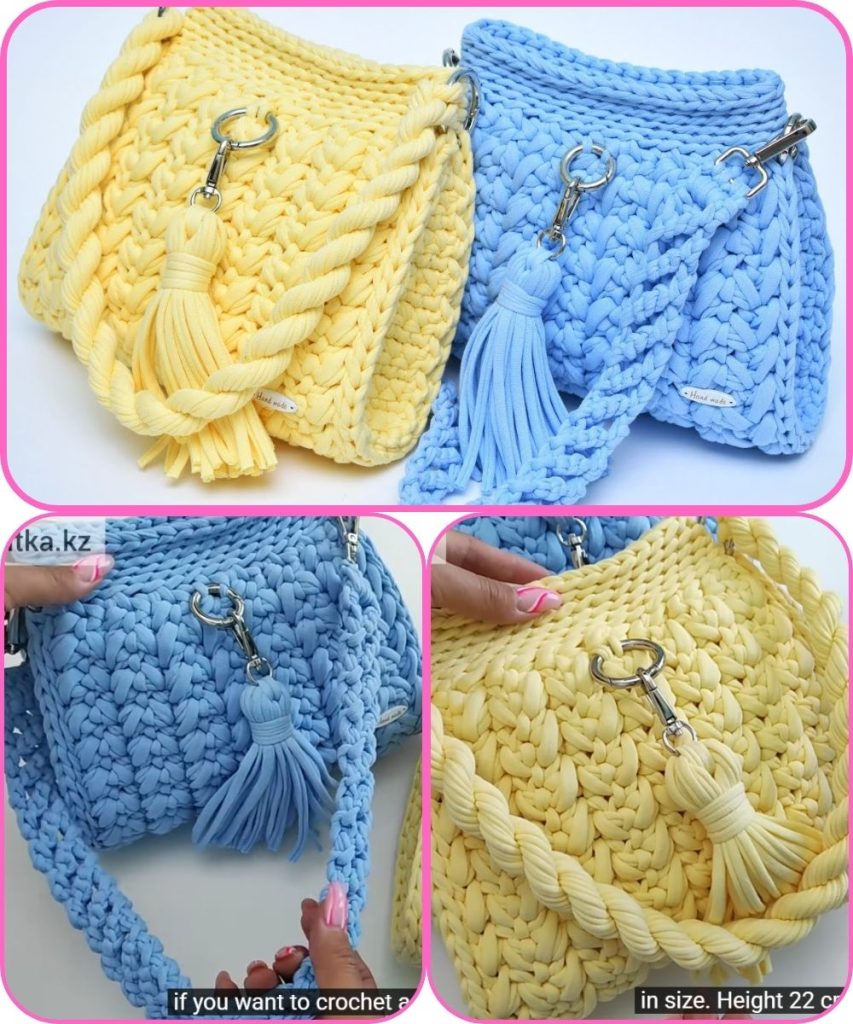
🧶 Crochet Bag “Denise” — Simple & Beautiful
🌸 Description
The Denise Crochet Bag is a chic, sturdy, and minimal tote or handbag that’s perfect for everyday use. It uses basic crochet stitches to create a textured body and can be made in any color you love. This bag works great with cotton or raffia yarn.
🧺 Materials Needed
| Item | Description |
|---|---|
| 🧵 Yarn | 3–4 skeins of medium-weight (Category 4) cotton yarn (or raffia for a summer look) |
| 🧶 Crochet hook | 4.0 mm (G/6) or 4.5 mm hook |
| ✂️ Scissors | For cutting yarn |
| 🪡 Yarn needle | For weaving in ends |
| 📏 Stitch marker (optional) | To mark rounds |
| 🧵 Bag handle (optional) | Wooden, leather, or crocheted handles |
🧩 Crochet Stitches Used
- ch – chain
- sc – single crochet
- hdc – half double crochet
- sl st – slip stitch
- blo – back loop only
- inc – increase (2 sts in the same stitch)
These are basic stitches — perfect for beginners.
🌿 Pattern: Denise Crochet Bag
1️⃣ Base (Oval Bottom)
- Ch 31 (this will be the length of your bag base).
- Round 1: In 2nd ch from hook, make 1 sc, sc in next 28 ch, 3 sc in last ch.
Now working on the opposite side of the chain, sc in next 28 sts, 2 sc in the last st. (62 sts total) - Round 2: Sc in next 30 sts, 3 sc in next st, sc in next 30 sts, 3 sc in last st. (68 sts)
- Round 3: Continue increasing at both rounded ends until your base is the desired size (about 10 cm × 25 cm for a medium bag).
💡 Tip: The larger the base, the larger the bag!
2️⃣ Body
- Round 1: Sc in back loop only around the base to start forming the sides (this makes a crisp edge).
- Round 2–20 (or more): Work hdc in each stitch around, joining each round with a sl st and ch 1 to start the next.
- You can alternate 1 round sc and 1 round hdc blo for a textured “ribbed” look — very pretty and simple!
3️⃣ Handles
You can choose one of these:
- Option A: Create small chain handles — skip 15 sts for handle openings and chain 20; then continue patterning.
- Option B: Sew pre-made wooden or leather handles.
- Option C: Crochet separate straps: ch to desired length, sc rows back and forth, and sew to bag.
4️⃣ Finishing
- Fasten off and weave in all ends with your yarn needle.
- Add a fabric lining inside (optional but makes it sturdier).
- Decorate with a small tassel, button, or crochet flower.
💖 Optional Simple Decorative Pattern: The Denise Texture
For an elegant look, use this simple repeating 2-row pattern for the bag body:
Repeat Rows 1–2:
- Row 1: hdc in blo across
- Row 2: sc in both loops across
This gives a subtle, woven-like texture that’s both classy and strong.
🎀 Customization Ideas
- Use two contrasting yarn colors for a striped effect.
- Add a small leather tag or metal charm.
- For a summer vibe, use raffia yarn and light colors (beige, cream, or pastel tones).
Would you like me to include a visual pattern diagram or chart (symbol-based crochet pattern) for this Denise bag?
I can draw or generate one that matches the written instructions — perfect if you prefer working from visuals.
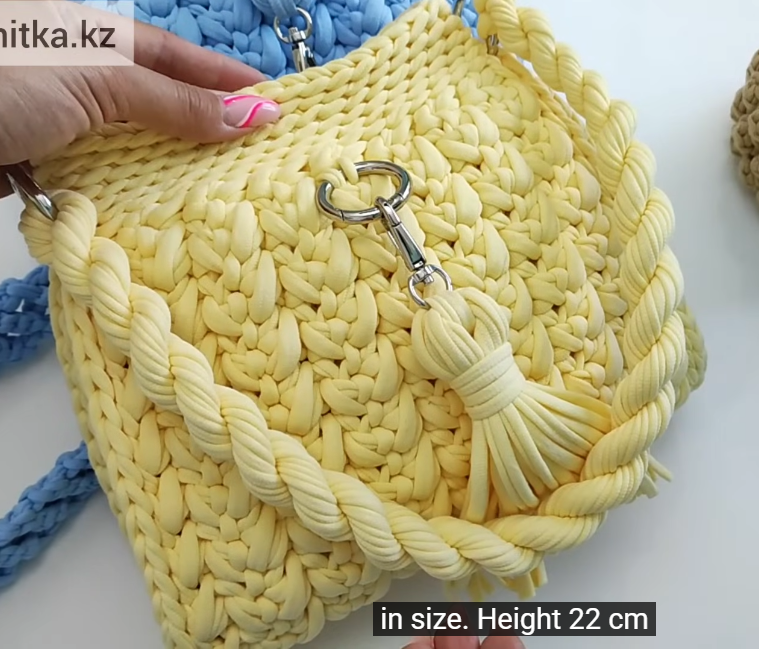
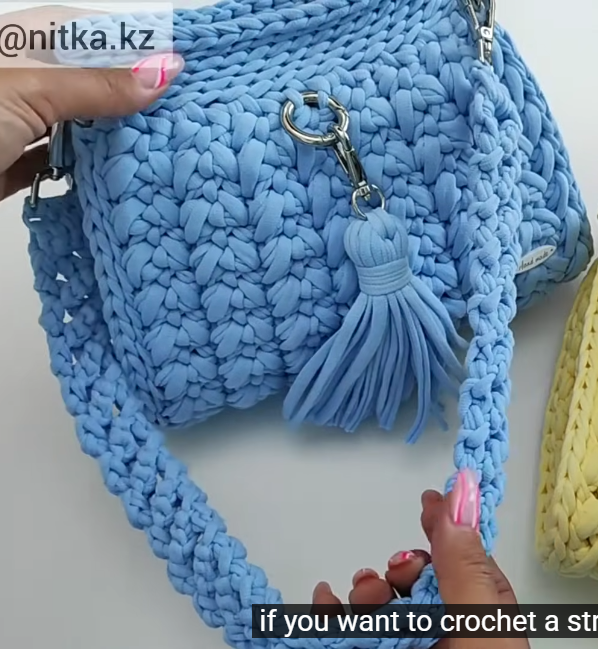
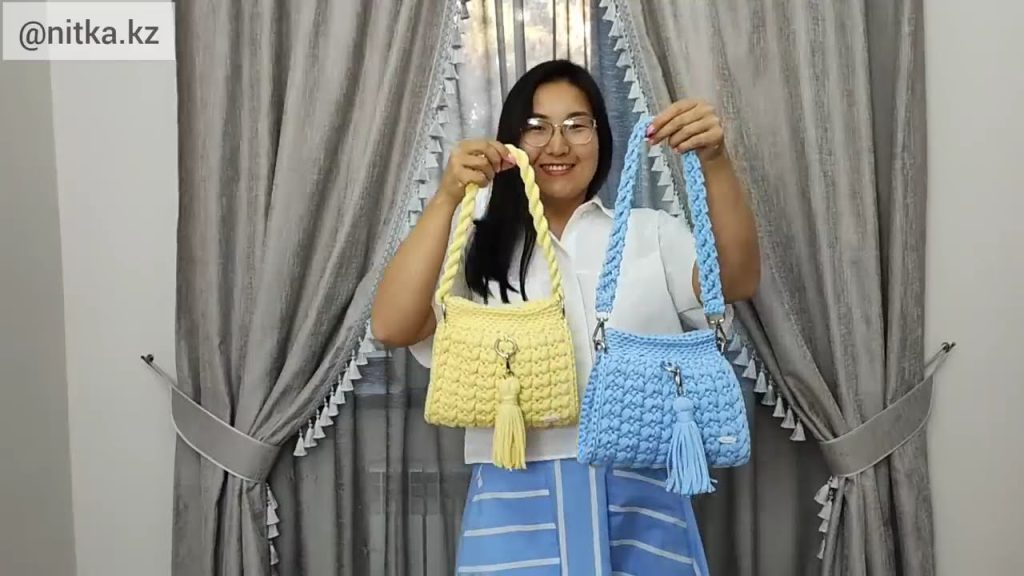
Watch tutorial: