 by
by Absolutely! Here’s a detailed guide on “How to Make Beginners Welcome! 🌟 Easy & Stunning Crochet Baby Blanket Pattern”, perfect for first-timers who want to create a thoughtful and beautiful handmade gift.
🌟 Beginners Welcome! Easy & Stunning Crochet Baby Blanket Pattern
🧶 Why Crochet a Baby Blanket?
A baby blanket is one of the most rewarding beginner crochet projects. It’s relatively small, very forgiving of mistakes, and makes for a heartwarming gift. Plus, once you master this pattern, you can scale it up or customize it endlessly!
✨ What You’ll Need
🧵 Materials:
- Worsted weight yarn (medium 4) – about 800–1000 yards (soft cotton or acrylic is baby-friendly)
- Tip: Go for pastel or neutral colors for a classic baby look.
- Crochet hook size I/9 (5.5 mm) (check yarn label for recommended size)
- Scissors
- Tapestry needle (for weaving in ends)
- Measuring tape
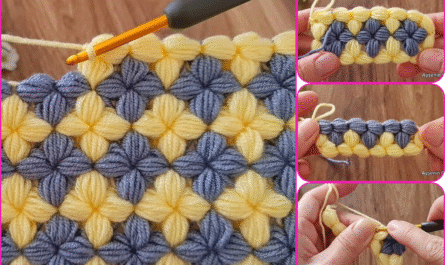
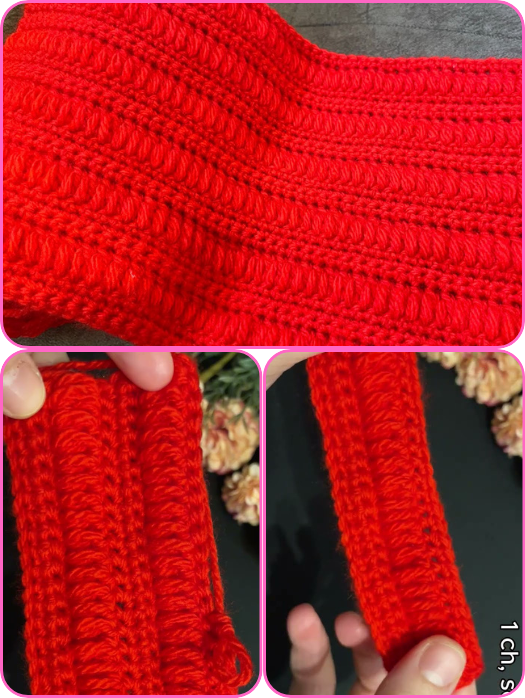
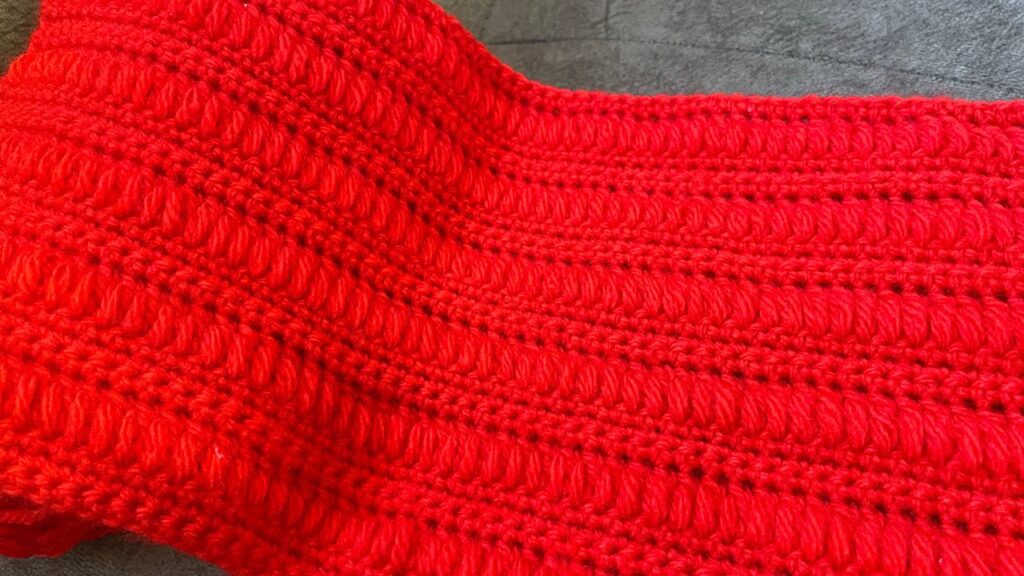
🔰 Beginner-Friendly Stitch Pattern: The Granny Stripe
We’ll use the Granny Stripe Pattern, which is simple, repetitive, and creates a lovely texture and visual effect. No complex stitches, just chains, double crochet (dc), and skipping stitches.
📏 Blanket Size Guide (Adjustable)
| Size | Dimensions |
|---|---|
| Stroller | 30″ x 35″ |
| Receiving | 36″ x 36″ |
| Crib | 36″ x 52″ |
Choose your size and chain accordingly in multiples of 3 + 2 for turning.
🪡 Abbreviations (US Terms)
- ch = chain
- dc = double crochet
- sk = skip
- st(s) = stitch(es)
- rep = repeat
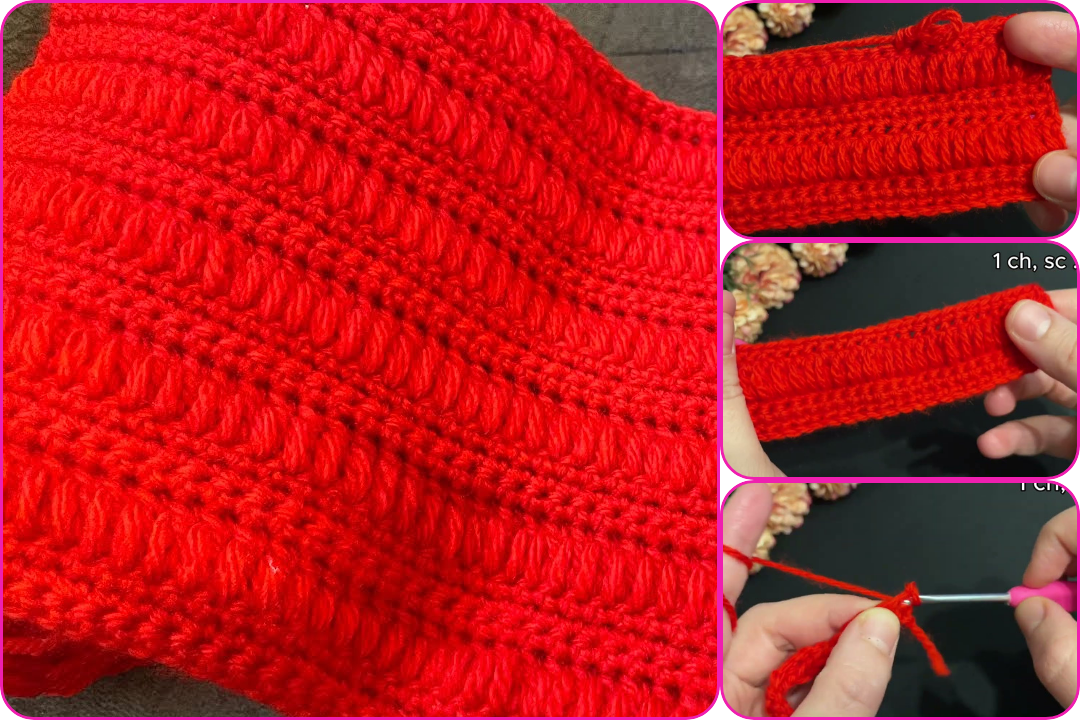
🧵 Pattern Instructions
🌱 Step 1: Foundation Chain
- Chain a multiple of 3 + 2 to reach your desired width (e.g., 90 + 2 = 92 chains for a small blanket).
🌿 Step 2: Row 1
- In the 4th ch from hook, work 2 dc (counts as 3 dc including turning chain).
- Sk 2 ch, 3 dc in next ch; repeat from * to end.
- End with 1 dc in the last ch.
- Turn your work.
🌼 Step 3: Row 2 (and all following rows)
- Ch 3 (counts as dc), 3 dc in space between clusters from the previous row, repeat across.
- End with 1 dc in the top of the turning chain from the previous row.
- Turn your work.
Repeat Row 2 until you reach your desired length!
🌈 Optional: Add a Border
Once you reach your finished size, you can add a simple border:
- Single crochet (sc) evenly around the edges for 1–3 rounds.
- Optional: Do 1 round of picot or shell stitch for a decorative finish.
💡 Tips for Success
- Keep your tension relaxed to avoid a wavy edge.
- Weave in ends every few color changes so it’s not overwhelming at the end.
- Use stitch markers at the beginning and end if you tend to miss stitches.
🎨 Customize Your Blanket!
- Alternate 2–3 yarn colors for stripes.
- Use a variegated yarn for a watercolor effect.
- Add a satin ribbon border or personalize it with the baby’s initials using surface embroidery.
🍼 Final Thoughts
This pattern is perfect for beginners and produces a stunning result that looks more complicated than it is. Once you’ve made one, you’ll be hooked!
Want the written PDF or a step-by-step video tutorial recommendation? Just ask!
Watch video: