 by
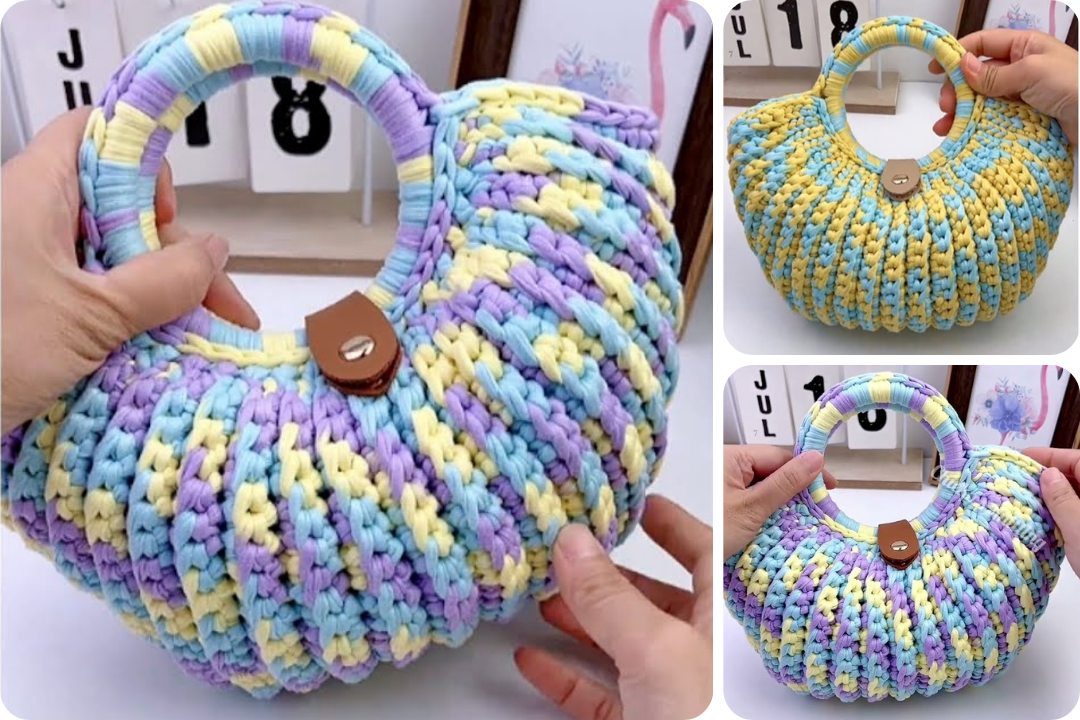
by Absolutely! Here’s a detailed step-by-step guide on “How to Make a Crochet Bag 🔥 New Design 🌟 Simple and Wonderful”—perfect for beginners and experienced crocheters alike. This guide will walk you through making a beautiful, modern crochet bag that’s stylish, sturdy, and functional.
🧶 How to Make a Crochet Bag 🔥 New Design 🌟 Simple and Wonderful
🎒 Project Overview:
- Skill Level: Beginner to Intermediate
- Time Required: 4–6 hours (can vary)
- Style: Modern, trendy tote or shoulder bag
- Technique: Single crochet with optional decorative stitch pattern
✨ Materials Needed:
| Item | Description |
|---|---|
| 🧵 Yarn | Medium-weight cotton or acrylic yarn (Worsted weight, #4) – approx. 2–3 skeins |
| 🪡 Hook | 4.0 mm – 5.0 mm crochet hook (check yarn label for best match) |
| ✂️ Scissors | For cutting yarn |
| 🪢 Yarn needle | For weaving in ends |
| 🧲 Stitch markers (optional) | Helps mark rounds or stitch counts |
| 🎀 Lining (optional) | Fabric and sewing needle for inner lining |
🧩 Pattern Structure:
We’ll create this crochet bag in three parts:
- Base
- Body
- Handles / Straps
🧱 Step-by-Step Instructions:
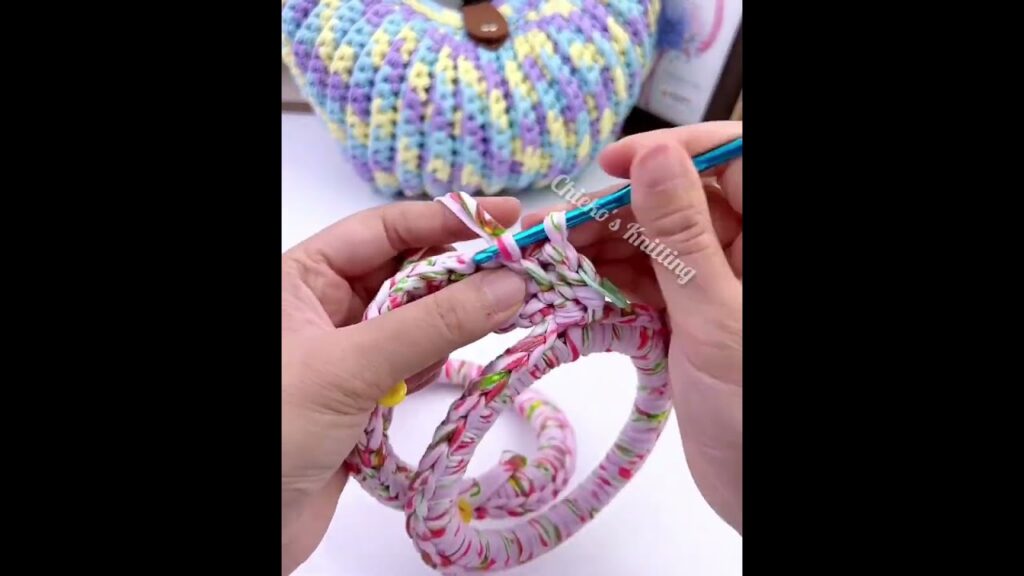
1️⃣ Base of the Bag (Oval Shape)
- Chain 25 (or adjust based on how wide you want the base)
- Round 1: SC (single crochet) in 2nd chain from hook, SC in next 22, 3 SC in last stitch. Now rotate to the other side of the chain.
- SC in next 22, 2 SC in last stitch (join with slip stitch) – 50 stitches.
- Round 2–5: Increase evenly around the ends to create a smooth oval base. Use SCs throughout.
📌 Tip: Add stitch markers to mark the beginning of each round.
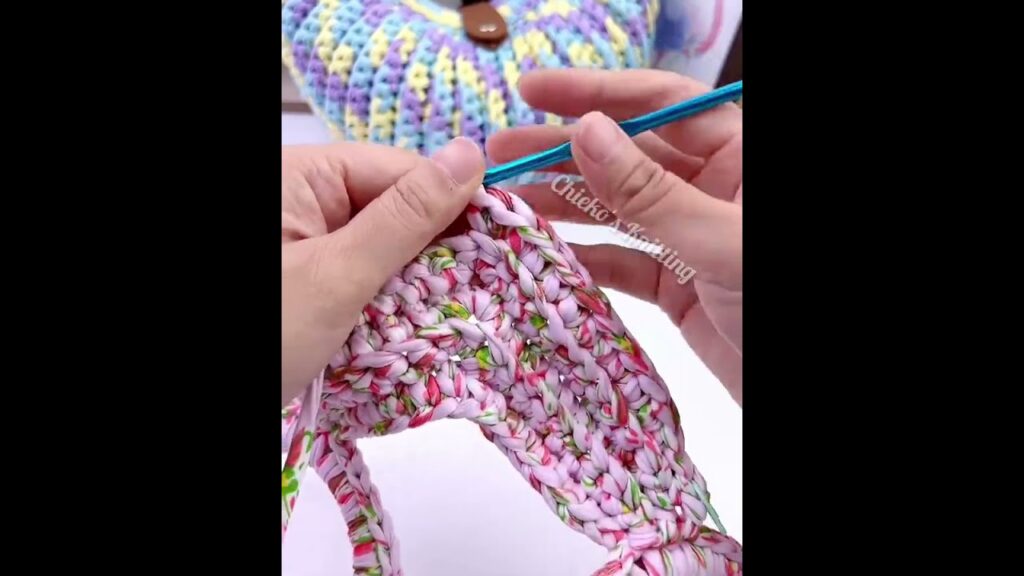
2️⃣ Body of the Bag
- Round 6: SC in back loops only around the base to give the bag a standing edge.
- Round 7 and onward: SC in both loops around. You can continue in the same color or change colors for a striped look.
- Repeat until the bag reaches your desired height (approx. 25–30 rows).
💡 Optional Decorative Stitch: Try a Granite Stitch (aka Moss Stitch):
- (SC, ch 1, skip 1) repeat around for a textured look.
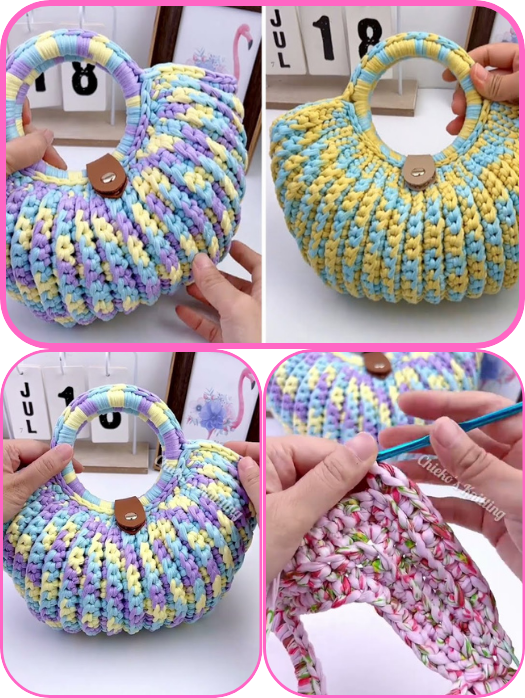
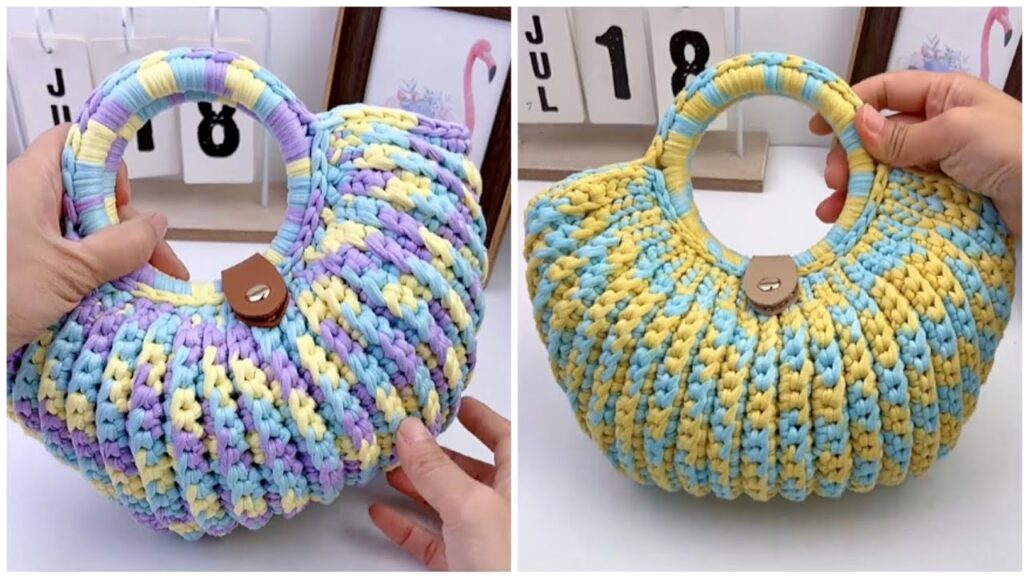
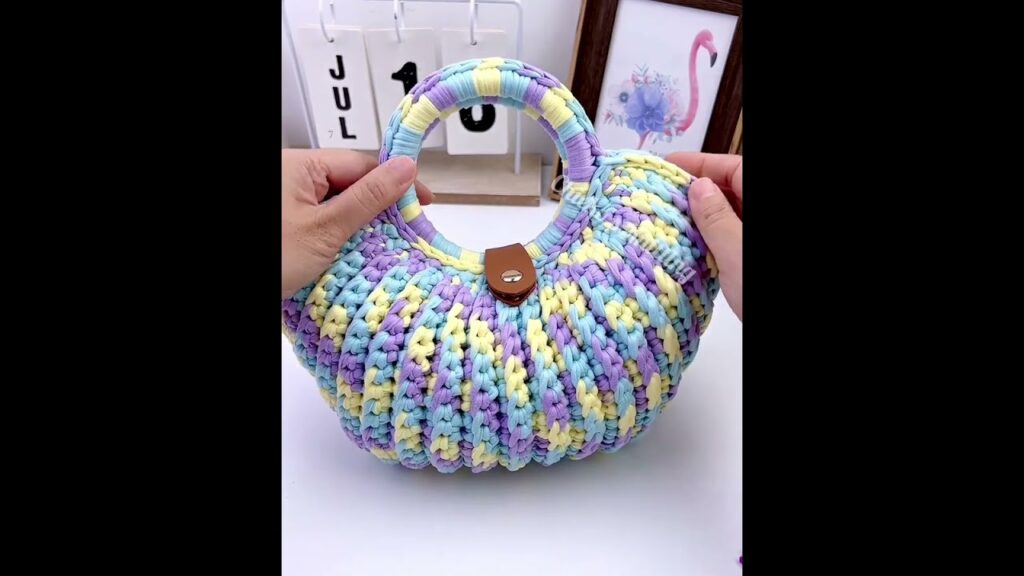
3️⃣ Handles / Straps
Option 1: Crochet Handles
- Decide where to place handles (about 5 stitches from side edges).
- Chain 50–70 depending on length (for a shoulder strap or hand carry).
- Skip 10–15 stitches and join with SC.
- Reinforce by SC over the chain on the next round.
Option 2: Attach Ready-Made Handles
- Use wooden, plastic, or leather handles and sew or crochet them into place.
🎨 Customization Ideas
- Color Blocking: Use two or more colors for sections.
- Tassels or Pom-Poms: Add flair with crochet accessories.
- Buttons or Zippers: Secure your bag with a stylish closure.
- Fabric Lining: Sew in a cloth lining to protect the inside and give shape.
🧼 Care Instructions
- Hand Wash in cold water with mild detergent.
- Dry Flat to maintain shape.
- Avoid Machine Drying, especially with cotton yarn.
🌟 Final Thoughts
This crochet bag design is simple but stunning, perfect for casual wear or even as a handmade gift. Once you master this base, you can adapt the style endlessly—larger totes, mini pouches, even backpacks.
Watch video: