 by
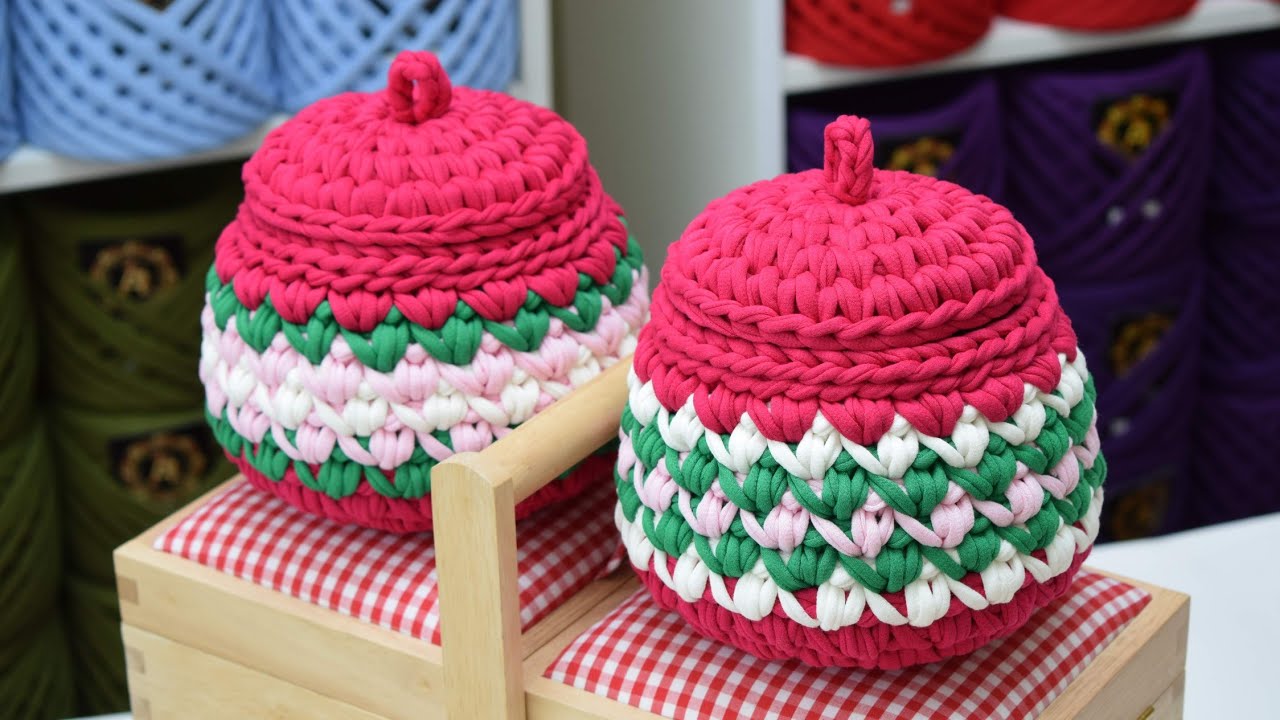
by Absolutely! Making a crocheted basket for sweets is a fantastic, personal, and festive New Year’s gift. I’ll give you a detailed step-by-step guide, including materials, techniques, and tips to make it look beautiful and sturdy.
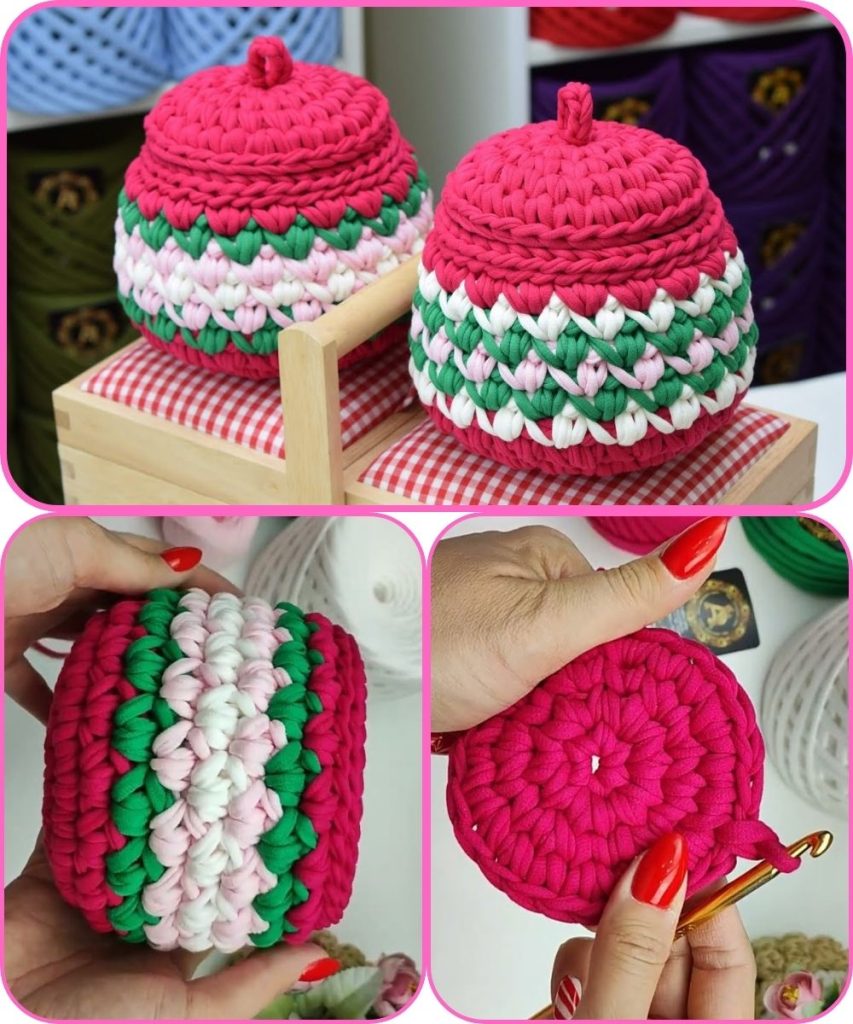
How to Make a Crocheted Basket for Sweets for New Year
Materials You Will Need
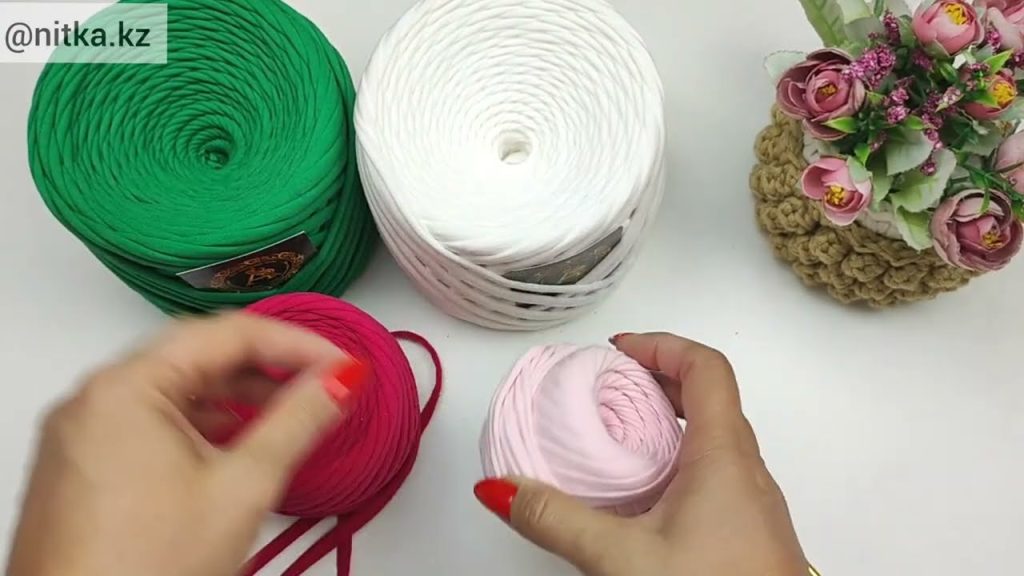
- Yarn:
- Choose a medium-weight cotton or acrylic yarn for structure. Cotton holds its shape better for baskets.
- Consider festive colors: red, green, gold, silver, or white.
- Crochet Hook:
- Typically, 1–2 sizes larger than the yarn label recommendation helps make a tight, solid weave.
- Scissors
- Tapestry Needle (for weaving in ends)
- Stiffening Option (Optional):
- PVA glue or fabric stiffener if you want the basket to hold shape rigidly.
- Decorations (Optional):
- Ribbon, beads, tiny ornaments, or sequins for a festive touch.
Step 1: Choose the Basket Size
Decide how big your basket should be. For a small sweets basket, a diameter of 15–20 cm (6–8 inches) is ideal. Adjust the number of starting stitches accordingly.
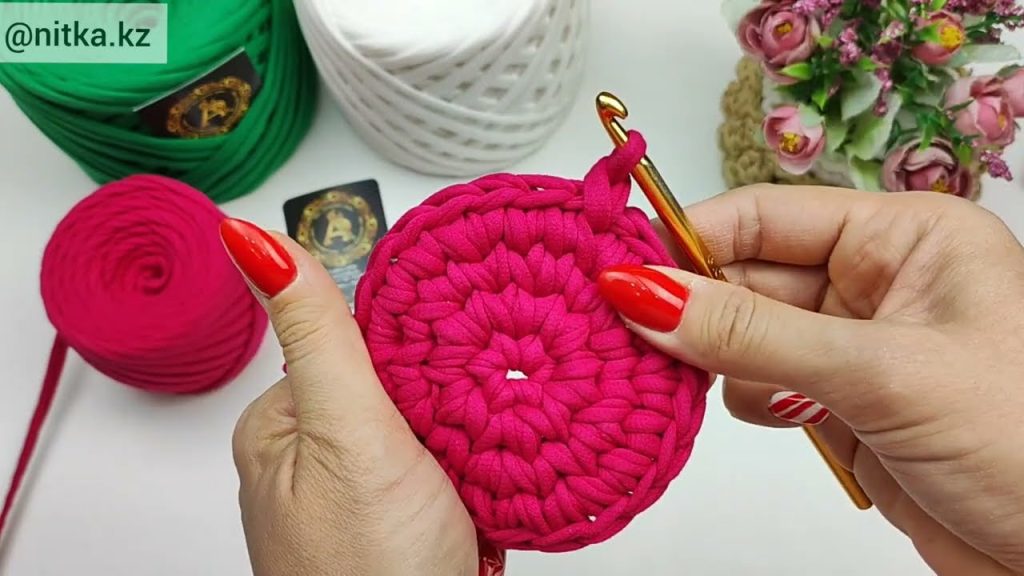
Step 2: Make the Base
- Magic Ring: Start with a magic ring (adjustable loop) to make the base neat.
- Round 1: Crochet 6 single crochets (sc) into the magic ring. Pull tight.
- Round 2: Increase by crocheting 2 sc in each stitch around (total 12 sc).
- Round 3: Increase every second stitch (1 sc, 2 sc in next stitch) around.
- Round 4: Increase every third stitch.
- Continue: Keep increasing evenly in each round until the base reaches the desired diameter.
Tip: Keep the increases even; otherwise, your base might curl.
Step 3: Make the Basket Sides
- Once the base is the right size, stop increasing.
- Crochet in the back loops only for a round or two if you want a slightly textured edge.
- Build height: Crochet single crochet rounds around without increasing.
- Keep going until the basket reaches your desired height (typically 10–12 cm / 4–5 inches for a small basket).
Tip: Tighter stitches will make the basket stiffer and better at holding its shape.

Step 4: Optional Stiffening
- To make the basket stand firm, mix 1 part PVA glue + 1 part water.
- Brush the solution on the finished basket and let it dry completely.
- This gives a nice firm structure that holds sweets well.
Step 5: Finishing the Rim
- Crochet 1–2 rounds of slip stitches or scalloped edging for a decorative finish.
- You can also make handles:
- Chain the desired length and attach on opposite sides.
- Crochet around the chain to make it thicker and sturdy.
Step 6: Decorating
- Add a ribbon around the rim or a small bow.
- Sew or glue small festive beads, bells, or miniature ornaments on the sides.
- You can also crochet a small flower or star and attach it for a New Year touch.
Step 7: Fill the Basket
- Line it with tissue paper or a small cloth napkin.
- Fill with sweets, chocolates, candies, or small gifts.
Tips for Success
- Gauge: Make sure your stitches are tight to avoid a floppy basket.
- Yarn Choice: Cotton or a cotton-blend is best for structural integrity.
- Color Scheme: Stick to festive combinations (red/green, white/gold, silver/blue).
- Personal Touch: Add a crocheted tag with the recipient’s initials for extra charm.
If you want, I can also draw a simple step-by-step crochet diagram for the basket, showing the base, sides, and optional handle. That makes it even easier to follow!
Watch tutorial: