 by
by Sure! Here’s a detailed guide on how to make a crochet romper/onesie for babies and toddlers (up to 4 years), specifically designed to be super easy for beginners. We’ll use a crochet hook size EN (3.5 mm) and explain everything step-by-step, including materials, stitches, and pattern basics.
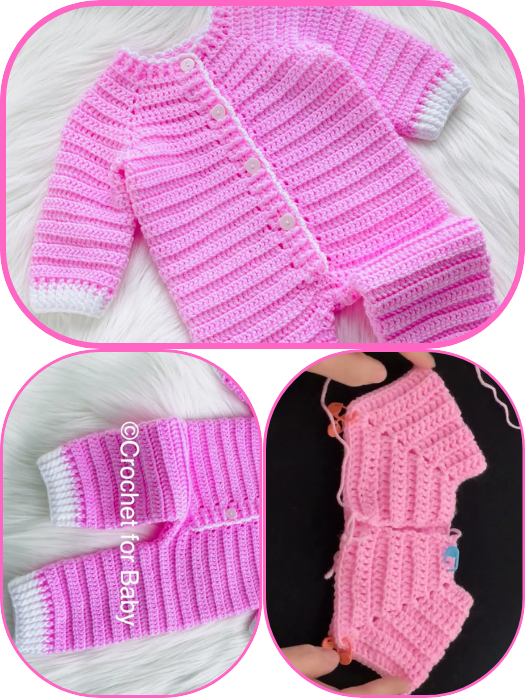
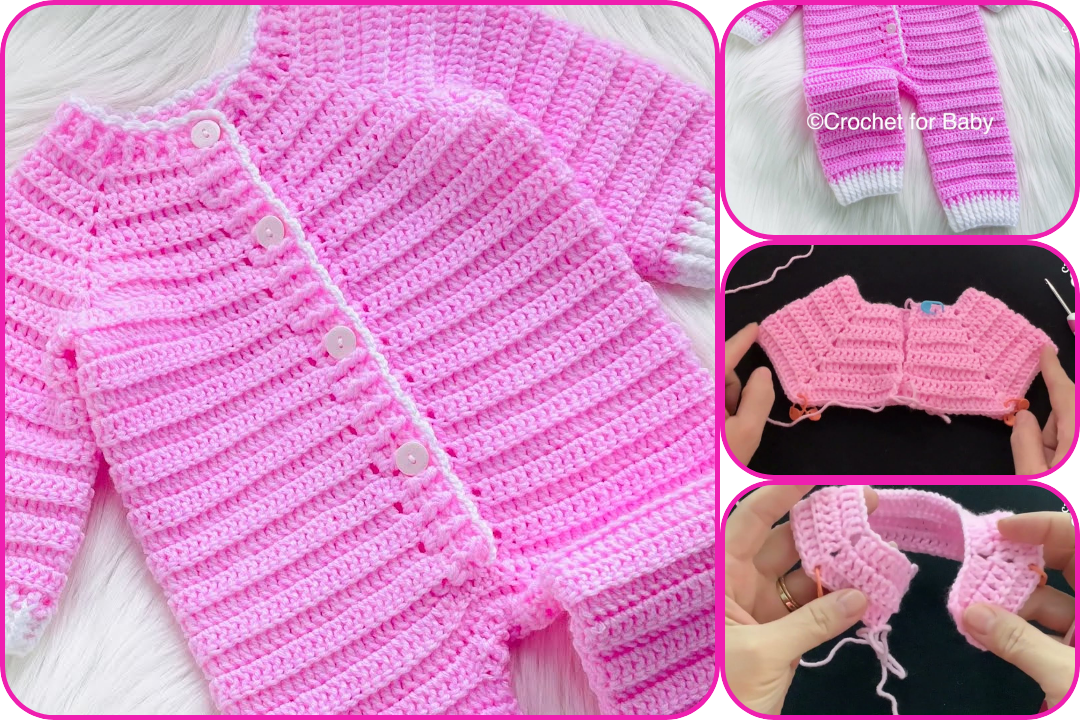
🧶 How to Make a Crochet Romper/Onesie for Baby – Beginner-Friendly (Ages 0–4 Years)
🧵 Materials Needed:
- Yarn: Soft DK (Double Knit) weight yarn or light worsted yarn (cotton/acrylic blend is gentle on baby’s skin). About 250–400 grams depending on size.
- Hook Size: EN (3.5 mm)
- Tapestry Needle: For sewing seams and weaving in ends.
- Buttons: 3–5 (for the crotch area or straps)
- Stitch Markers (optional): To keep track of rounds or rows.
📏 Size Guide (Adjust Based on Age)
| Age | Chest (inches) | Length (inches, shoulder to crotch) |
|---|---|---|
| 0-6 mo | 16″ | 14″ |
| 6-12 mo | 18″ | 16″ |
| 1-2 yr | 20″ | 18″ |
| 3-4 yr | 22″ | 20″ |
You can adjust stitches and rows for sizing. Use stitch multiples for even growth.
🧵 Stitches Used (US Terminology)
- Ch – Chain
- Sc – Single Crochet
- Hdc – Half Double Crochet
- Dc – Double Crochet
- Sl St – Slip Stitch
- Inc – Increase (2 sc or hdc in same stitch)
- Dec – Decrease (sc2tog or hdc2tog)
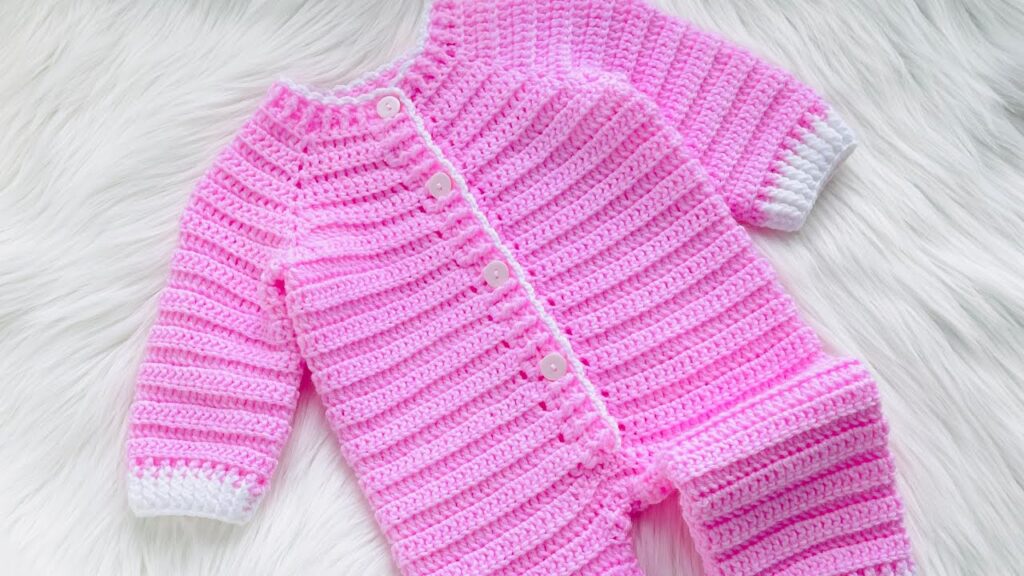
👶 Simple Romper Pattern (Front & Back Panels Worked Flat)
This is a flat panel pattern that you sew together at the end. Great for beginners!
🪡 Step-by-Step Instructions
Step 1: Start with the Back Panel
- Chain the width of the chest (example for 1-2 yrs: Ch 45 for 20” chest).
- Row 1: Hdc in 2nd ch from hook, hdc across. Turn.
- Repeat hdc rows until panel measures the desired body length to the crotch (about 12″ for 1–2 years).
- Decrease gradually at crotch (each side):
- Dec 1 st at each edge every other row for 3 rows.
- Continue straight for about 3″ more.
- Fasten off.
Step 2: Front Panel (Same as Back)
- Repeat same steps as the back panel.
- Optional: Add 2 rows of dc at top of panel for decorative edge.
Step 3: Straps
- Attach yarn to top corner of front panel.
- Ch 1, sc across about 5-6 stitches to make a strap width.
- Turn and sc back and forth until strap is about 5″ long.
- Repeat for second strap.
Step 4: Assembly
- Lay both panels flat.
- Sew side seams using whip stitch or mattress stitch.
- Join crotch area (you can either stitch closed or leave openings for buttons).
- Sew buttons to bottom of front panel, and make ch loops or sc loops on back crotch for closures.
Step 5: Edging (Optional)
- Sc around armholes and neckline for a cleaner finish.
- Add decorative border using picot or shell stitches.
✅ Tips for Beginners:
- Make a gauge swatch: 4″x4″ square in hdc to check size.
- Use stitch markers to mark armholes or center stitches.
- Use soft, washable yarn for easy maintenance.
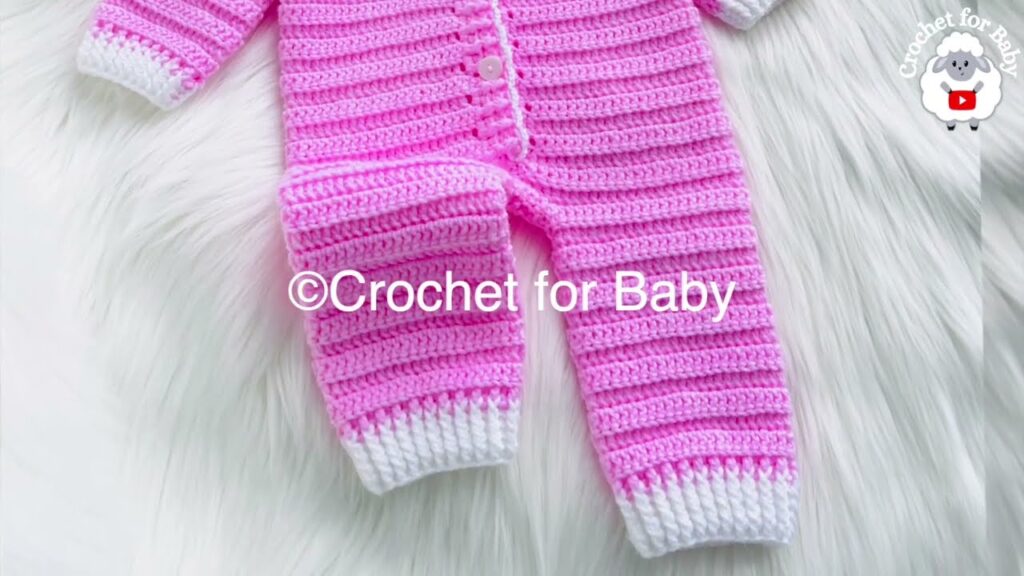
- You can customize with color blocking or add a ruffle around the legs or chest area.
🍼 Optional Additions:
- Sleeves: You can add sleeves by working in rounds around armholes.
- Ruffle straps: Add extra rows of dc with increases for a frilly look.
- Embroidery or applique: Add a name or small motif.
Watch video: