 by
by Absolutely! Let’s go step by step. I’ll give you a detailed, beginner-friendly guide on how to make a beautiful knitted scarf-snood, which can appeal to everyone and is cozy, stylish, and beginner-friendly.
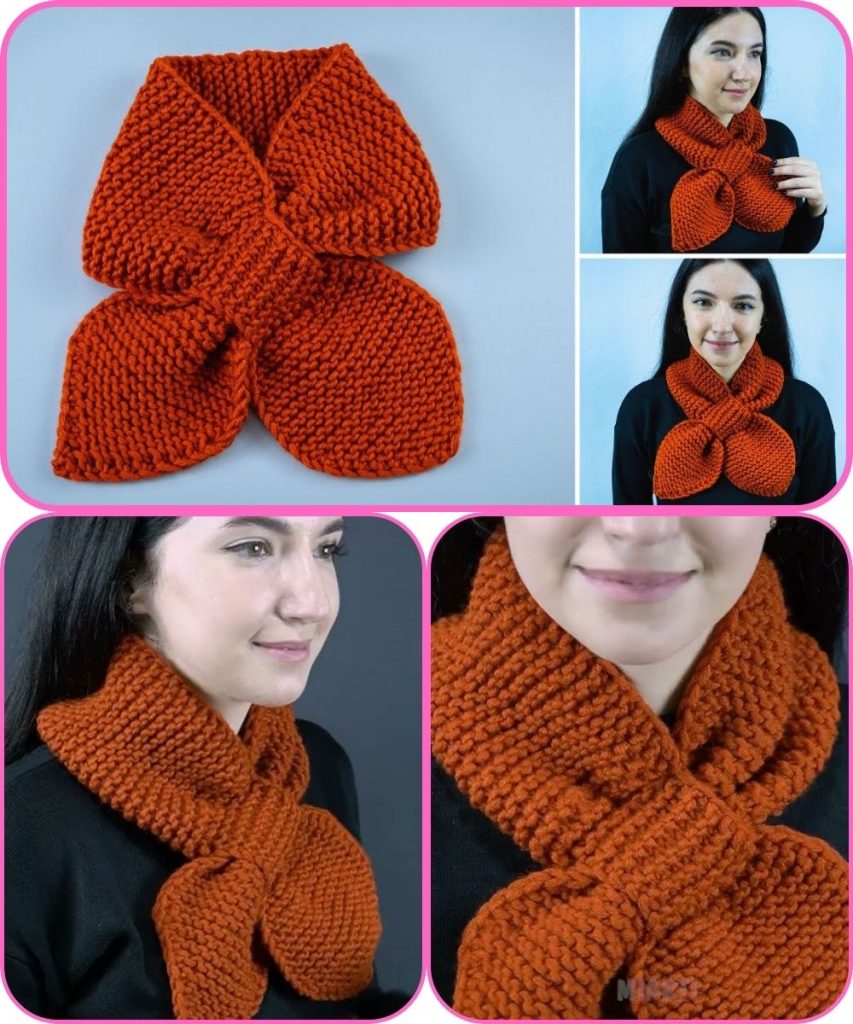
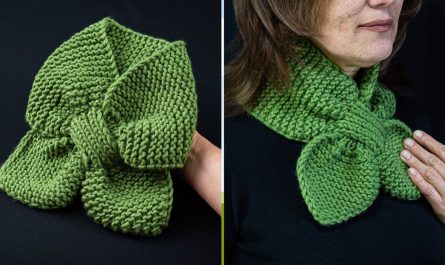
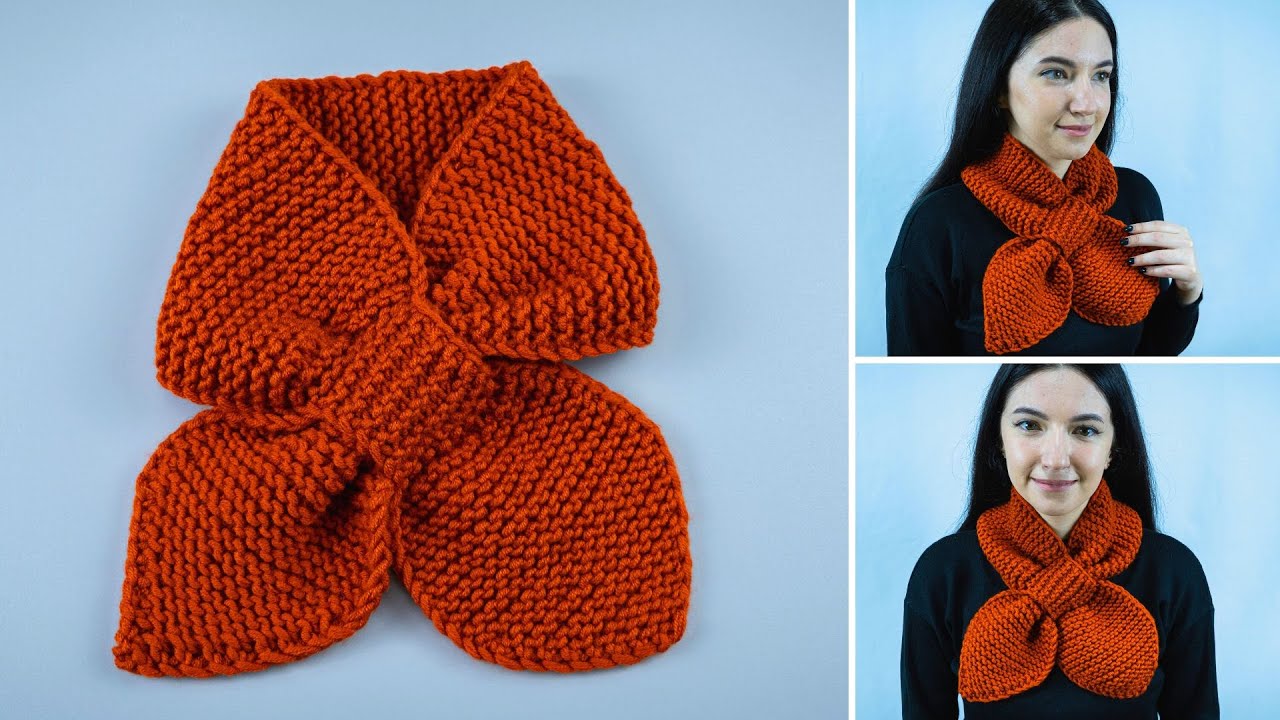
How to Make a Beautiful Knitted Scarf-Snood for Beginners
A snood is a circular scarf that you can wear around your neck like a loop. It’s easier to make than a traditional scarf because you don’t have to worry about finishing ends neatly, and it looks chic and modern.
Materials You’ll Need
- Yarn:
- Choose a soft, chunky yarn for beginners. Chunky yarn works up faster and shows stitches clearly.
- Approx. 200–300 grams should be enough for a snood.
- Knitting Needles:
- Use circular needles (40–60 cm long) for ease of knitting in rounds.
- Needle size should match your yarn; usually, chunky yarn uses 8–10 mm needles.
- Other Tools:
- Scissors
- Yarn needle (for weaving in ends)
Step 1: Decide on Your Size
- A standard snood is about 50–60 cm in circumference and 20–25 cm wide.
- For a cozy, loose fit, knit a slightly bigger circumference.
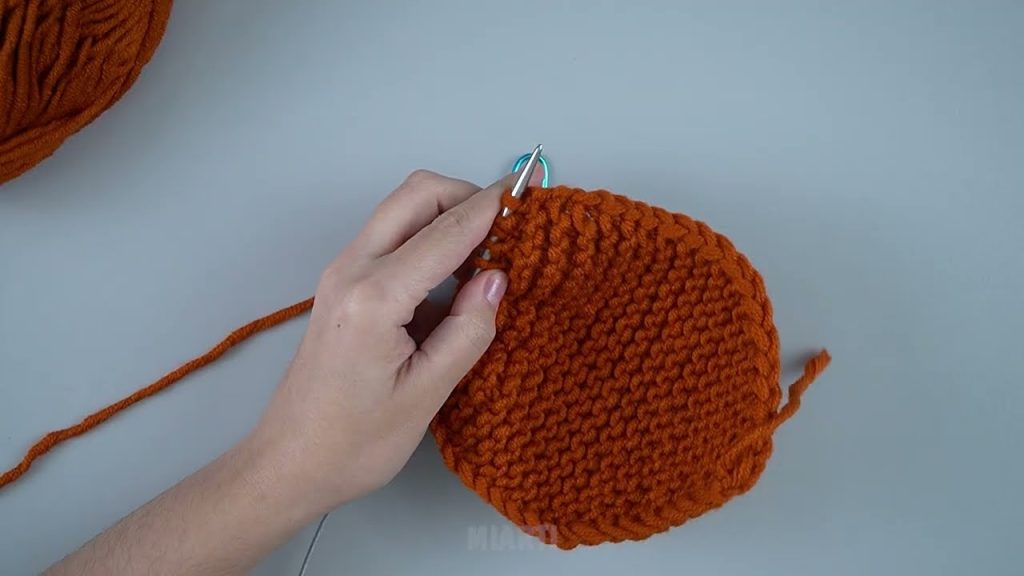
Step 2: Choose a Stitch Pattern
Beginners should start with simple, visually appealing stitches:
- Garter Stitch:
- Knit every row. Very simple and creates a soft, squishy texture.
- Ribbing (1×1 or 2×2):
- Alternate knit 1, purl 1 or knit 2, purl 2. Adds elasticity and looks neat.
- Seed Stitch:
- Alternate knit 1, purl 1 every row, but stagger stitches. Creates a bumpy, textured fabric.
Step 3: Casting On
- For a circular snood:
- Use long-tail cast-on to make a flexible edge.
- Cast on the number of stitches that matches your desired circumference. For chunky yarn: usually 80–100 stitches.
Step 4: Knitting in the Round (Optional)
- If using circular needles, join in the round carefully, making sure the stitches are not twisted.
- If you prefer a flat piece: knit back and forth, then sew the short ends together at the end.
Step 5: Knitting the Body
- Keep knitting in your chosen stitch pattern until your snood reaches 20–25 cm in width.
- Tips:
- Check your work regularly to make sure the tension is even.
- If using ribbing, the snood will naturally curl less.
Step 6: Finishing
- Bind Off:
- Use a stretchy bind-off if using ribbing to avoid a tight edge.
- For garter or seed stitch, a normal bind-off is fine.
- Weave in Ends:
- Use a yarn needle to tuck in any loose ends neatly.
- Block Your Snood (Optional):
- Wet the snood lightly and lay it flat to dry. This evens out stitches and gives it a professional look.
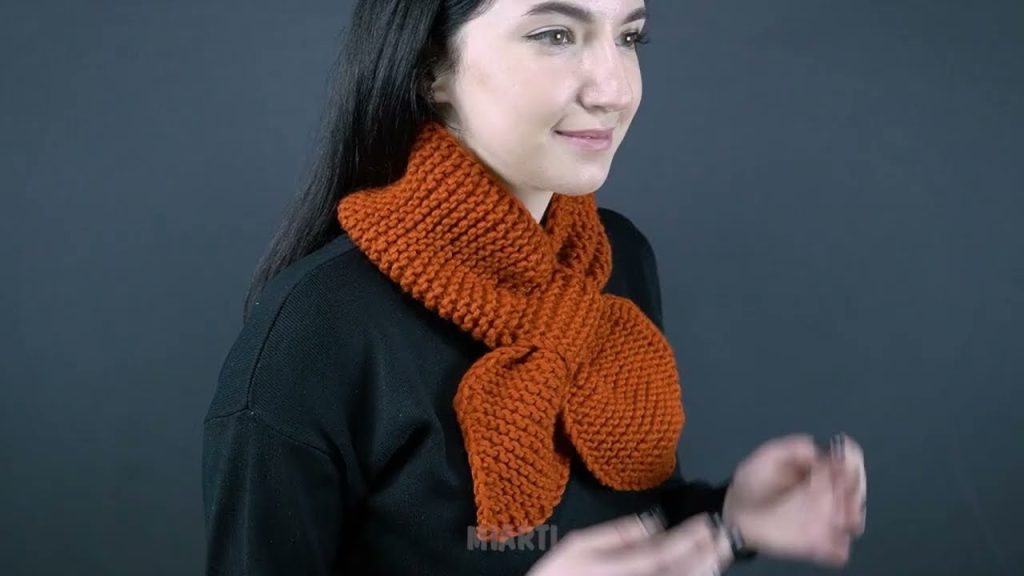
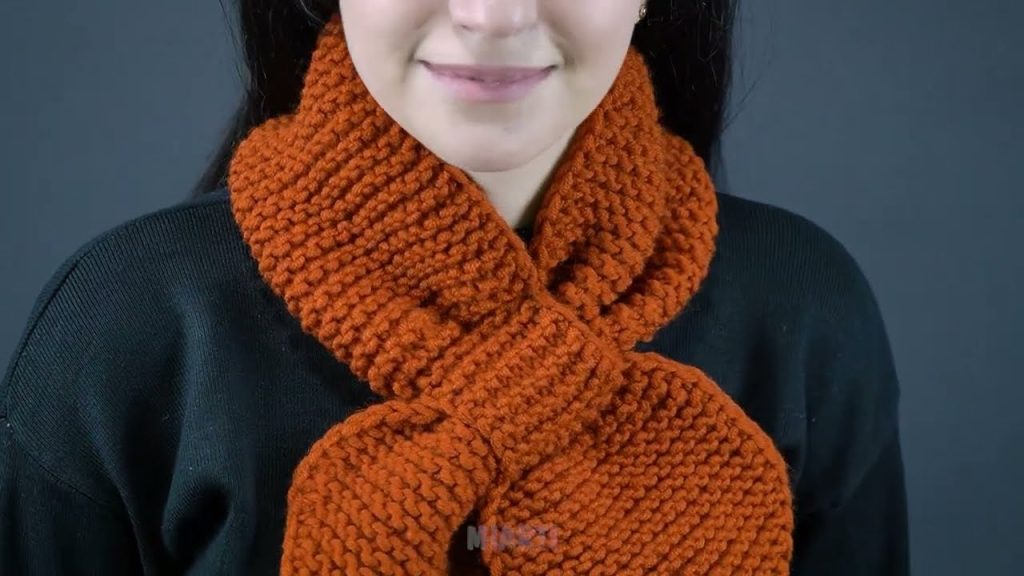
Step 7: Styling Your Snood
- Double Loop: Wrap twice for a snug neck warmer.
- Single Loop: For a casual, loose fit.
- Hooded Look: Pull over the head to use as a light hood on chilly days.
Tips for Beginners
- Don’t worry about mistakes; chunky yarn makes errors less noticeable.
- Keep your tension even—too tight makes it stiff, too loose makes it floppy.
- Pick fun, vibrant colors for a scarf that everyone will notice!
Why Everyone Will Love It
- Easy for beginners
- Quick to knit with chunky yarn
- Stylish and versatile
- Cozy and practical
If you want, I can also make a step-by-step diagram with stitch visuals and measurements, so it’s like a mini knitting pattern guide that even absolute beginners can follow.
Watch tutorial: