 by
by Sure! Let’s go through a detailed, step-by-step guide on how to knit a beret with a visor (brim) — perfect for an intermediate knitter who’s comfortable knitting in the round and working simple shaping.
🧶 How to Knit a Beret with Visor — Step-by-Step
✳️ Overview
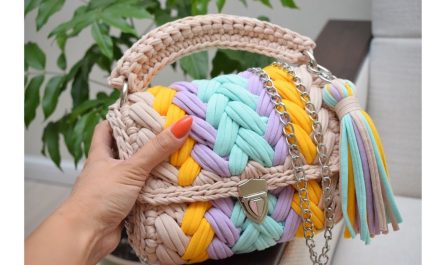
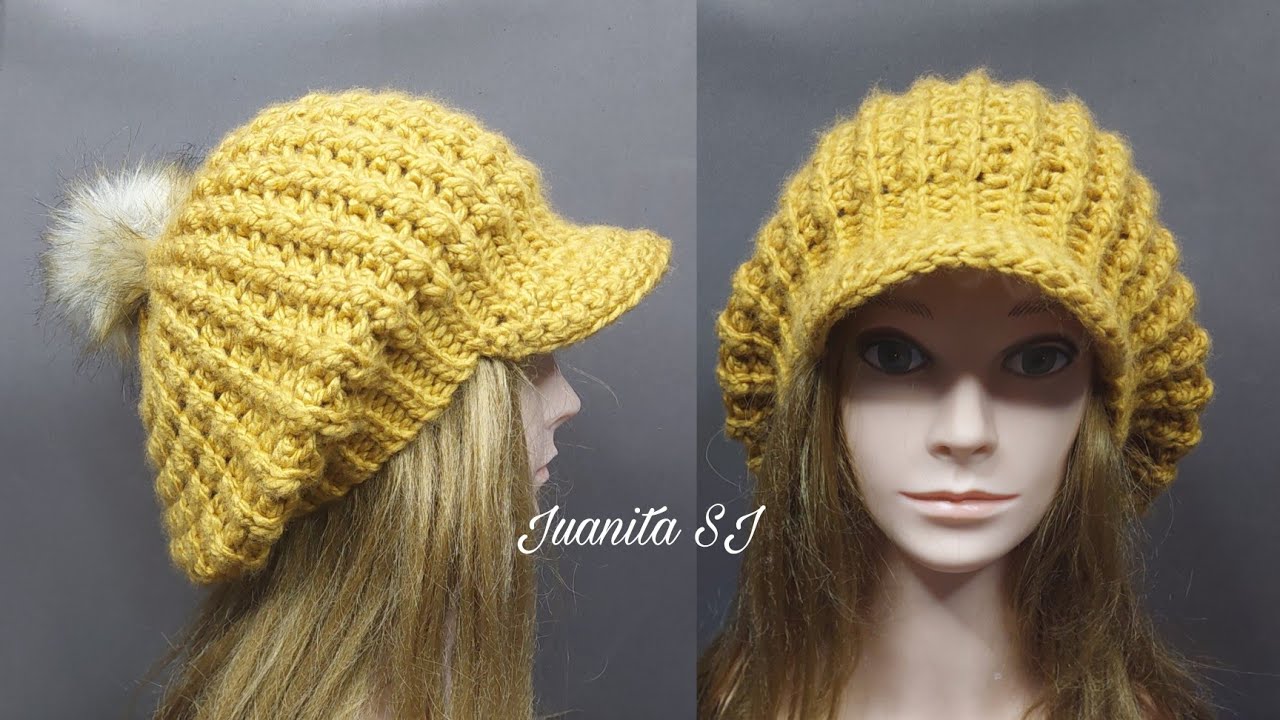
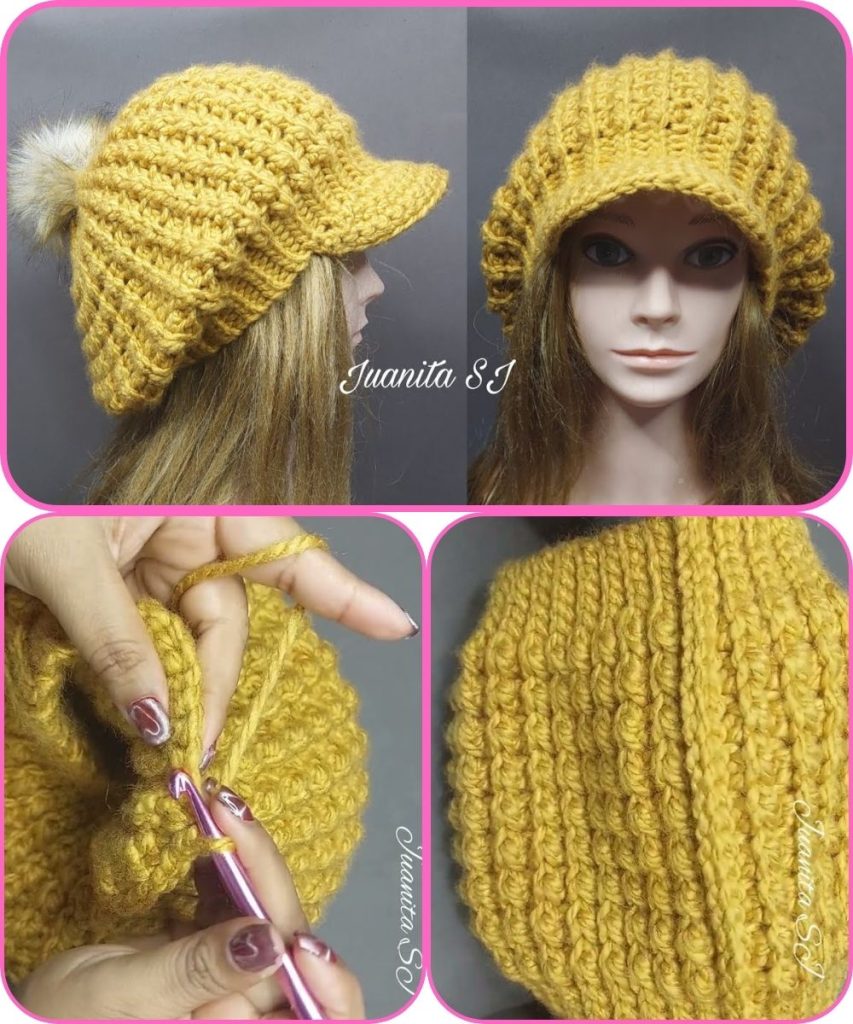
A knit beret with a visor (also known as a newsboy beret or cap) combines the classic round beret shape with a small, structured brim in front. It’s stylish, cozy, and practical for cool weather.
🧵 Materials Needed
| Item | Details / Recommendation |
|---|---|
| Yarn | Worsted-weight yarn (approx. 150–200g) — wool, acrylic, or blend |
| Knitting needles | 3.5 mm (US 4) for ribbing, 4.0 mm (US 6) circulars for body (40 cm / 16″) |
| Double-pointed needles (DPNs) | Same size as circulars for crown shaping |
| Stitch markers | 4–8, for dividing sections |
| Tapestry needle | For weaving in ends |
| Visor reinforcement (optional) | Plastic mesh, interfacing, or stiff felt |
| Scissors and measuring tape | Standard tools |
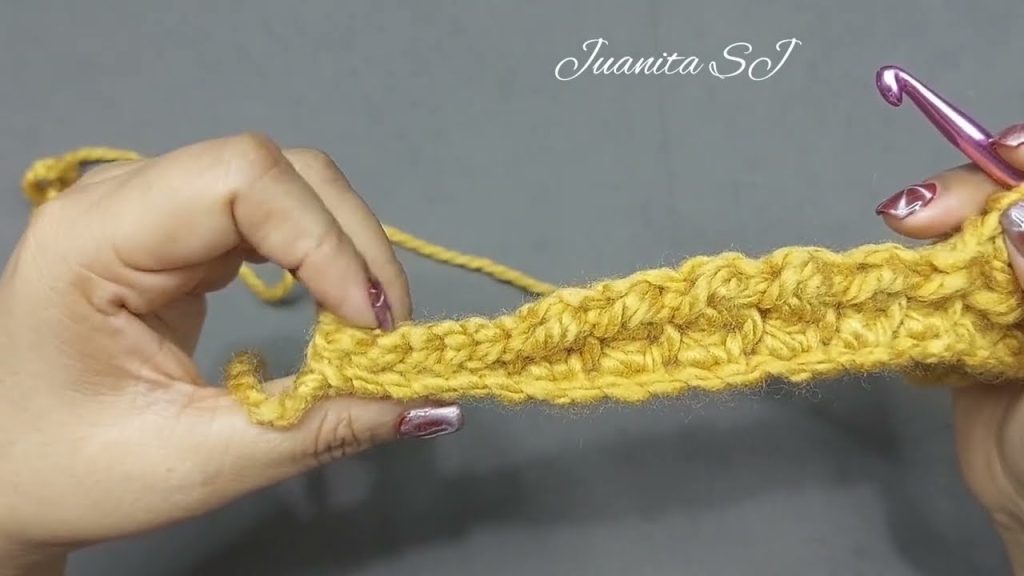
🪡 Step 1: Knit the Band (Ribbed Edge)
- Cast on 100–110 stitches (adjust for your gauge and head circumference).
- Join in the round, being careful not to twist stitches.
- Work ribbing — K2, P2 (or K1, P1 if you prefer a narrower rib) for about 4–5 cm (1½–2 inches).
- This will form the stretchy band that sits around the head.
Tip: For a snugger fit, use a smaller needle size for the ribbing than for the body.
🪡 Step 2: Increase for the Beret Body
- Switch to your larger circular needle.
- Round 1: [K4, M1] around (or evenly increase by about 20–30%).
→ You should have around 130–140 stitches total. - Knit in stockinette stitch (K every round) for about 6–7 cm (2½–3 inches).
- The beret body should start widening nicely.
Optional texture: You can add a pattern like seed stitch, cables, or lace to the body for a decorative look.
🪡 Step 3: Shape the Crown (Top of Beret)
Now you’ll decrease gradually to create the rounded top.
- Divide stitches into 8 equal sections using stitch markers.
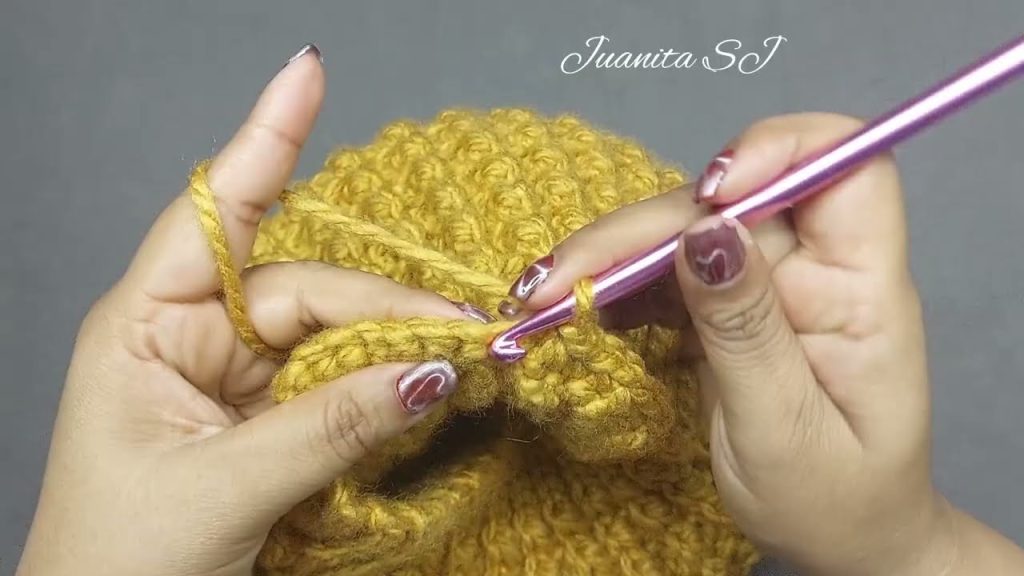
- Decrease Rounds:
- Round 1: K to 2 stitches before marker, K2tog. Repeat around.
- Round 2: Knit.
- Repeat Rounds 1–2 until about half the stitches remain.
- Then, decrease every round until 8 stitches remain.
- Cut yarn, leaving a 10–15 cm tail.
Thread through remaining stitches and pull tight to close the top.
Weave in the end.
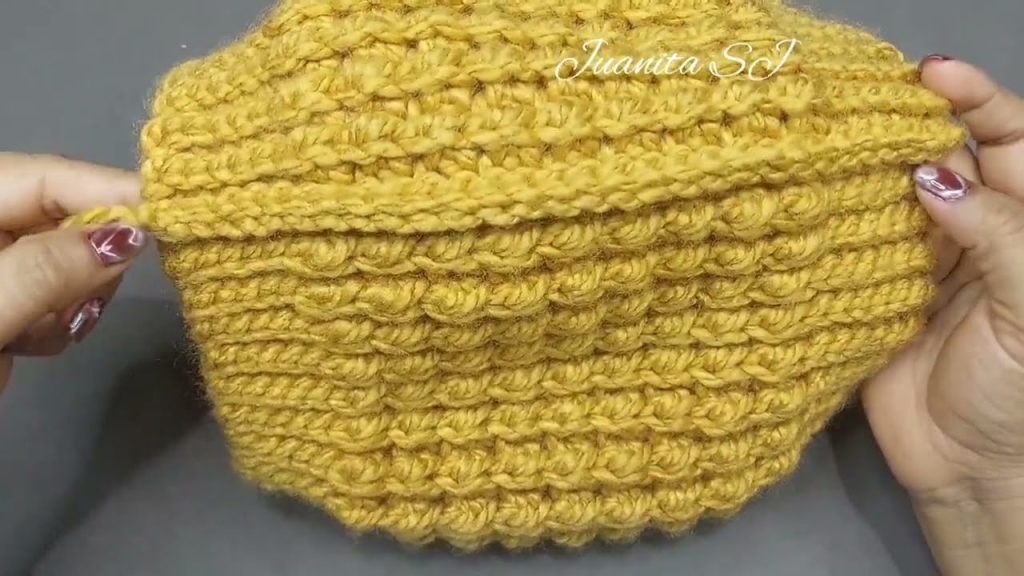
The classic beret shape should now be visible!
🪡 Step 4: Knit the Visor (Brim)
You can knit the visor separately and sew it on.
- Pick up stitches along about ⅓ of the front band (centered).
Example: pick up ~25–30 stitches. - Work short rows to shape the visor:
- Row 1 (RS): K to end.
- Row 2 (WS): P to end.
- Row 3: K to 2 sts before end, turn.
- Row 4: P to 2 sts before end, turn.
- Continue working 2 sts shorter on each side for 5–6 more rows.
- Bind off loosely.
Optional: Insert a small piece of plastic canvas or interfacing between two visor layers for structure.
If you want a sturdier brim:
- Knit two identical visor pieces.
- Place them together with a stiff insert between.
- Sew along the edges to the band.
🪡 Step 5: Finishing Touches
- Block the beret gently — use steam or wet blocking to smooth it out and shape the top.
- Sew visor securely to the band if not already attached.
- Weave in all yarn ends neatly.
- Add embellishments if desired (button on top, decorative stitches, etc.).
🧣 Optional Modifications
- Slouchier style: Knit extra rounds before crown decreases.
- Tighter fit: Reduce increase count after band.
- Textured pattern: Add cables or a basketweave to the body.
- Double-layer visor: For extra firmness and a clean look.
🧶 Example Pattern Summary (for quick reference)
| Section | Steps | Notes |
|---|---|---|
| Band | CO 110, K2P2 rib 4 cm | Use smaller needle |
| Body | Increase to 140 sts, knit 7 cm | Optional pattern |
| Crown | Decrease every other round, then every round | Divide into 8 sections |
| Visor | Pick up 30 sts, work short rows | Add reinforcement |
| Finish | Block, sew visor, weave ends | Shape and decorate |
Watch tutorial: