 by
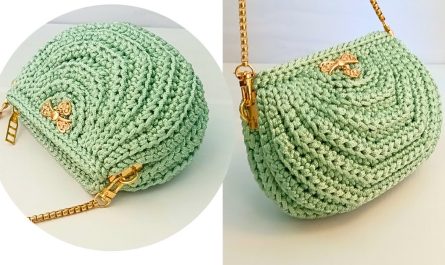
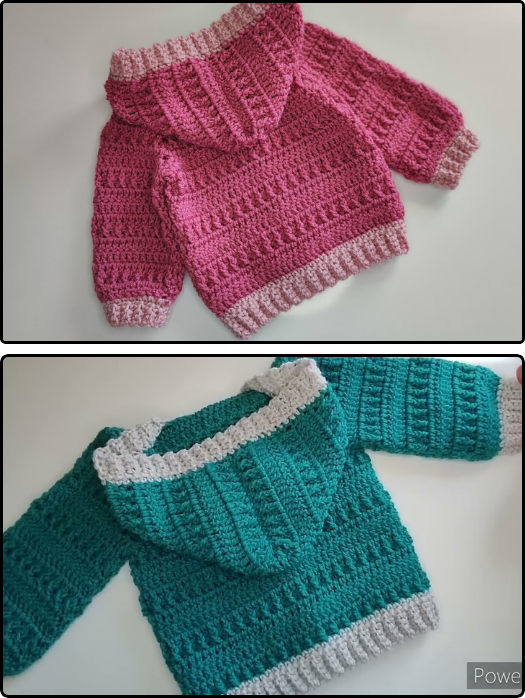
by Crocheting a baby hoodie is a rewarding project that combines functionality and cuteness. Whether you’re making a gift or preparing for your own little one, a handmade hoodie can be a cherished item. Here’s a detailed step-by-step guide on how to crochet a baby hoodie, suitable for beginners to intermediate crocheters.
🧶 Materials Needed
- Yarn: Choose soft, baby-friendly yarn (acrylic or cotton blends are good). DK (light worsted) or worsted weight yarn is ideal.
- Crochet Hook: Check the yarn label for the recommended size. Usually between 4.0 mm (G) to 5.5 mm (I).
- Stitch Markers: Useful for marking increases and sleeves.
- Buttons: Optional, for closures (2–3 small buttons).
- Scissors and Yarn Needle: For finishing off and weaving in ends.
- Measuring Tape: To check size as you go.
📏 Sizing
Adjust the size according to the baby’s age. Common hoodie sizes:
- Newborn: Chest 16 in (40.5 cm)
- 0-3 months: Chest 17 in (43 cm)
- 3-6 months: Chest 18 in (45.5 cm)
- 6-12 months: Chest 19 in (48 cm)
Always check your gauge before beginning to ensure proper fit.
🧵 Step-by-Step Instructions
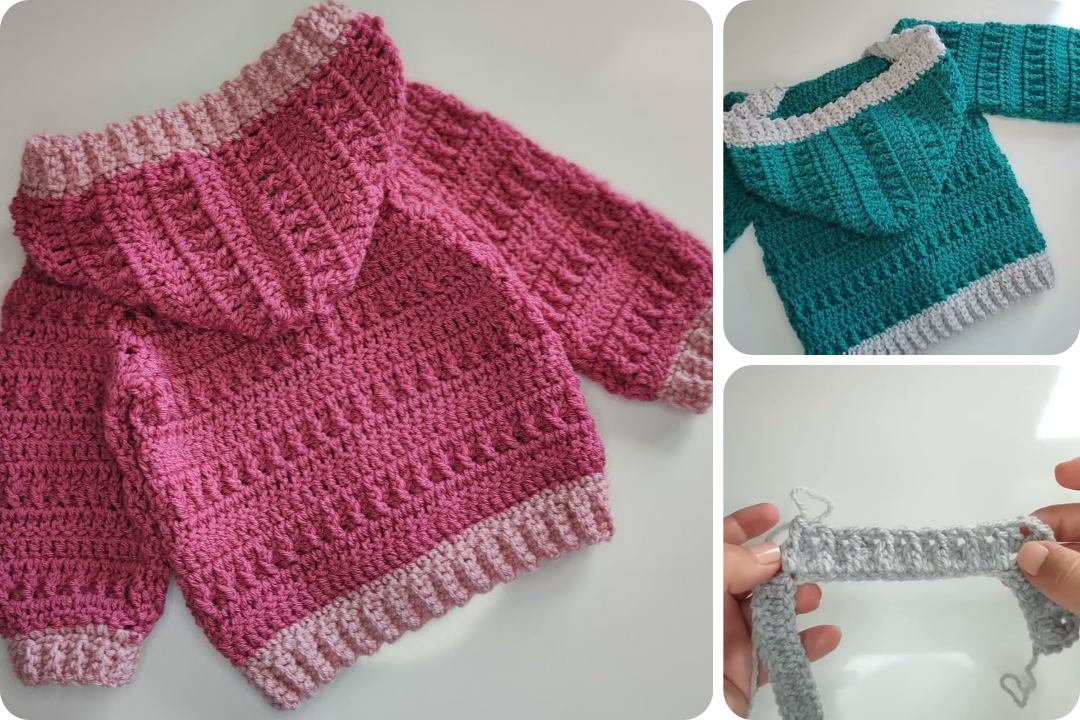
Step 1: Make the Yoke
The yoke is the top part of the hoodie that goes over the shoulders and forms the base for the sleeves and body.
- Foundation Chain: Start with a chain based on the pattern size. For 0-3 months, chain about 52 (adjust based on your gauge).
- Work in Rows: Crochet back and forth using double crochet (DC) or half double crochet (HDC) stitches, increasing at four evenly spaced points to create the raglan shape (shoulders).
- Continue until yoke measures about 3.5-4.5 inches depending on size.
Step 2: Divide for Body and Sleeves
Once the yoke is complete:
- Separate Stitches: Mark sections for front, back, and sleeves.
- Skip Sleeve Sections: Connect front and back parts with chains under the arms to form the body. Work in the round or in rows.
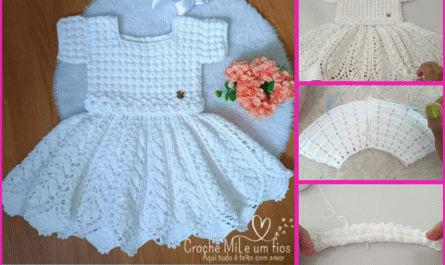
Step 3: Crochet the Body
- Work Downward: Continue working in rounds or rows until the body reaches desired length (usually 8–10 inches from armhole).
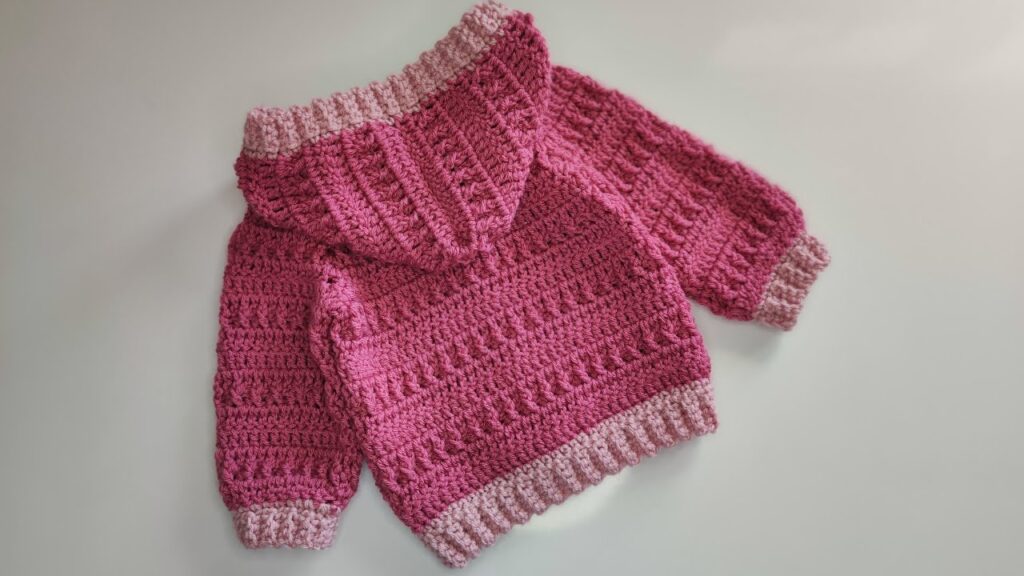
- Add Ribbing (Optional): For a finished look, you can add ribbing using front post and back post double crochet at the bottom edge.
Step 4: Make the Sleeves
- Attach Yarn to Sleeve Hole: Work in the round or rows.
- Crochet Downward: Make the sleeves to desired length (5–6 inches for babies).
- Taper Sleeves (Optional): Decrease stitches slightly as you go to create a tapered sleeve.
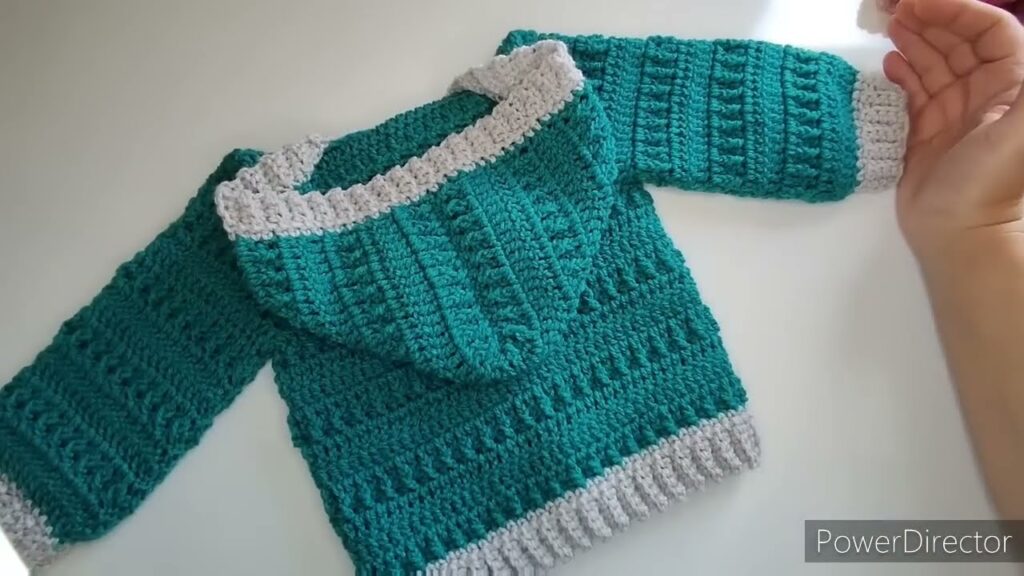
Step 5: Create the Hood
- Attach Yarn to Neckline: Start at one front corner.
- Work Back and Forth: Crochet rows across the neckline to build up the hood, shaping slightly at the top.
- Join Top: Fold the hood in half and seam the top with slip stitch or whip stitch.
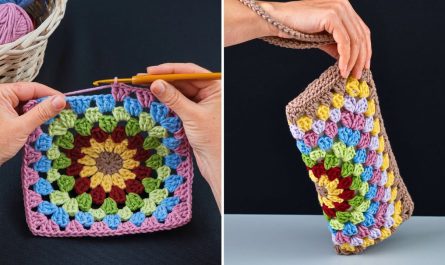
Step 6: Edging and Finishing
- Add Front Edging: Crochet a border around the front opening of the hoodie.
- Buttonholes: Create spaces for buttons every few stitches, if adding buttons.
- Weave in Ends: Use a yarn needle to tidy up all loose ends.
- Sew on Buttons (if using).
🐻 Optional Add-ons
- Ears on the Hood: Make small oval shapes and sew them on for a bear or bunny look.
- Pocket: Add a simple square or kangaroo pocket to the front.
- Colorwork: Use two or more colors for stripes or accents.
📌 Tips for Success
- Always check your gauge.
- Use stitch markers to avoid confusion.
- Wash the finished hoodie with baby-safe detergent before gifting or using.
Watch video: