 by
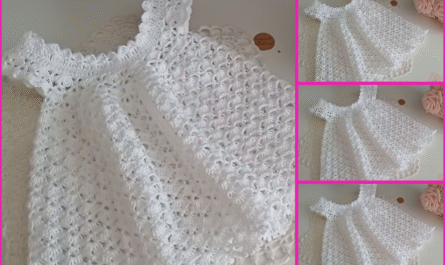
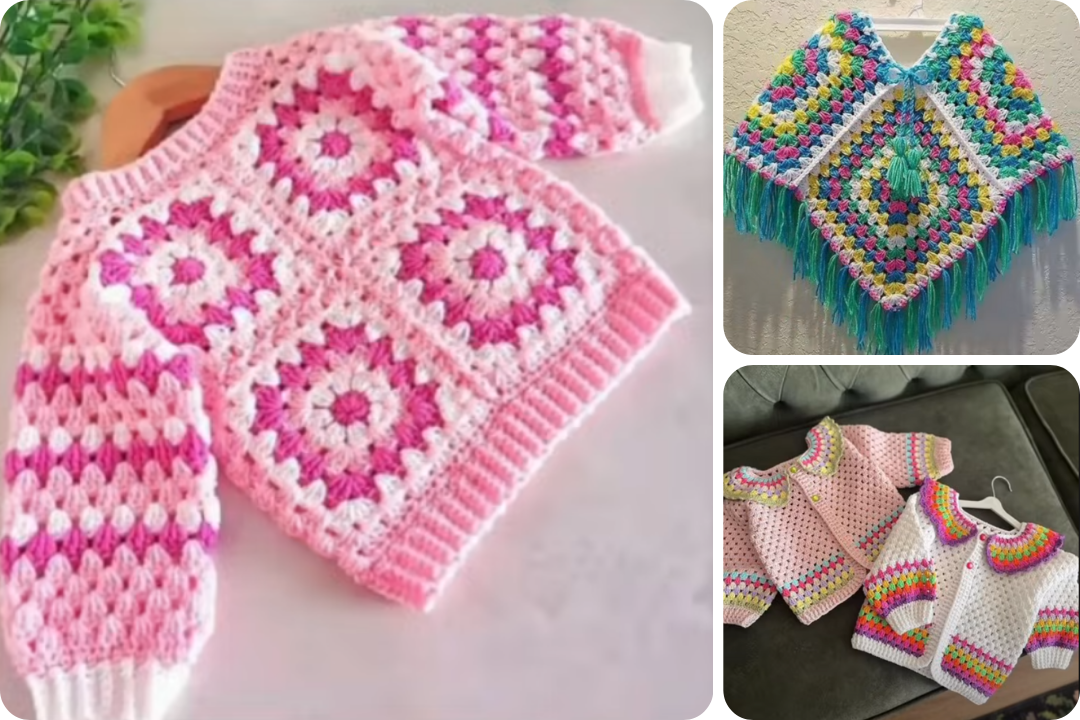
by Creating a Crochet Granny Square Cardigan or Poncho for a Baby Girl is a delightful project, perfect for baby showers, gifts, or simply making something cozy and cute. Below is a detailed guide including materials, patterns, and tips tailored to create a new design for 2025—modern, colorful, and practical.
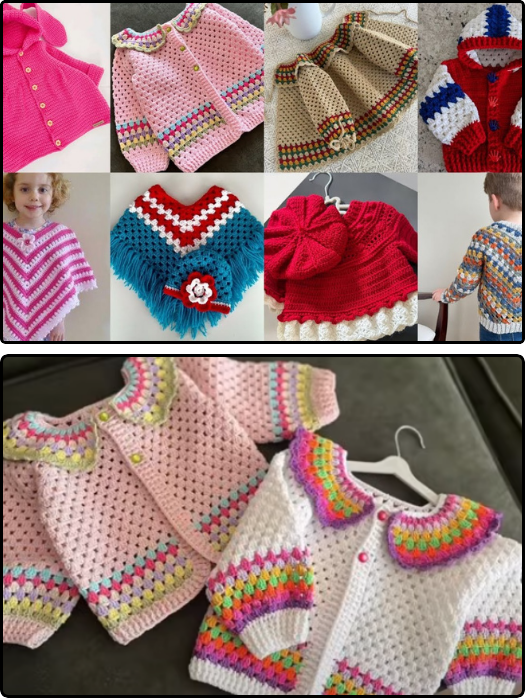
🧶 How to Make Crochet Granny Square Cardigan & Poncho (Baby Girl Clothes – New 2025 Design)
✨ Design Overview:
The latest design combines:
- Bold pastel colors (lavender, peach, mint, and cream)
- Floral-centered granny squares
- Lightweight cotton or bamboo yarn
- Comfortable fit with room to grow
- Button or ribbon closure for cardigan
- Fringe or scalloped edging for poncho
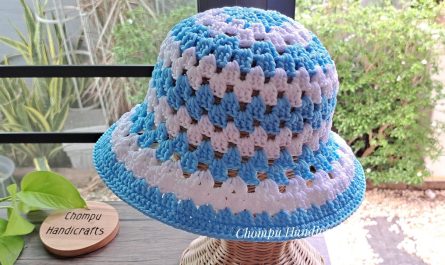
🧵 Materials Needed:
- Yarn: Lightweight (DK or sport weight), baby-soft cotton or bamboo
- Colors: 3–4 coordinated pastel shades
- Hook: 3.5 mm – 4 mm (E or G)
- Tapestry needle (for weaving ends)
- Stitch markers
- Buttons or ribbons (for cardigan)
- Scissors
- Measuring tape
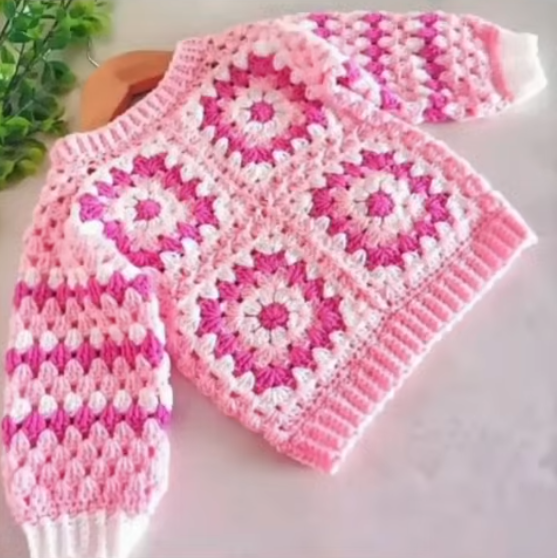
🟩 Step 1: Make the Granny Squares
Pattern: Flower-Centered Granny Square
- Round 1: Magic ring, ch 2, 12 dc in ring, sl st to join. (12 dc)
- Round 2: Change color, (2 dc in next st, ch 1) repeat around, sl st to join.
- Round 3: Change to square color.
- Ch 3 (counts as dc), 2 dc in same space, ch 1, (3 dc, ch 1) in each ch-1 space to form corners.
- Add corners at every 3rd space to create square shape.
- Round 4 (Optional): Continue squaring out with clusters and ch-1 spaces.
🧩 Make 8–12 squares for a poncho or 16–20 for a cardigan (depending on size, typically for 6-18 months).
🧷 Step 2: Block the Squares
- Lightly steam or wet block your squares to uniform size.
- Arrange them as follows:
- Cardigan: 2 rows for body, 1 row for sleeves
- Poncho: Diamond layout (4 front + 4 back)
✂️ Step 3: Join the Squares
Methods:
- Whip stitch or Slip stitch crochet join for a clean seam.
- Arrange in desired shape and attach accordingly:
- Cardigan: Seam shoulders, sides, add sleeves.
- Poncho: Seam into a V-shape in front and back.
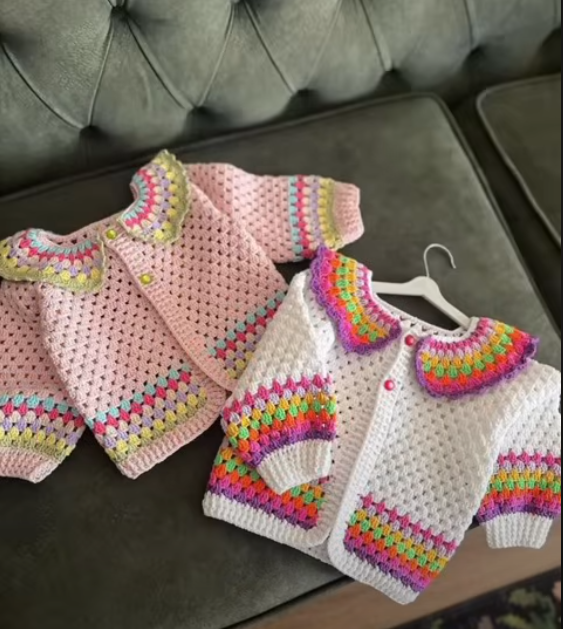
🧶 Step 4: Add Edging & Finishing Touches
Cardigan:
- Add ribbed border around neck and front (FPDC/BPDC or single crochet rows).
- Attach buttons or tie closure.
- Optional: add a hood using sc rows or extra granny squares.
Poncho:
- Add scalloped edge or fringe along the bottom.
- Add a button or tie near the neckline.
- Optional: small hood or decorative appliqué (flowers, hearts).
📏 Sizing Tips:
- Measure a current baby garment or refer to a size chart:
- Chest: ~18–20″
- Length: ~10–12″
- Add extra rows or squares for larger size.
🪡 Customizations:
- Use variegated yarn for unique effects.
- Add appliqué or embroidery for personalization.
- Change yarn texture for seasonal use (e.g., acrylic for winter).
🎁 Final Touch:
Gift wrap with care tags and washing instructions:
“Handmade with love. Gentle wash, lay flat to dry.”
Watch video: