 by
by 🧶 Materials You’ll Need
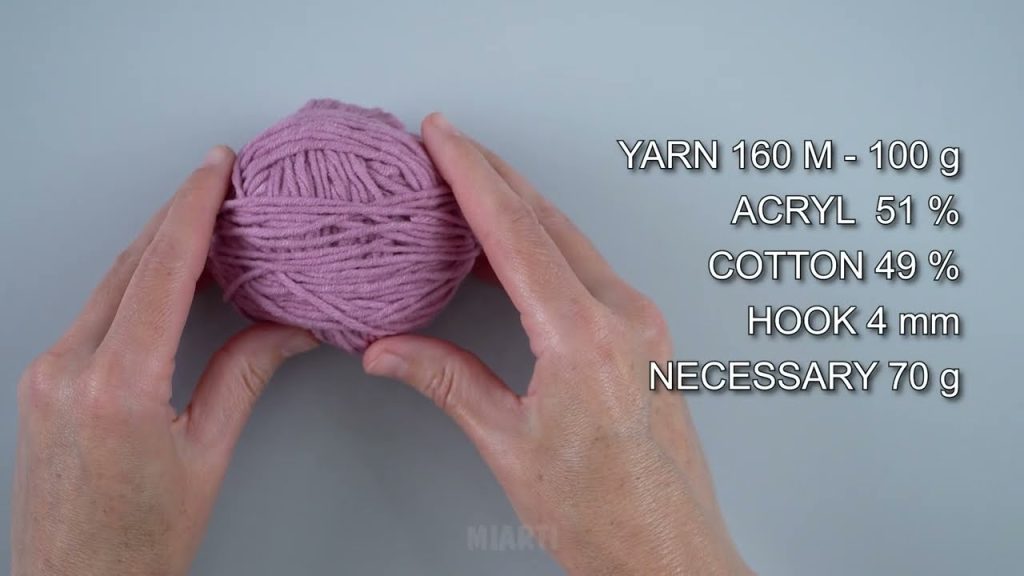
- Yarn: Medium weight (category 4) cotton or acrylic yarn (approx. 100g total)
- You can use one color or multiple for a traditional granny style.
- Hook: 4mm (G-6) or size recommended for your yarn
- Scissors
- Tapestry needle for weaving in ends
- Measuring tape
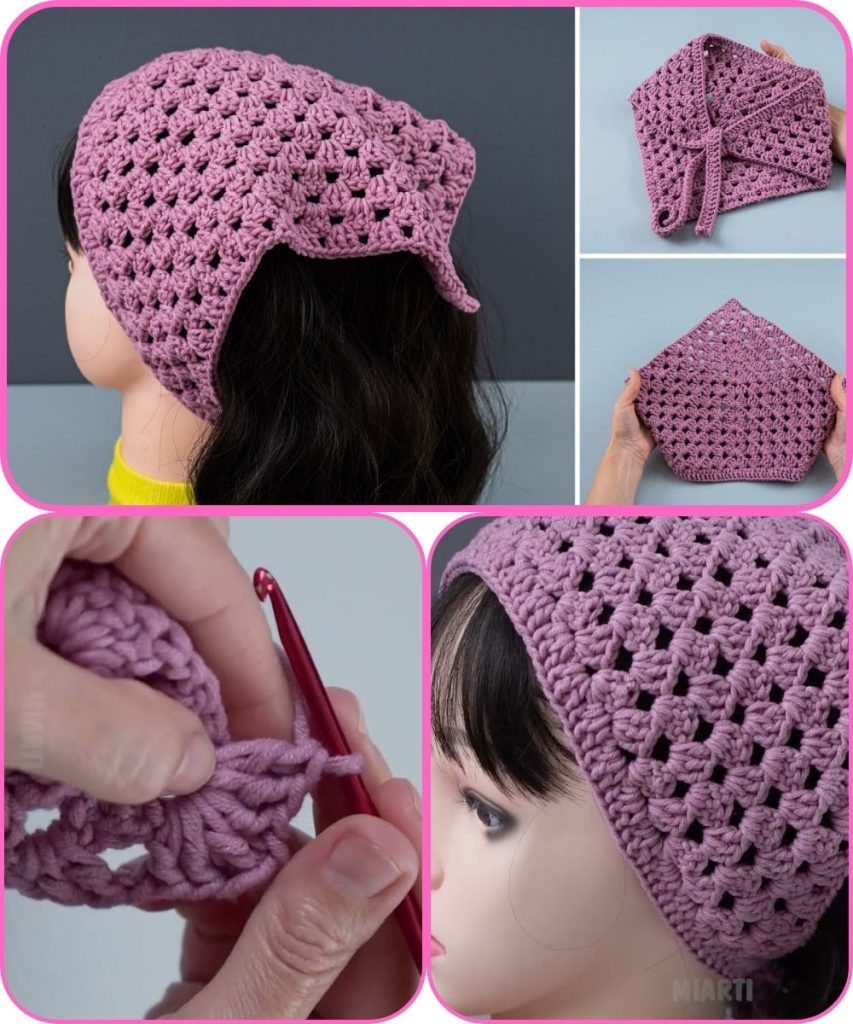
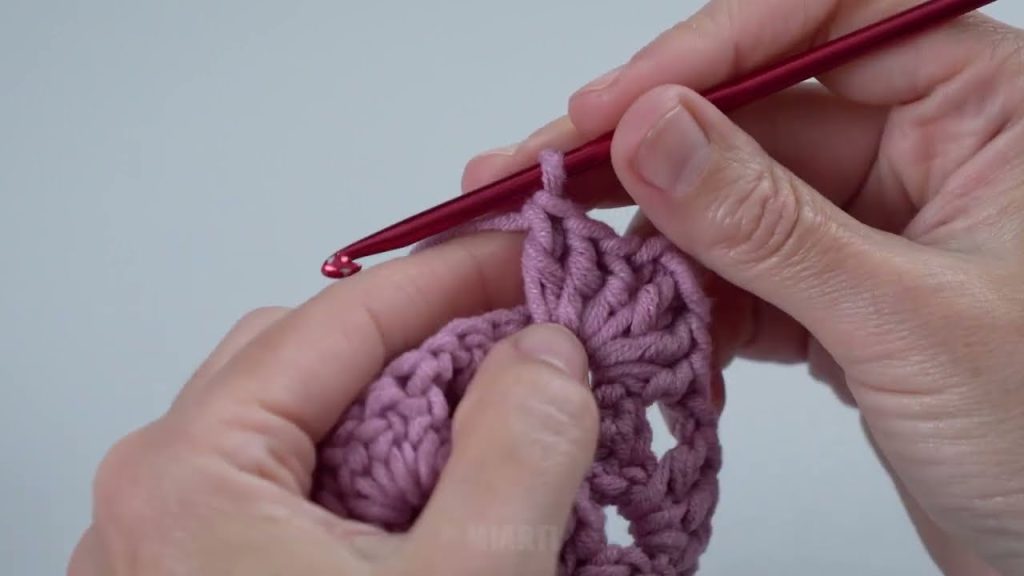
🧩 Step 1: Make the Magic Ring (Start of the Triangle)
- Create a magic ring (or chain 4 and join with a slip stitch to form a loop).
- Chain 4 (counts as 1 dc + 1 ch).
- Into the ring, work:
- 3 dc, ch 1, 3 dc, ch 1, 3 dc, ch 1, 2 dc
- Join with a slip stitch to the 3rd chain of your starting chain 4.
- You should now have 3 clusters of 3 double crochets — these form the 3 corners of your triangle.
🧩 Step 2: Round 2 – Building the Corners
- Slip stitch to the next ch-1 space.
- Chain 4 (counts as dc + ch 1).
- Into the same ch space, make 3 dc, ch 1.
- In the next ch-1 space: (3 dc, ch 1, 3 dc, ch 1) — this creates a corner.
- Repeat for the last corner space.
- End with 2 dc in the first corner and sl st to join.
👉 You now have a growing granny triangle.
🧩 Step 3: Rounds 3 and Beyond
- Each new round starts by slip stitching to the next corner space.
- Chain 4 (dc + ch 1).
- In each side space, work: 3 dc, ch 1.
- In each corner space, work: (3 dc, ch 1, 3 dc, ch 1).
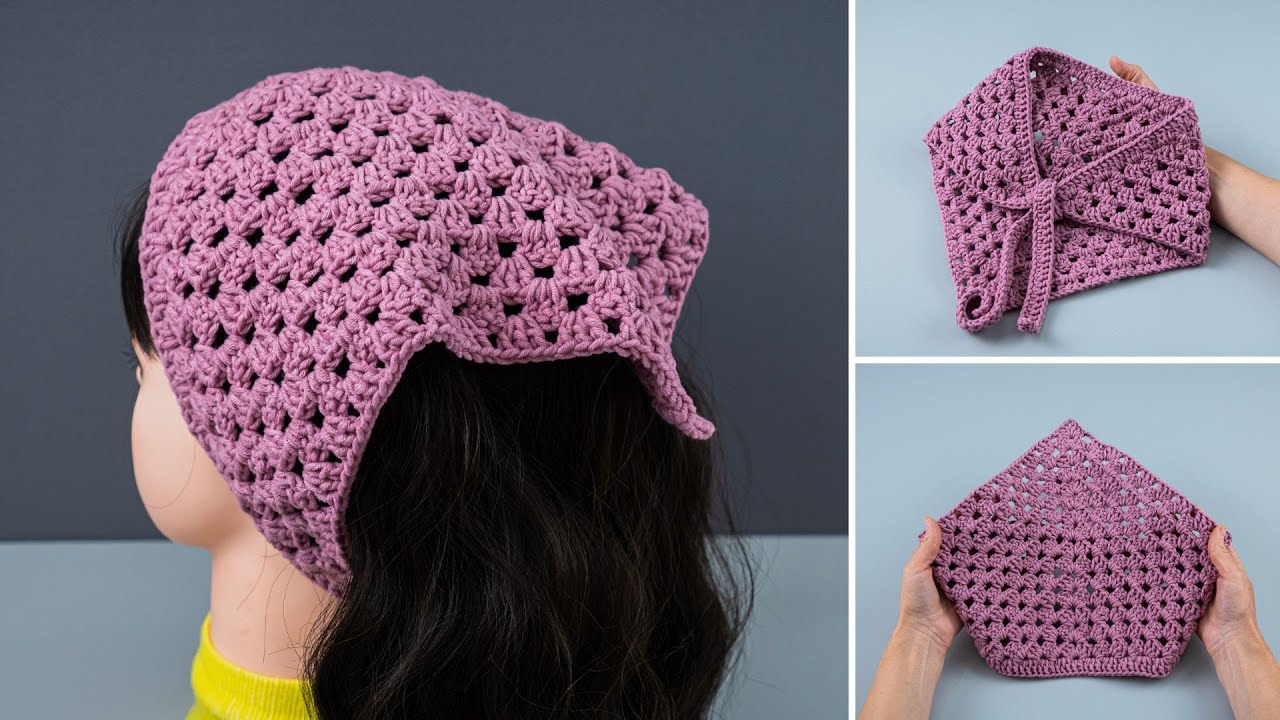
- Continue until the bandana reaches your desired size (usually 8–10 inches from top to point).
💡 Tip: You can switch colors each round for a fun, retro look.
🧶 Step 4: Optional Border
Once your triangle is big enough:
- Add a border for a clean edge:
- Work single crochet evenly around.
- For the top (longest) edge, make sure it lies flat (avoid adding too many stitches).
- You can also do a picot edge or shell border for decoration.
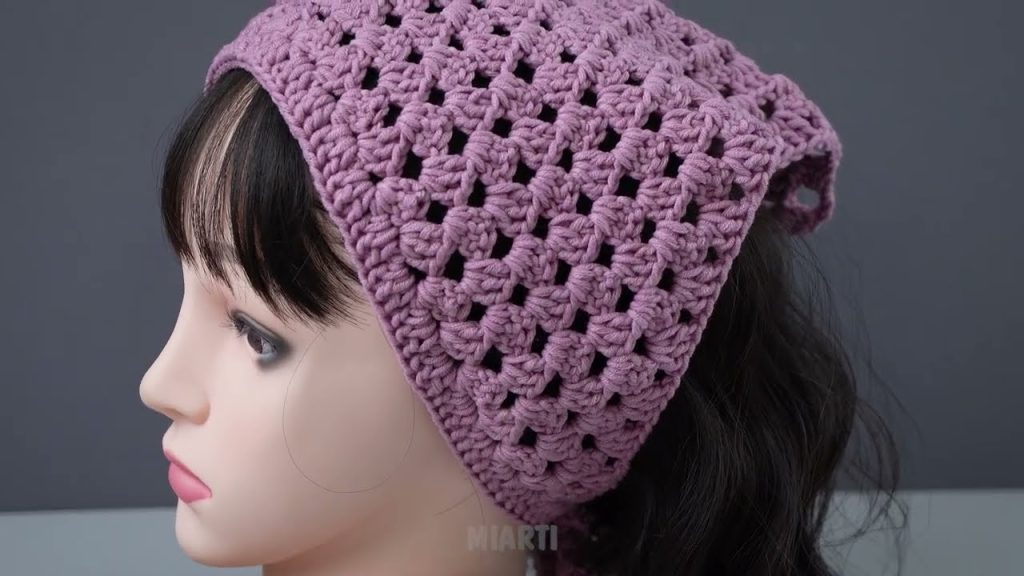
🎀 Step 5: Add Ties (to Wear as a Bandana)
You can create ties in two ways:
Option 1 – Crochet Chains
- On each end of the top edge, attach yarn.
- Chain 40–60 (depending on desired length).
- Slip stitch back along the chain for sturdiness.
Option 2 – Continue the Border
- When doing the final round of the border, extend the yarn at each corner into a long chain tie, then return with slip stitches.
✨ Step 6: Finishing Touches
- Weave in all ends with a tapestry needle.
- Block your bandana by pinning it to shape and lightly steaming or spraying it with water.
- Once dry, it’s ready to wear!
🧷 Optional Customizations
- Add fringe or tassels to the point.
- Sew on small beads or flowers for decoration.
- Try variegated yarn for a colorful gradient look.
📏 Size Guide (Approximate)
| Head Size | Triangle Width (Top Edge) | Height (Middle Point) |
|---|---|---|
| Teen/Small Adult | 16–17 in (40–43 cm) | 8 in (20 cm) |
| Average Adult | 18–20 in (46–51 cm) | 9–10 in (23–25 cm) |
Watch tutorial: