 by
by Here’s a detailed, step-by-step DIY tutorial on how to crochet a Drawstring Bag using the Strawberry Stitch. This is a fun, textured stitch that looks like tiny strawberries and is perfect for cute, handmade accessories.

🍓 DIY Crochet Drawstring Bag – Strawberry Stitch Tutorial
🧶 Skill Level: Intermediate
Requires basic crochet knowledge: chains, single crochet, double crochet, puff stitch.
📦 Materials Needed
- Worsted weight cotton yarn in two colors:
- Green (for leaves)
- Red or Pink (for strawberries)
- Crochet hook (Size 4.0 mm / G-6 recommended)
- Scissors
- Yarn needle
- Stitch markers (optional)
- Drawstring cord or crochet a chain cord
✨ Stitches Used
- Ch = Chain
- Sl St = Slip Stitch
- Sc = Single Crochet
- Dc = Double Crochet
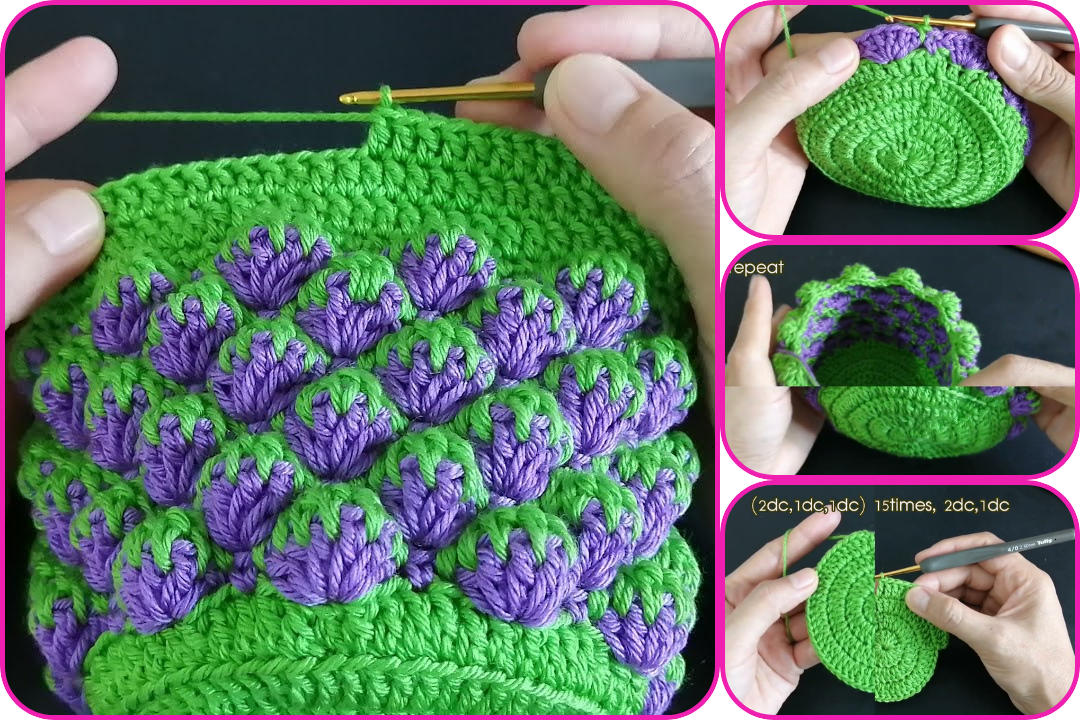
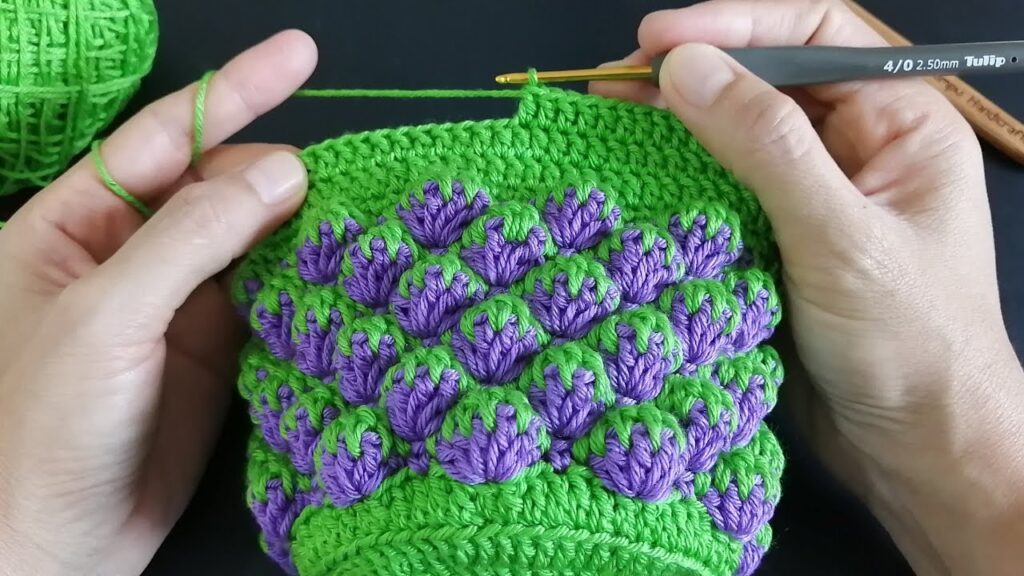
- Puff Stitch (Strawberry stitch): Yarn over, insert hook, yarn over, pull up loop – repeat 4 times (9 loops on hook), yarn over, pull through all loops.
📏 Finished Size (Approx.)
- Height: 6-8 inches
- Width: 5-6 inches
- You can increase or decrease the size by adjusting the starting chain and number of rows.
🪡 Instructions
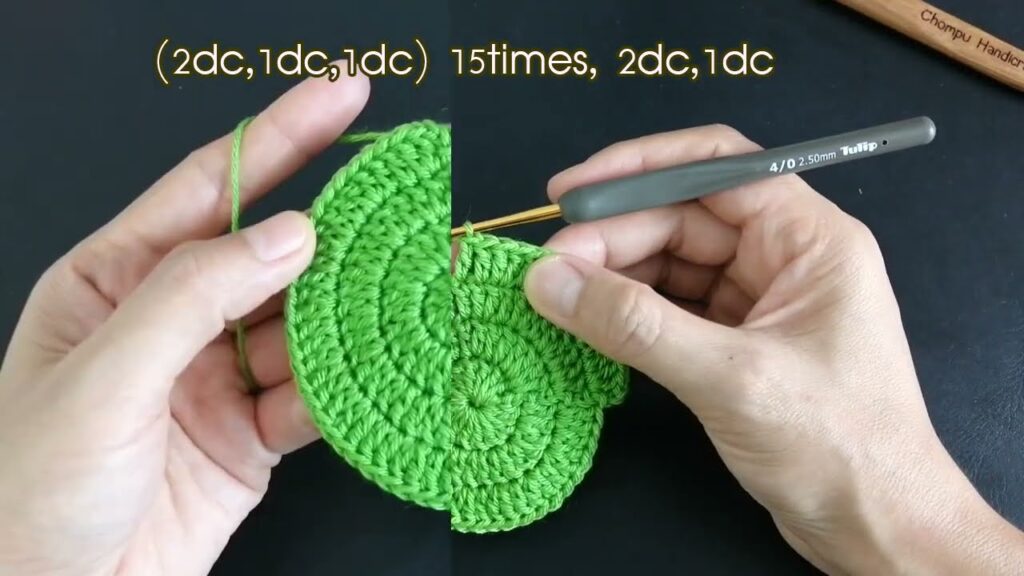
Step 1: Start the Base (Bottom Circle)
- With green yarn, make a magic ring.
- Round 1: Ch 2 (does not count as dc), work 12 dc into ring, join with sl st. (12)
- Round 2: Ch 2, 2 dc in each stitch around, join. (24)
- Round 3: 1 dc in next, 2 dc in next, repeat around, join. (36)
- Continue increasing if you want a wider base. Stop once the base is the desired size.
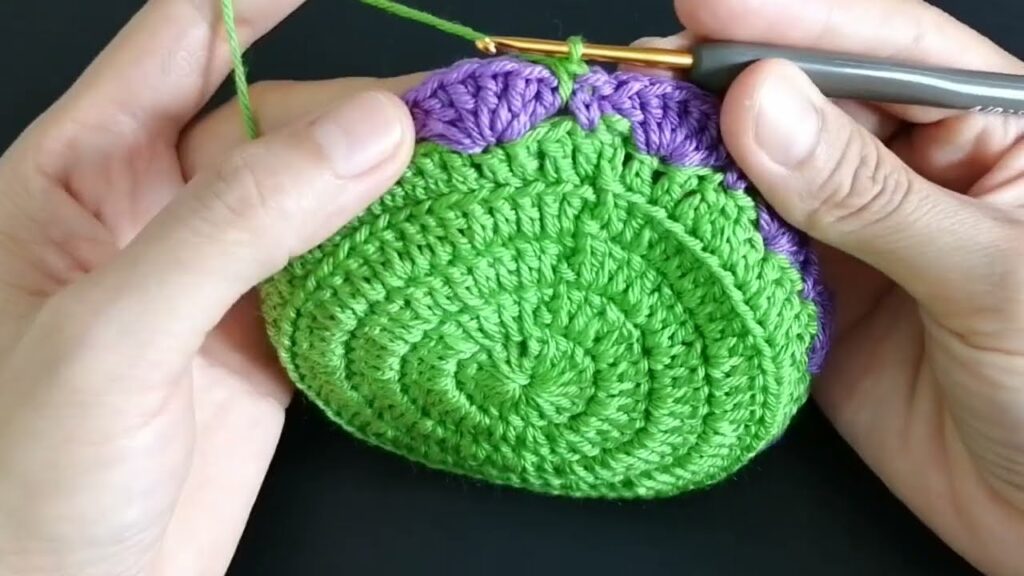
Step 2: Form the Body of the Bag
- Ch 1, work sc in back loops only around to form a ridge. This marks the base edge.
- Switch to red or pink yarn for strawberries.
Step 3: Crochet the Strawberry Stitch
- Row 1: (Sc in next st, skip 1 st, puff stitch in next st), repeat around. Join with sl st.
- Row 2: Sc in each st around (you may need to adjust the stitch count so puff stitches are offset each row).
- Row 3+: Alternate puff stitch rows and sc rows, stacking the strawberries between each other.
Repeat until the bag reaches your desired height.
✅ Tip: Strawberry puff stitches are usually made every other stitch, and the single crochet row helps them pop out.
Step 4: Add Green Leaves
- Once you’re done with strawberry rows, switch back to green yarn.
- Optional: Work a decorative leaf row by doing shell stitches:
- (Sc, skip 1 st, 5 dc in next st, skip 1 st) – repeat around.
- Finish off with 1 round of sc to neaten the top edge.
Step 5: Create Drawstring Holes
- Ch 1, sc in 3 stitches, ch 1, skip 1, repeat around.
- Next round: sc in each stitch and chain space.
Step 6: Make the Drawstring Cord
Option A: Crochet a long chain (approx. 60–80 chains), then sc or sl st back through.
Option B: Use i-cord or a store-bought drawstring.
- Weave through the holes made in Step 5.
- Tie a knot at each end to secure.
Step 7: Finishing Touches
- Weave in all ends with a yarn needle.
- Optionally add beads or small crocheted leaves to the ends of the drawstring.
🎉 Done! You Now Have a Super Cute Strawberry Stitch Drawstring Bag!
Perfect for:
- Storing small items
- A cute summer accessory
- Gifting!
Watch video: