 by
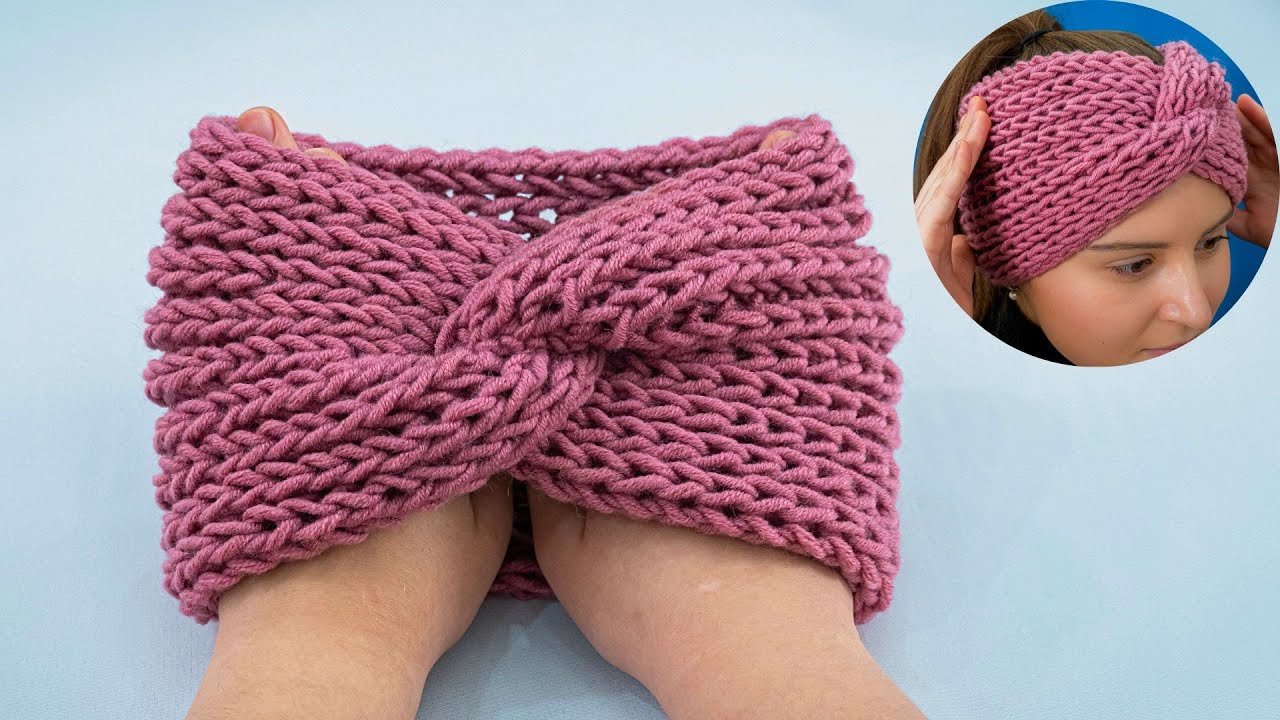
by Absolutely! Let’s make a beautiful, easy knitted headband step by step. I’ll give you a simple pattern, including materials, instructions, and tips so it looks professional even if you’re a beginner.
Materials You’ll Need
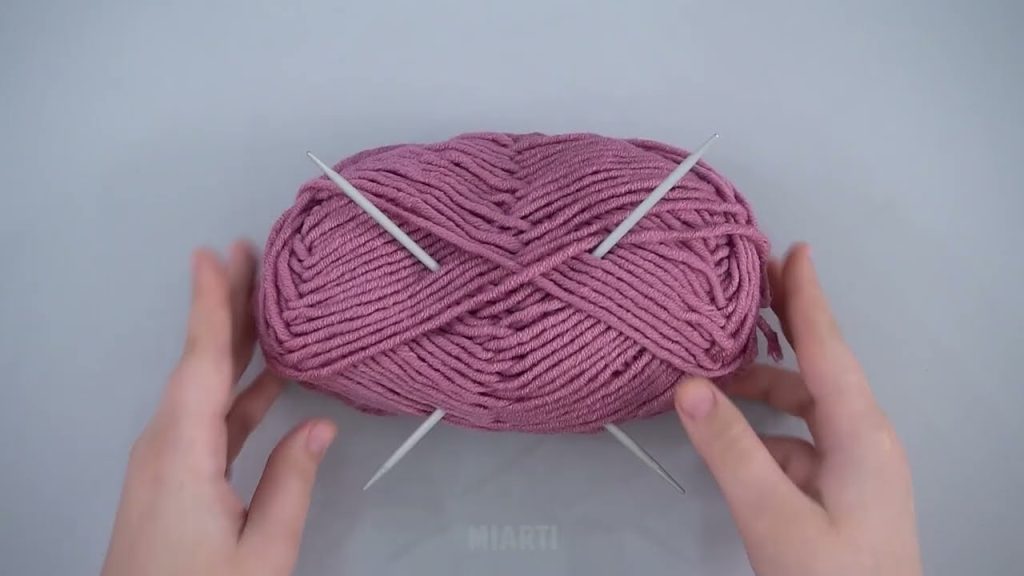
- Yarn: Medium-weight yarn (worsted weight) works great. Soft yarn like acrylic, cotton, or wool blends feel comfy on the head.
- Knitting needles: US size 8 (5 mm) straight or circular needles (for flat knitting).
- Tapestry needle: For sewing ends together.
- Scissors
- Measuring tape
Optional: A stitch marker if you want to mark your rows.
Step 1: Measure Your Head
- Wrap a measuring tape around your head where the headband will sit (usually above the ears).
- Typical adult size: 18–20 inches (46–51 cm).
- Decide on the width you want: 2–4 inches (5–10 cm) is standard for a knitted headband.
Step 2: Cast On Stitches
- Decide the width of your headband.
- Example: If your gauge is 4 stitches per inch, and you want a 3-inch-wide headband, cast on 12 stitches (4 × 3 = 12).
Tip: For a stretchy headband, cast on a few extra stitches.
Step 3: Choose a Simple Stitch Pattern
Here are two easy but beautiful options:
Option A: Garter Stitch (super easy)
- Knit every row.
- Creates a squishy, stretchy fabric.
- Perfect for beginners.
Option B: Ribbed Pattern (fancier, more stretch)
- Row 1: Knit 2, Purl 2 across.
- Row 2: Repeat Row 1.
- Continue until the headband reaches your desired length.
- Ribbing looks elegant and holds its shape well.
Step 4: Knit to the Desired Length
- Keep knitting in your chosen stitch pattern.
- Check the length by wrapping it around your head.
- Stop when it fits comfortably without stretching too much.
Step 5: Bind Off
- Bind off loosely so the headband stretches easily.
- Cut yarn, leaving a 6-inch tail.
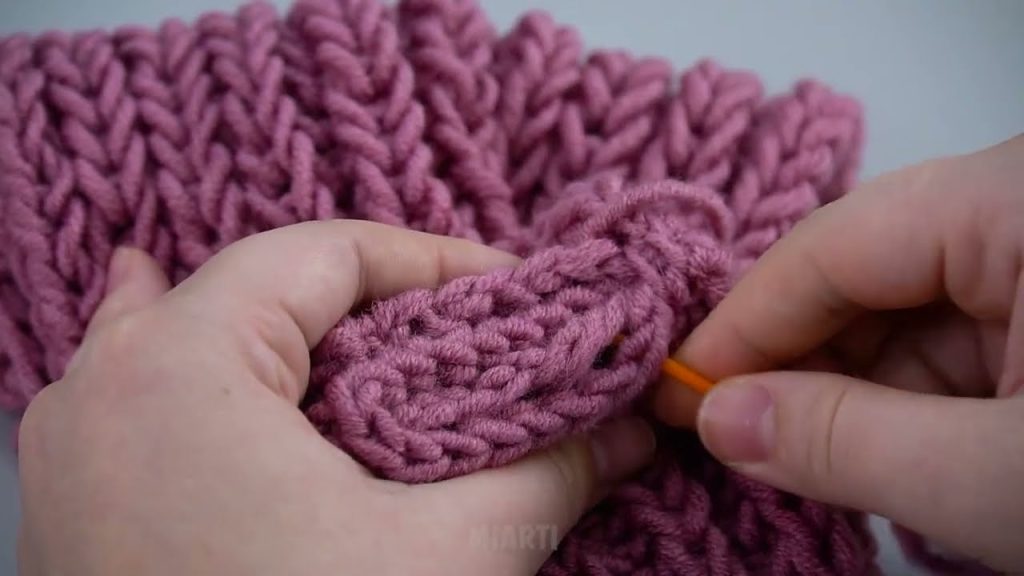
Step 6: Sew Ends Together
- Use a tapestry needle.
- Match stitches carefully, and use mattress stitch for a nearly invisible seam.
- Weave in all yarn ends.
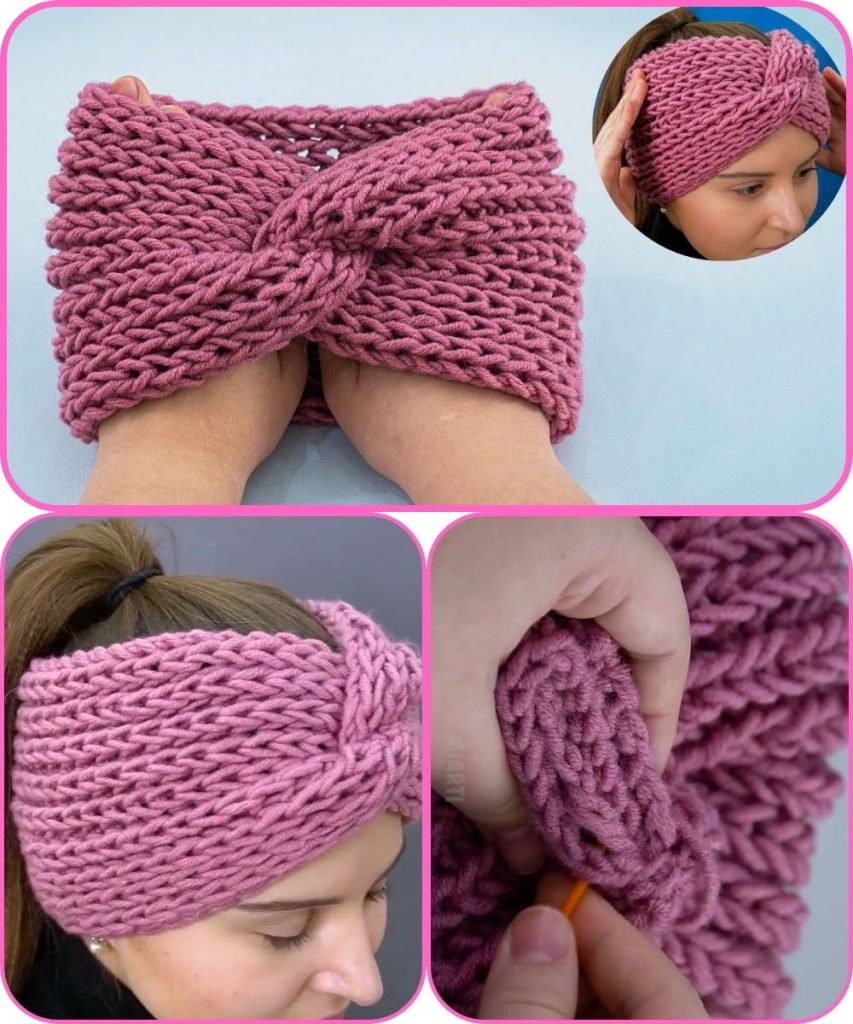
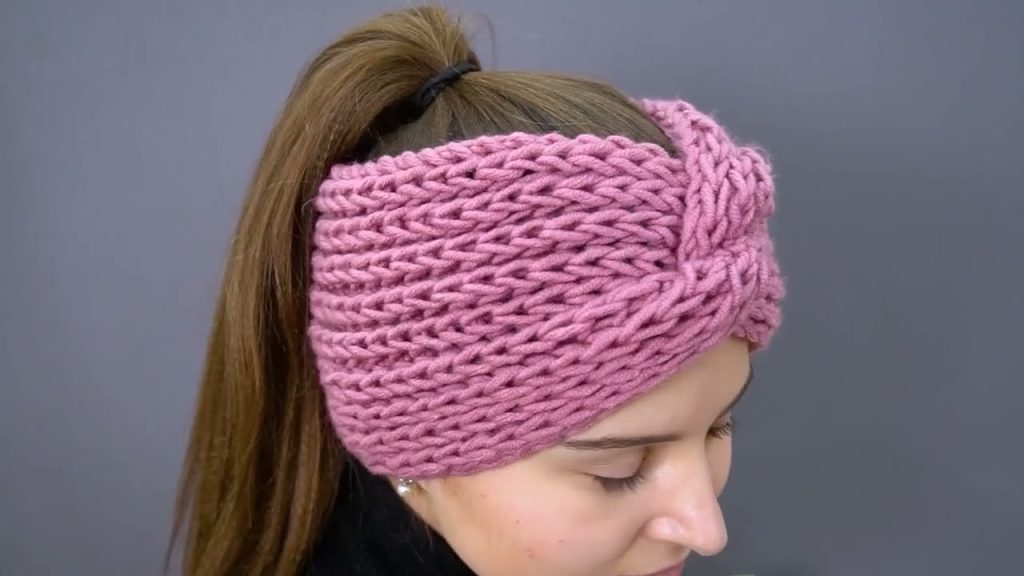
Optional: You can also twist it once before sewing for a “twist knot” style headband.
Step 7: Finishing Touches
- Block your headband if needed (lightly wet, shape, and air dry).
- Add decorations like a small bow, button, or knit flower if you want extra flair.
Tips for a Stunning Headband
- Choose soft, high-contrast yarns for a pop of color.
- Use elastic-friendly stitches (like ribbing) for a snug fit.
- Experiment with widths and textures: cables, seed stitch, or simple lace can make it look high-end.
✅ Result: You’ll have a cozy, stretchy, stylish headband that looks store-bought but is super easy to make!
If you want, I can draw a visual diagram of this headband pattern, showing the stitches and twist style so it’s even easier to follow.
Watch tutorial: