 by
by Of course! Here’s a clear, detailed, beginner-friendly tutorial you can use for a blog post, pattern description, or teaching guide.
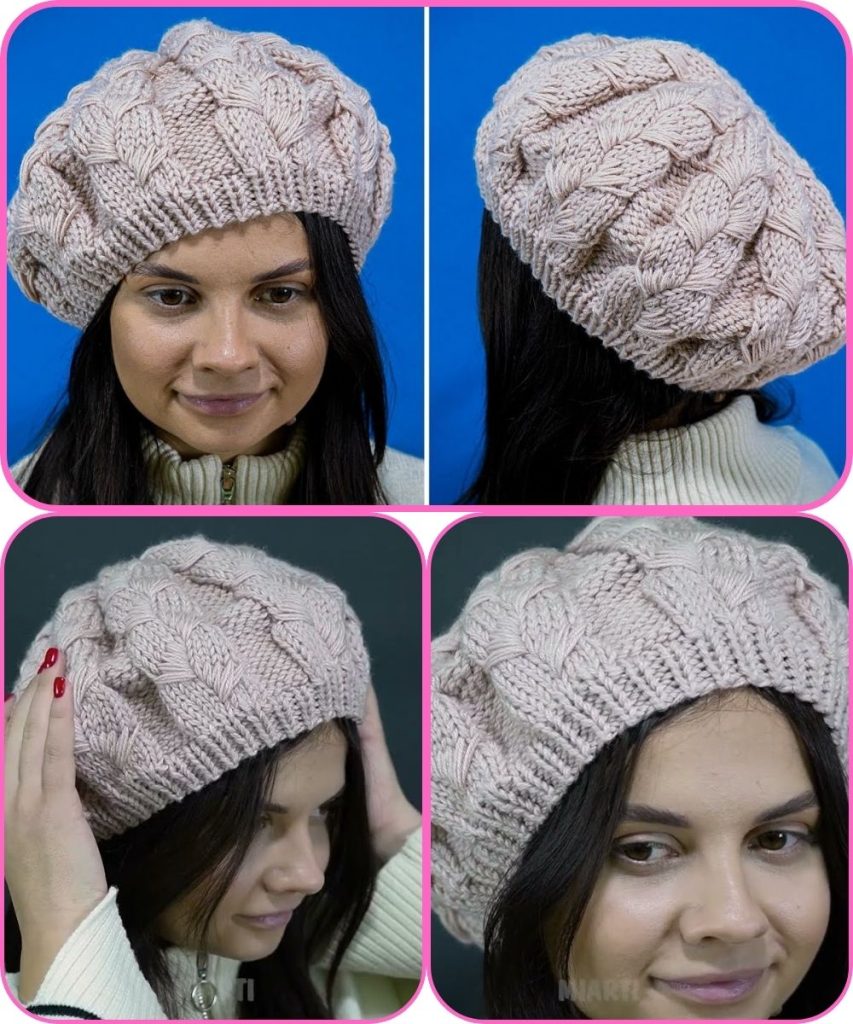
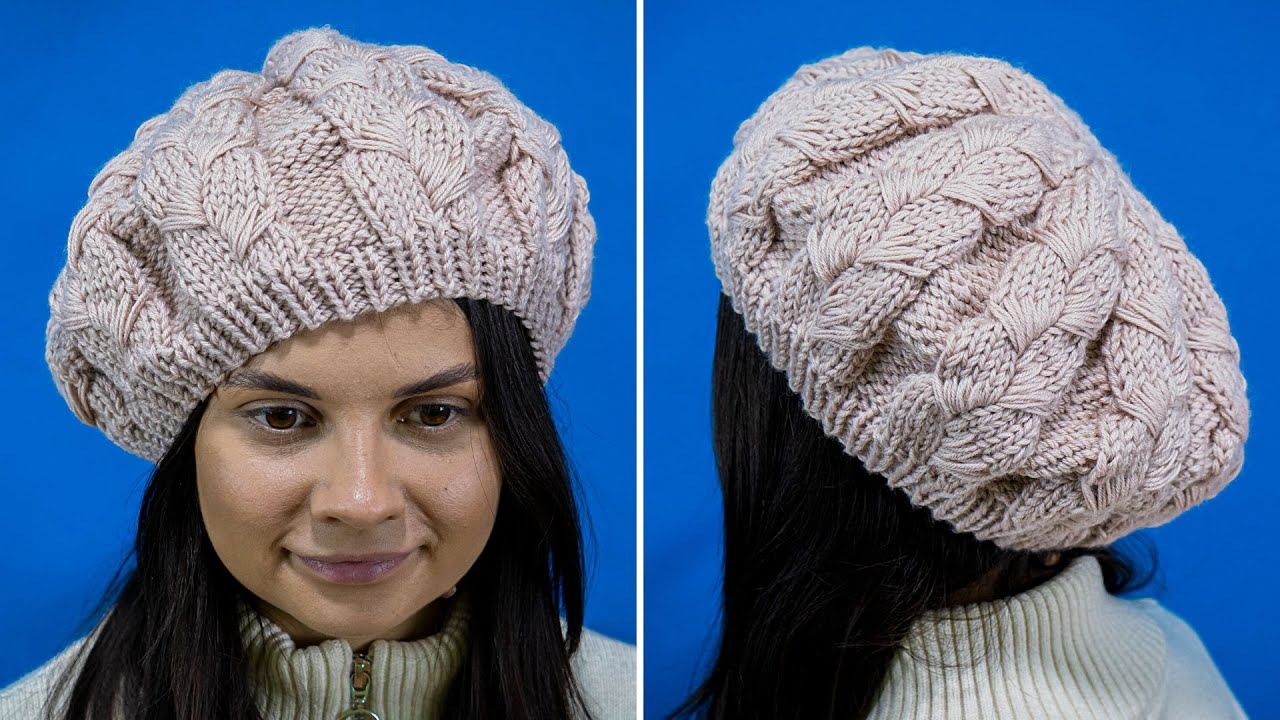
How to Make a Knitted Beret with an Amazing Pattern – A Detailed Tutorial 🧶✨
A knitted beret is a timeless, elegant accessory that never goes out of style. This tutorial walks you step by step through making a beautiful beret with a simple yet eye-catching pattern. It’s suitable for confident beginners and relaxing for experienced knitters, and it creates a soft, flattering shape that looks great on everyone.
🧵 Materials You’ll Need
- Yarn: DK or worsted weight yarn (wool or wool blend works best)
- Knitting needles:
- Circular needles (4–5 mm) or
- Double-pointed needles (for the crown)
- Stitch marker
- Tapestry needle
- Scissors
💡 Choose yarn with good stitch definition so the pattern really stands out.
📘 Knitting Skills Used
This beret uses easy, classic knitting techniques:
- Cast on
- Knit stitch (k)
- Purl stitch (p)
- Knit in the round
- Increases (kfb or yarn over)
- Decreases (k2tog)
🪄 Step-by-Step Instructions
Step 1: Cast On & Knit the Ribbed Band
- Cast on 80–96 stitches (depending on head size and yarn).
- Join in the round, being careful not to twist.
- Place a stitch marker at the beginning of the round.
- Knit 1×1 or 2×2 ribbing (k1, p1 or k2, p2) for 5–7 cm (2–3 inches).
👉 This ribbed band helps the beret fit snugly on your head.
Step 2: Begin Increases for the Beret Shape
- Switch to stockinette or your chosen pattern.
- Evenly increase stitches around the round:
- Example: K2, kfb repeat to end.
- Continue increasing every 2nd round until you have 150–180 stitches.
This creates the wide, flat beret shape.
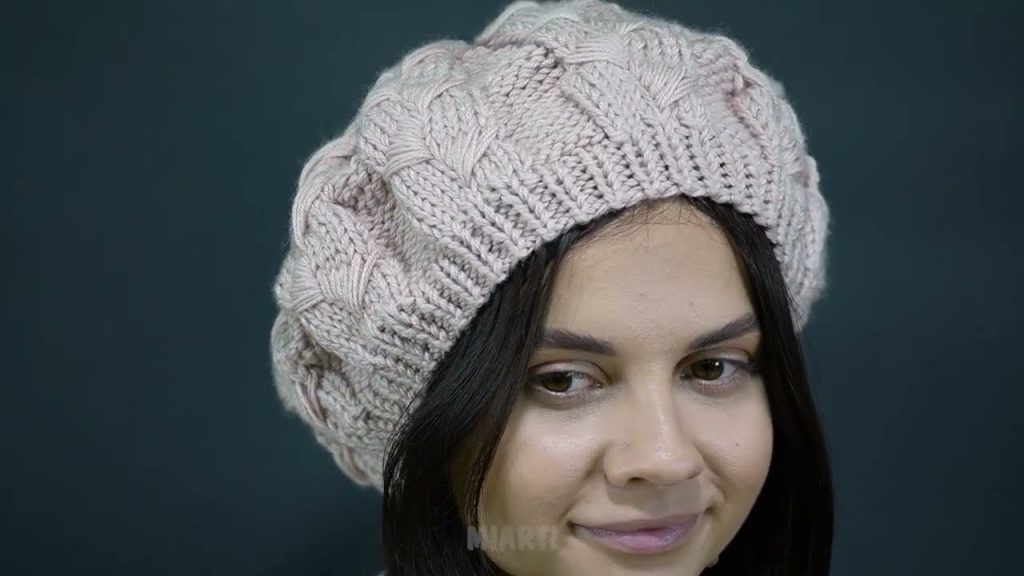
✨ Step 3: Knit the Amazing Pattern
Once the beret reaches its widest point, work your decorative pattern.
Simple Pattern Idea (Beginner-Friendly):
- Round 1: K3, p1 repeat
- Round 2: Knit all stitches
- Round 3: P1, k3 repeat
- Round 4: Knit all stitches
Repeat these 4 rounds to form a subtle textured design that looks impressive but is easy to memorize.
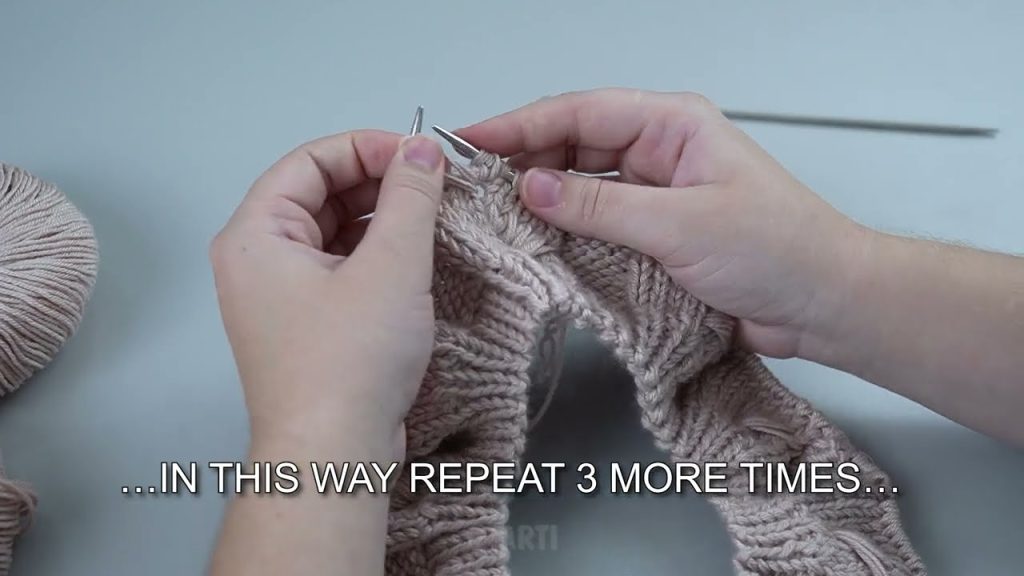
Step 4: Shape the Crown with Decreases
- Divide stitches evenly using markers (8 sections work well).
- Decrease at each marker:
- K until 2 stitches before marker, k2tog
- Continue decreasing every other round.
- When only 8–10 stitches remain, cut yarn and pull through remaining stitches.
🧵 Step 5: Finish the Beret
- Secure yarn tightly at the crown.
- Weave in all loose ends.
- Gently block the beret to enhance the pattern and shape.
Optional: Add a small knitted or crocheted stem at the top for a classic French beret look 🇫🇷
🌸 Tips for a Perfect Result
- Try the beret on as you knit.
- Keep tension even for a smooth pattern.
- Block lightly—don’t overstretch.
- Adjust size by adding or reducing increase rounds.
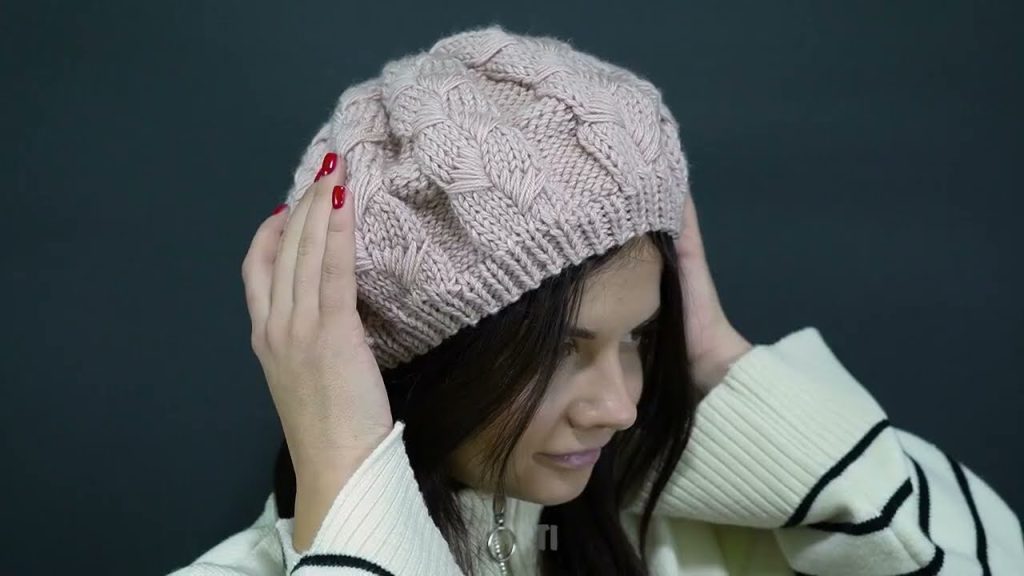
🎉 Final Thoughts
This knitted beret with an amazing textured pattern is a rewarding project that looks elegant and professional while remaining beginner-friendly. It’s warm, stylish, and endlessly customizable with different yarns and colors.
If you’d like, I can:
- Simplify this into a short knitting pattern
- Design a different stitch pattern
- Adjust it for kids or oversized styles
Watch tutorial: