 by
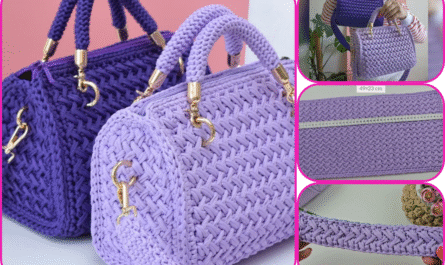
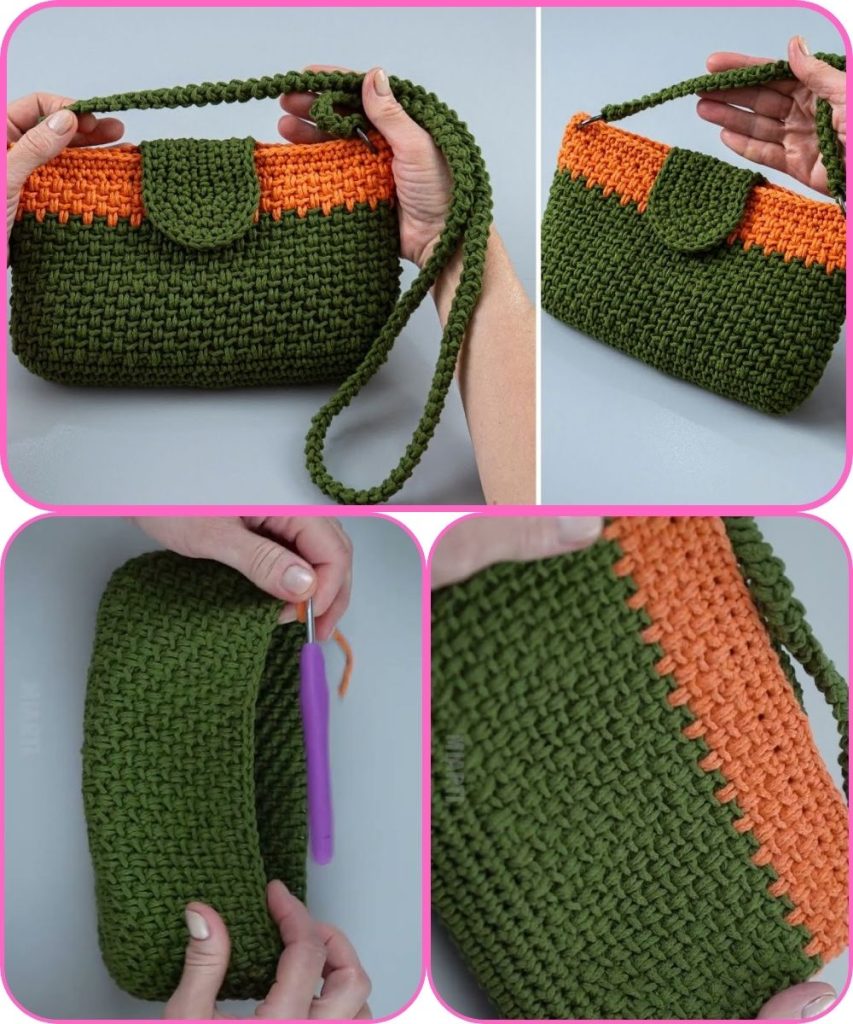
by Crocheting a beautiful bag is easier than many beginners think. With a few simple stitches and some patience, you can create a stylish handmade bag that looks amazing and is useful for everyday use.
This tutorial is beginner-friendly and explains every step clearly.
Why Crochet Your Own Bag?
A crochet bag is:
- Fun and relaxing to make
- Budget-friendly
- Stylish and unique
- Perfect for beginners
- A great handmade gift
You can use your bag for:
- Shopping
- Daily essentials
- Beach trips
- Fashion accessories
Materials You Need
Before starting, prepare these supplies:
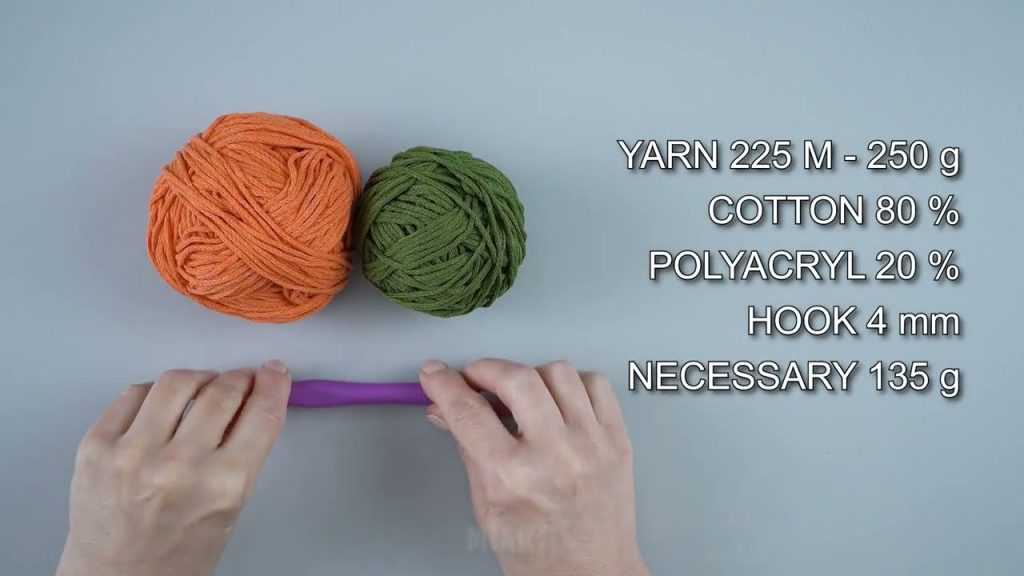
Yarn
Choose:
- Cotton yarn (best choice)
OR - Acrylic yarn
Recommended Yarn Weight
- Medium weight yarn (worsted weight)
Crochet Hook
Use:
- 5 mm crochet hook
Other Tools
You will also need:
- Scissors
- Yarn needle
- Stitch markers (optional)
- Button or zipper (optional)
Crochet Stitches Used
This bag uses only simple beginner stitches.
| Abbreviation | Meaning |
|---|---|
| ch | chain |
| sc | single crochet |
| dc | double crochet |
| sl st | slip stitch |
Finished Bag Size
Approximate size:
- Width: 12 inches
- Height: 10 inches
You can easily make it larger or smaller.
Step 1: Make the Foundation Chain
Start by making:
- Chain 36 stitches
Try to keep your chain loose and even.
Step 2: Crochet the First Row
Insert hook into the fourth chain from the hook.
Make:
- 1 double crochet in each chain across
You should have:
- 33 double crochet stitches
At the end:
- Chain 2
- Turn your work
Step 3: Continue the Bag Body
Repeat this row:
- 1 double crochet in each stitch across
- Chain 2
- Turn
Continue until your rectangle measures:
- About 22 inches long
This rectangle will become the front and back of your bag.
Step 4: Fold the Rectangle
Fold the rectangle in half evenly.
Now it should look like a bag shape.
The folded edge becomes the bottom of the bag.
Step 5: Join the Sides
Use either:
- Slip stitch crochet joining
OR - Yarn needle sewing
Close both side edges carefully.
Do not close the top.
Step 6: Create the Bag Handles
Option 1: Simple Crochet Handles
Attach yarn to one top corner.
Then:
- Chain 50–60 stitches
Attach to the opposite side with a slip stitch.
Repeat for the second handle.
Option 2: Wide Strong Handles
Instead of chains:
- Crochet several rows of single crochet
This creates stronger straps.
Step 7: Add a Decorative Border
To make your bag look more professional:
Crochet one round of:
- Single crochet around the top edge
This helps:
- Strengthen the opening
- Improve the appearance

Step 8: Add a Closure (Optional)
You can add:
- A button
- Magnetic snap
- Zipper
This keeps items secure inside the bag.
Step 9: Finish the Bag
Cut the yarn.
Pull the yarn through the final loop.
Use a yarn needle to:
- Weave in all loose ends neatly
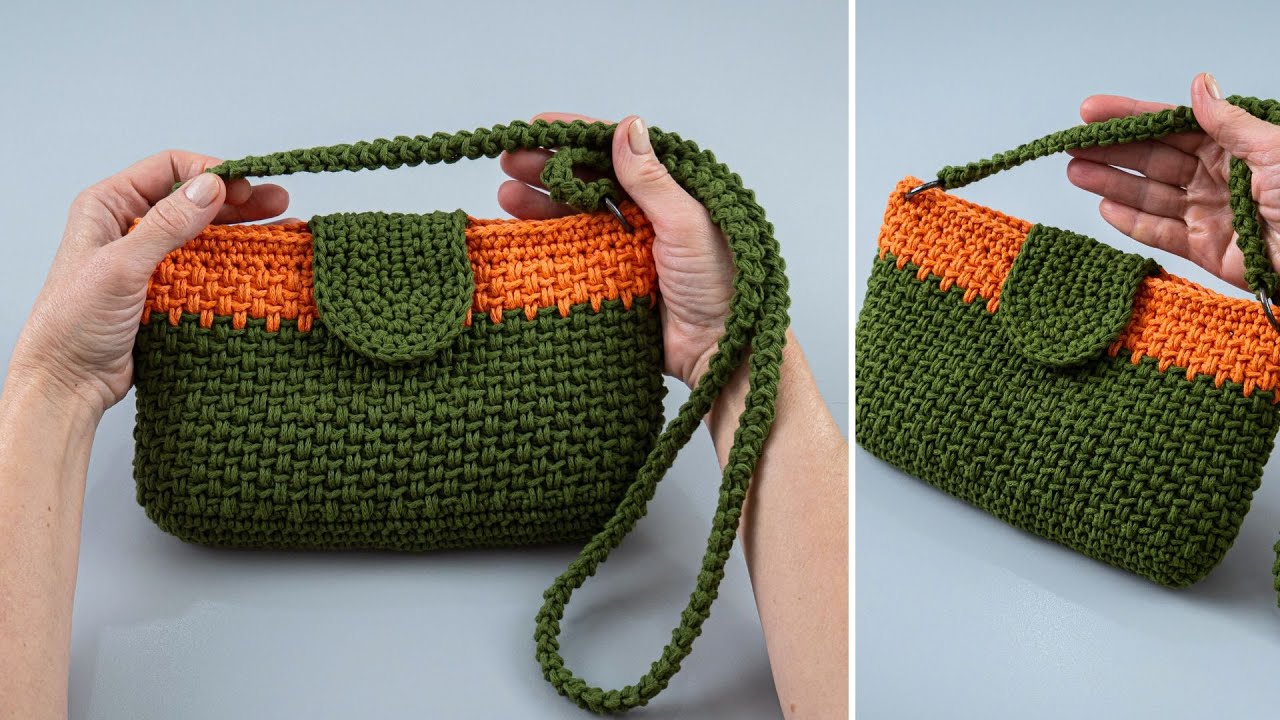
Your amazing crochet bag is now finished!
Easy Design Ideas
You can customize your crochet bag with:
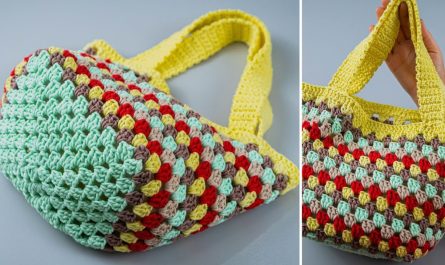
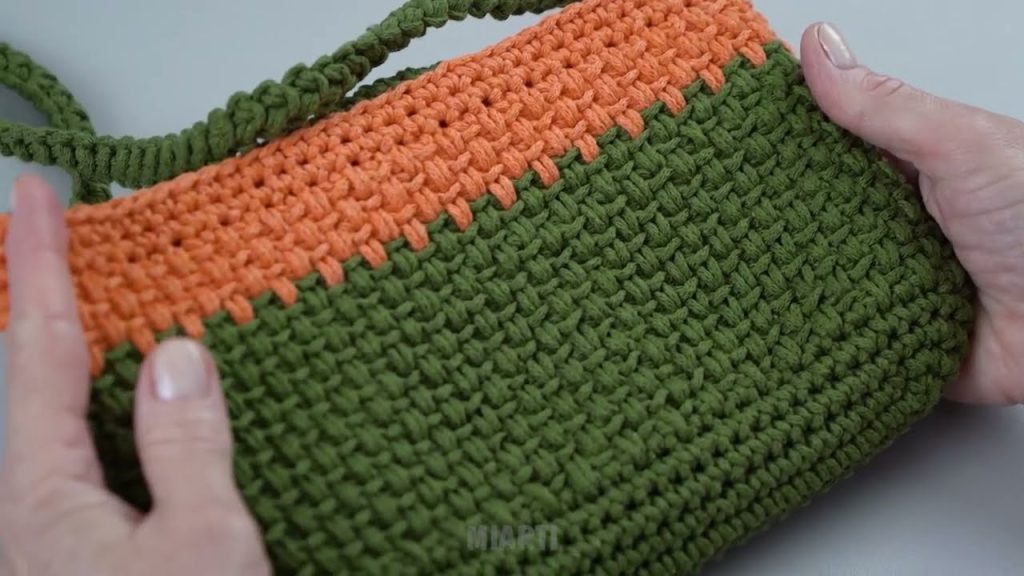
Color Stripes
Use multiple yarn colors.
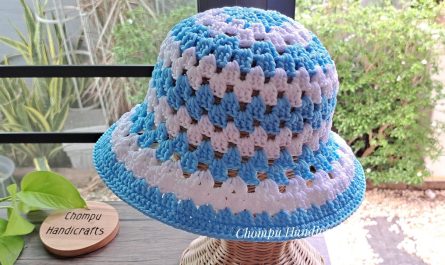
Granny Squares
Attach granny squares for a vintage look.
Tassels
Add tassels to the corners.
Flowers
Crochet small flowers and sew them on.
Tips for Beginners
Keep Tension Relaxed
Do not crochet too tightly.
Count Your Stitches
This keeps edges straight.
Practice Basic Stitches First
Practice chain, single crochet, and double crochet before starting.
Common Mistakes and Fixes
Uneven Sides
You may be skipping stitches accidentally.
Bag Too Soft
Use thicker yarn or tighter stitches.
Handles Stretching
Make shorter or thicker straps.
How Long Does It Take?
For beginners:
- About 4–6 hours total
Experienced crocheters can finish faster.
Washing and Care
Most crochet bags can be:
- Hand washed gently
- Air dried flat
Cotton yarn bags are especially durable.
Beginner-Friendly Crochet Bag Pattern Summary
Main Body
- Chain 36
- Double crochet rows
- Make large rectangle
- Fold in half
- Sew sides
Handles
- Add two handles
- Add border
- Finish loose ends
Final Advice
Your first crochet bag does not need to look perfect. Handmade crochet projects become more beautiful with practice. Every bag you make improves your:
- Stitch control
- Tension
- Speed
- Confidence
Start simple, enjoy the process, and soon you will be able to create more advanced crochet bags with unique designs!
Watch tutorial: