 by
by A mini crochet bag is a perfect beginner project because it is:
- Small and fast to finish
- Easy to carry
- Great for practicing basic crochet stitches
You can complete this mini bag in about 1–2 hours, even if you are new to crochet.
Materials You Need
Prepare these simple supplies:
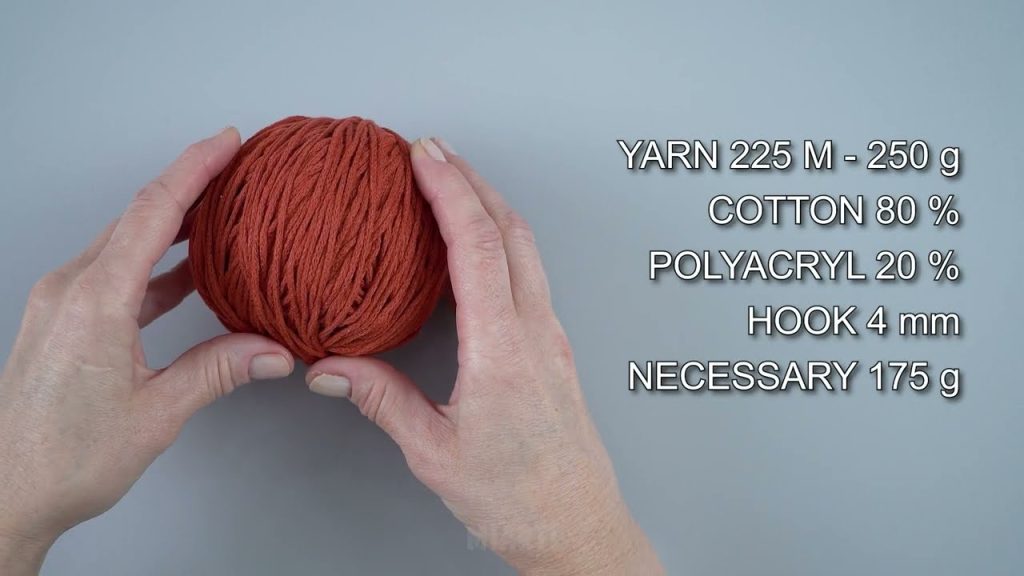
- Cotton or acrylic yarn
- 4 mm–5 mm crochet hook
- Scissors
- Yarn needle
- Stitch marker (optional)
- Button or zipper (optional)
Best Yarn for a Mini Bag
Cotton yarn works best because:
- It keeps the shape nicely
- Strong enough for daily use
- Easy to crochet with
Basic Crochet Stitches Used
You only need these easy stitches:
| Stitch | Meaning |
|---|---|
| ch | chain |
| sc | single crochet |
| sl st | slip stitch |
Perfect for beginners!
Finished Mini Bag Size
Approximate size:
- Width: 6 inches
- Height: 5 inches
You can make it bigger by adding more rows and chains.
Step 1: Make the Foundation Chain
Start with:
- Chain 21 stitches
Do not pull the yarn too tightly.
Step 2: Crochet the First Row
Insert hook into the second chain from hook.
Make:
- 1 single crochet in each chain across
You should now have:
- 20 single crochet stitches
At the end:
- Chain 1
- Turn your work
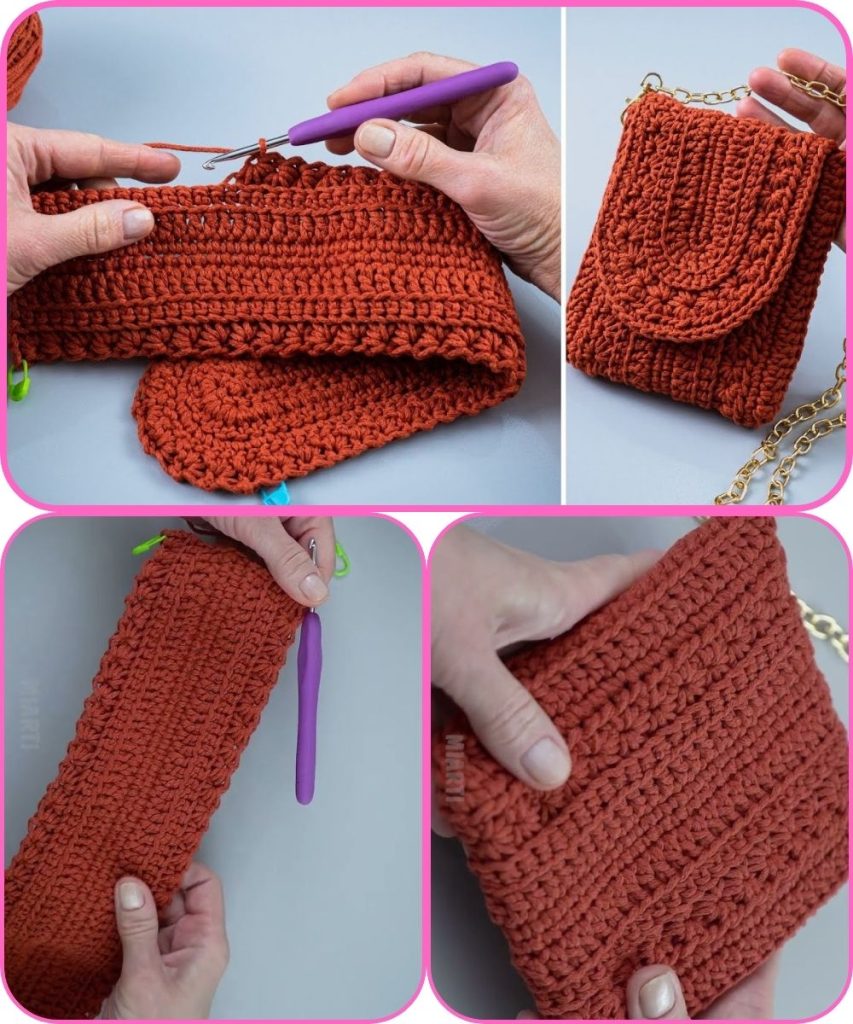
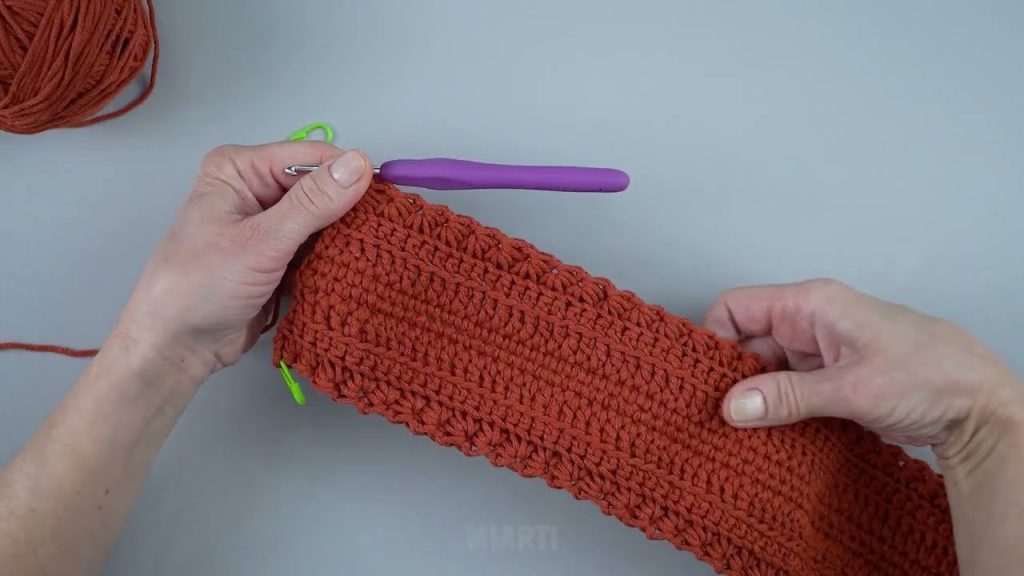
Step 3: Crochet the Bag Body
Repeat this simple row:
- 1 single crochet in every stitch across
- Chain 1
- Turn
Keep repeating until the rectangle measures about:
- 10 inches long
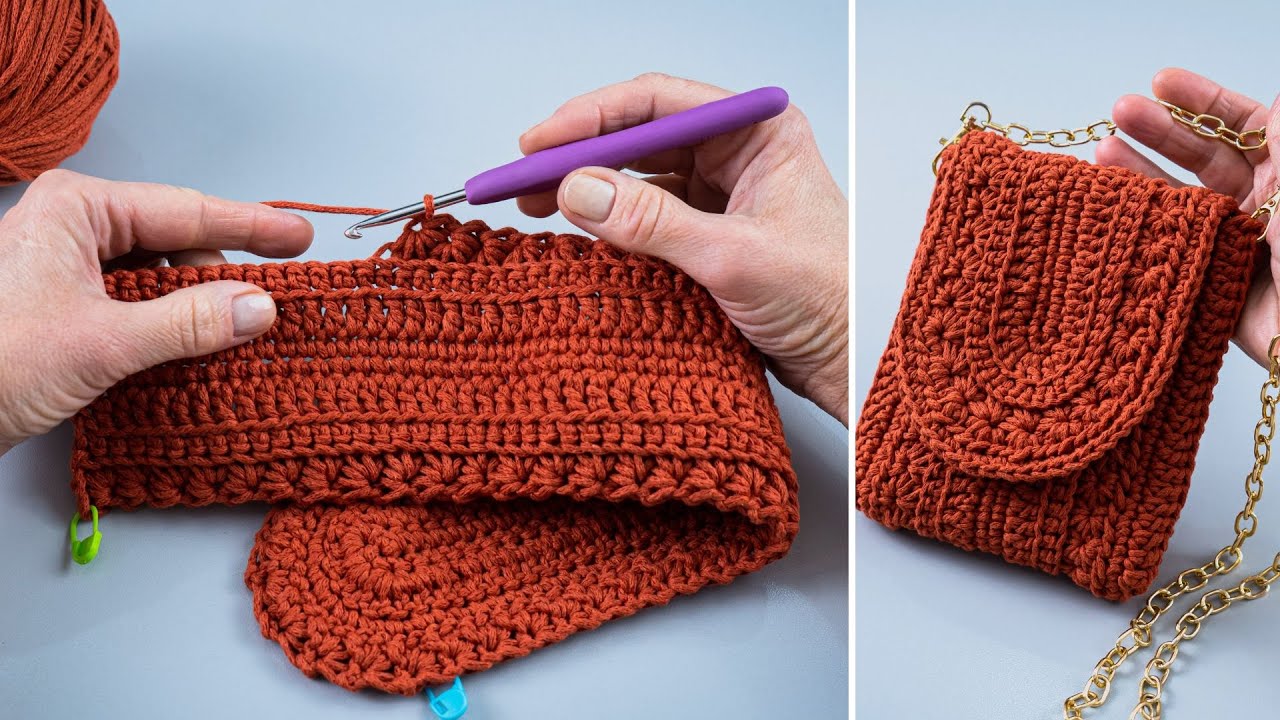
Step 4: Fold the Rectangle
Fold the rectangle in half evenly.
Now it should look like a small pouch.
Step 5: Join the Sides
Use either:
- Slip stitches
OR - Yarn needle sewing
Close both side edges carefully.
Leave the top open.
Step 6: Add a Handle or Strap
Easy Small Handle
Attach yarn to one side.
Then:
- Chain 25–35 stitches
Attach the chain to the other side using a slip stitch.
Optional Long Strap
For a crossbody mini bag:
- Chain 80–100 stitches
Attach securely to both sides.
Step 7: Add a Button (Optional)
To close the mini bag:
- Sew a button on the front
- Create a small chain loop on the flap
This makes the bag look cute and secure.
Step 8: Finish the Bag
Cut the yarn and pull through.
Use a yarn needle to:
- Hide loose yarn ends neatly
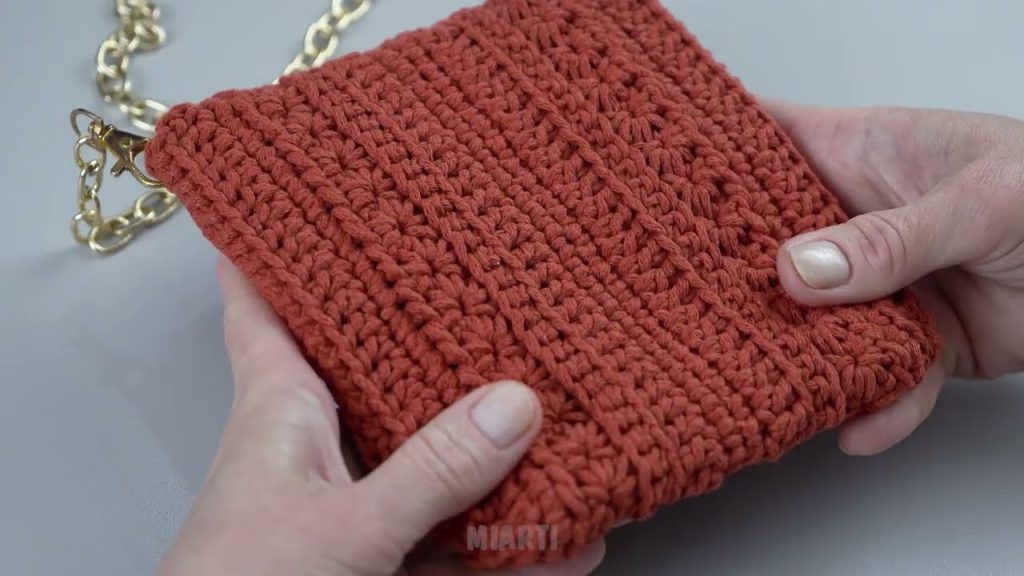
Your mini crochet bag is now complete!
Quick Tips for Beginners
Use Light-Colored Yarn
It helps you see stitches more clearly.
Keep Stitch Count Even
Count stitches every few rows.
Practice Relaxed Tension
Do not hold yarn too tightly.
Cute Ways to Decorate Your Mini Bag
You can add:
- Flowers
- Beads
- Heart patches
- Tassels
- Color stripes
What Can You Use a Mini Bag For?
A mini crochet bag is perfect for:
- Coins
- Lip balm
- Earbuds
- Small makeup items
- Phone storage
Super Easy Mini Bag Pattern Summary
- Chain 21
- Single crochet across
- Repeat rows to make rectangle
- Fold in half
- Sew sides
- Add handle
- Finish neatly
Final Advice
Mini crochet bags are one of the fastest and easiest crochet projects for beginners. Even if your stitches are not perfect, your bag will still look handmade and beautiful.
The more mini bags you make, the faster and neater your crochet skills become!
Watch tutorial: