 by
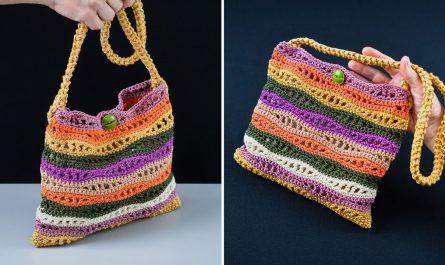
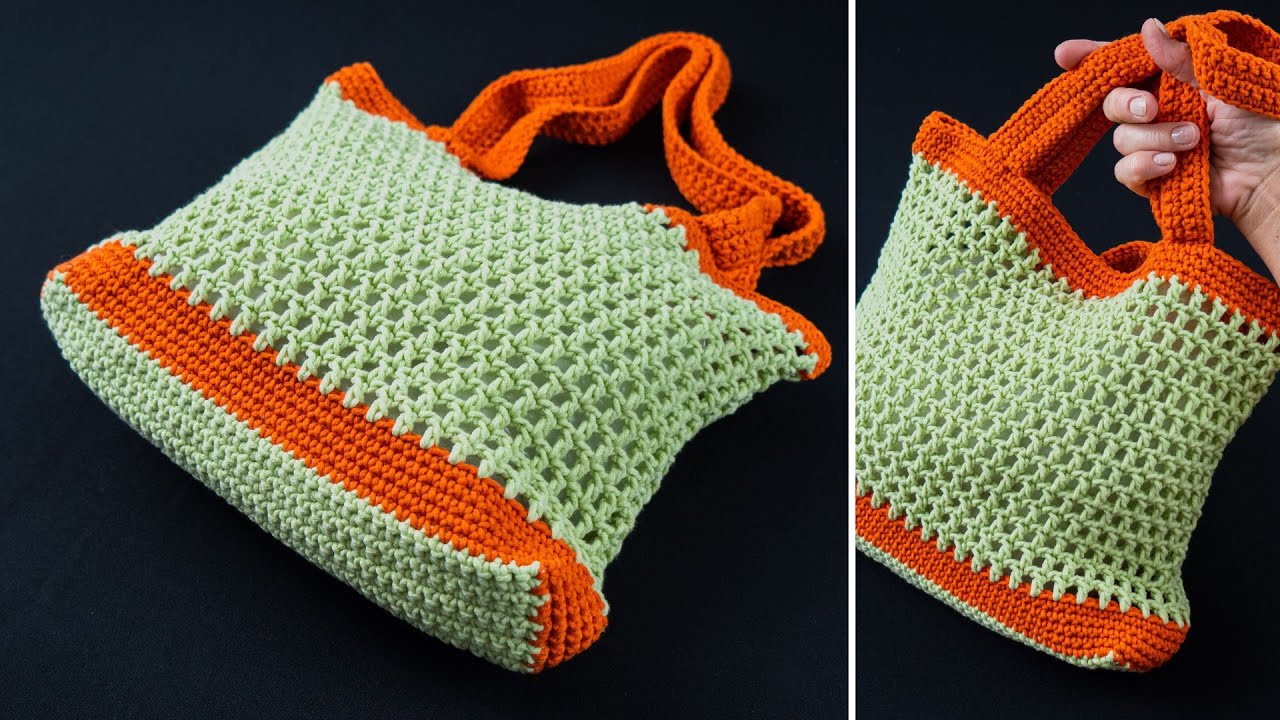
by A crochet net tote bag is lightweight, stretchy, stylish, and perfect for shopping, beach trips, groceries, or everyday use. This project is beginner-friendly because it mainly uses simple chain spaces and basic stitches.
The best part: a net tote bag works up very quickly because the mesh design uses fewer stitches than solid crochet fabric.

Materials You Need
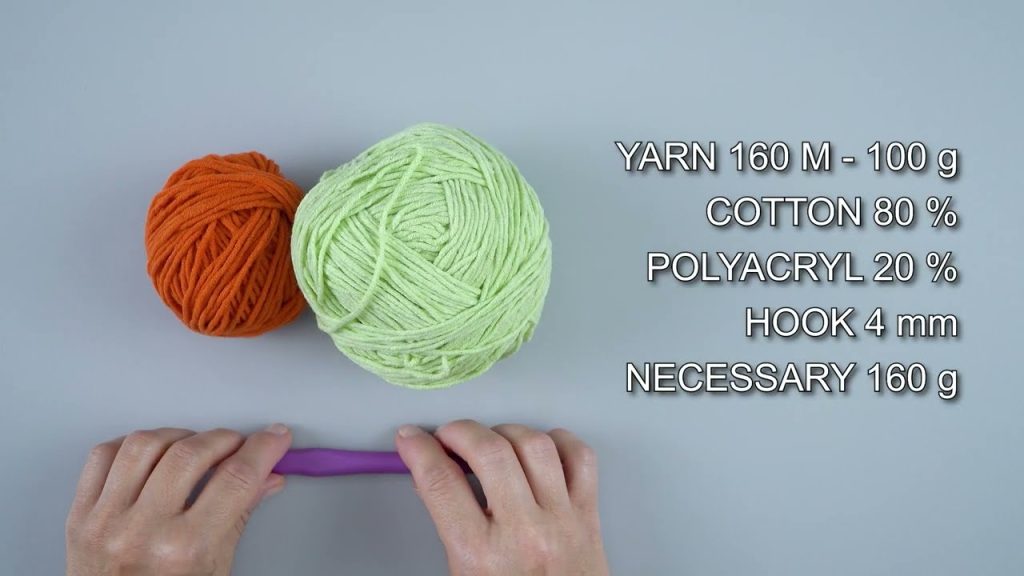
Yarn
Use cotton yarn for strength and durability.
Recommended:
- Medium-weight cotton yarn
- Macrame cotton cord
- Recycled cotton yarn
Good Yarn Choices
- Lily Sugar’n Cream
- Drops Paris
- Bernat Handicrafter Cotton
Crochet Hook
Use:
- 4.5 mm–6 mm hook
Larger hooks create a softer mesh effect.
Other Tools
- Scissors
- Yarn needle
- Stitch markers (optional)
Crochet Skills Needed
This project only requires basic stitches:
- Chain (ch)
- Single crochet (sc)
- Double crochet (dc)
- Slip stitch (sl st)
Perfect for beginners.
Finished Bag Size
Approximate size:
- Width: 12–15 inches
- Height: 14–18 inches
The mesh naturally stretches when filled.
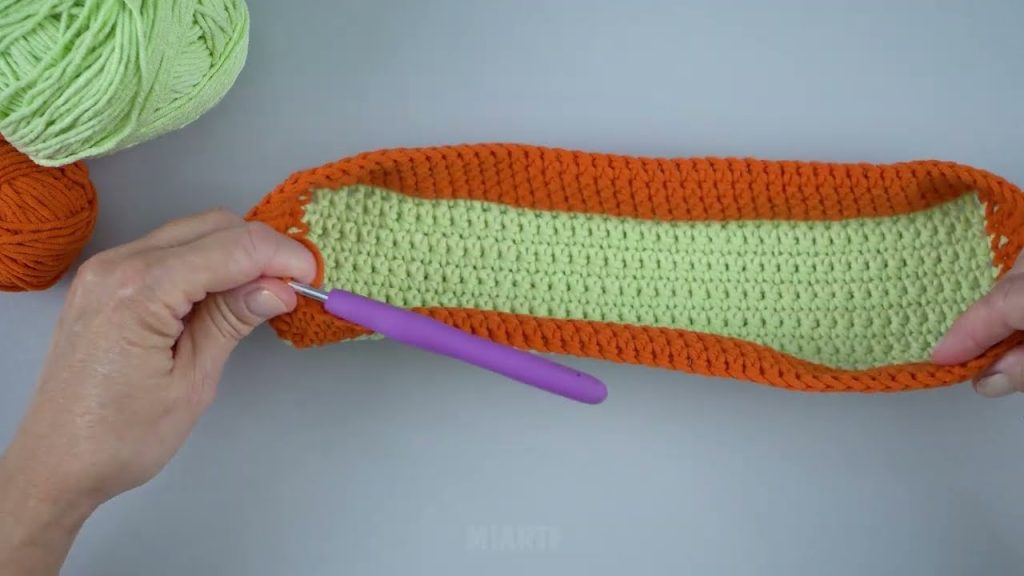
Step 1: Crochet the Base
The base gives the tote bag structure.
Foundation Chain
Chain 41.
(Adjust for a larger or smaller bag.)
Row 1
Double crochet in the 4th chain from hook.
Double crochet across.
Turn.
Row 2–6
- Chain 3
- Double crochet across
- Turn
This creates a strong rectangular bottom.
Step 2: Start the Mesh Pattern
Now the fun part begins.
The mesh makes the bag stretchy and lightweight.
Mesh Round Pattern
Round 1
- Chain 5
- Skip 2 stitches
- Single crochet in next stitch
Repeat across.
You will create loops/chains all around the bag.
Round 2
- Slip stitch into first chain space
- Chain 5
- Single crochet into next chain space
Repeat all the way around.
Continue the Mesh
Repeat Round 2 until the bag reaches your desired height.
Usually:
- 20–30 rounds
This part grows very quickly.
Step 3: Create the Handles
Once the bag is tall enough:
Handle Openings
Choose two opposite sides.
For each handle:
- Chain 40–60 stitches
- Skip several mesh spaces
- Attach with single crochet
Repeat for second handle.
Step 4: Strengthen the Handles
To make handles sturdier:
Work:
- 2–3 rounds of single crochet around each handle.
This prevents stretching.
Step 5: Finish the Top Edge
Crochet one full round of single crochet around the top edge.
This gives the tote bag a neat finish.
Fasten off and weave in yarn ends.
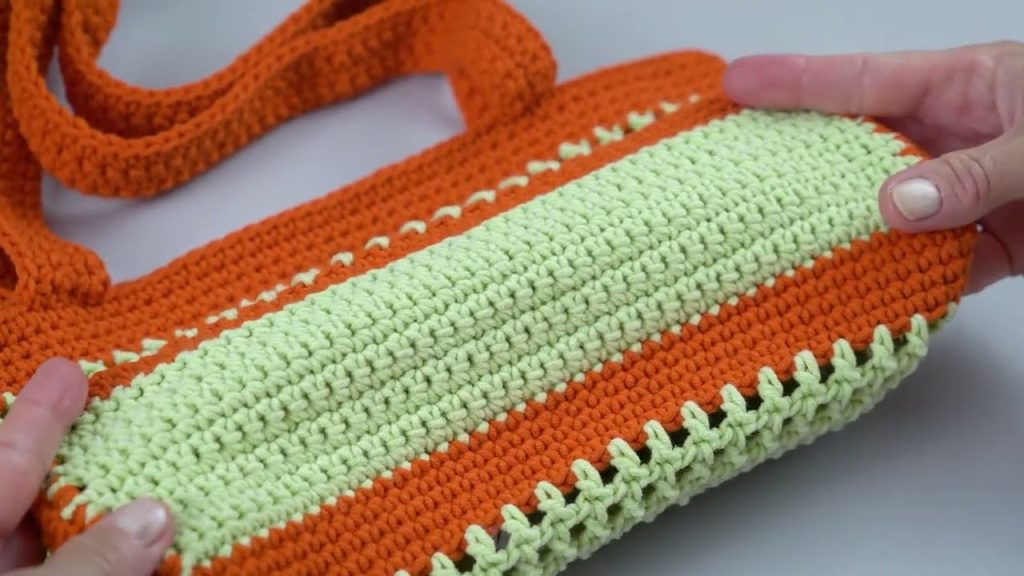
Your Net Tote Bag Is Finished!
You now have:
- A reusable shopping bag
- A beach tote
- A foldable everyday bag
- A stylish handmade accessory
Super Fast Version (1-Hour Tote)
If you want the quickest method:
Use:
- Thick cotton yarn
- Large 6 mm–8 mm hook
Then:
- Crochet small rectangle base
- Use large chain loops
- Add simple handles
Finished very quickly.
Easy Mesh Pattern Variations
Small Mesh
Use:
- Chain 3 loops
Creates tighter netting.
Large Mesh
Use:
- Chain 7–9 loops
Creates a more open, stretchy bag.
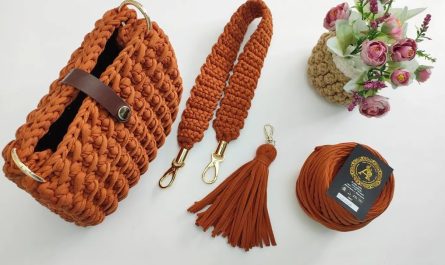
Decorative Ideas
You can customize your tote bag with:
- Color stripes
- Tassels
- Wooden beads
- Flower appliques
- Fringe
- Leather handles
Tips for Beginners
Keep Tension Loose
Tight chains make the mesh stiff.
Count Chain Spaces
This helps keep the bag even.
Use Cotton Yarn
Cotton holds shape better than acrylic.
Test Stretchiness
The bag expands after use.
Common Mistakes to Avoid
- Handles too thin
- Uneven chain loops
- Mesh too loose at base
- Using slippery yarn
Care Instructions
- Hand wash or gentle machine wash
- Air dry flat
- Do not overload excessively
Beginner-Friendly Pattern Summary
| Step | Action |
|---|---|
| 1 | Crochet base |
| 2 | Create mesh rounds |
| 3 | Add handles |
| 4 | Strengthen handles |
| 5 | Finish edges |
Estimated Time
| Skill Level | Time |
|---|---|
| Beginner | 2–4 hours |
| Intermediate | 1–2 hours |
Best Uses for a Net Tote Bag
- Grocery shopping
- Farmers market
- Beach bag
- Picnic tote
- Everyday handbag
- Travel bag
Final Tip
The easiest crochet net tote bag uses:
- One simple mesh stitch
- Thick cotton yarn
- Large crochet hook
This combination makes the project quick, lightweight, and beginner-friendly.
Watch tutorial: