by
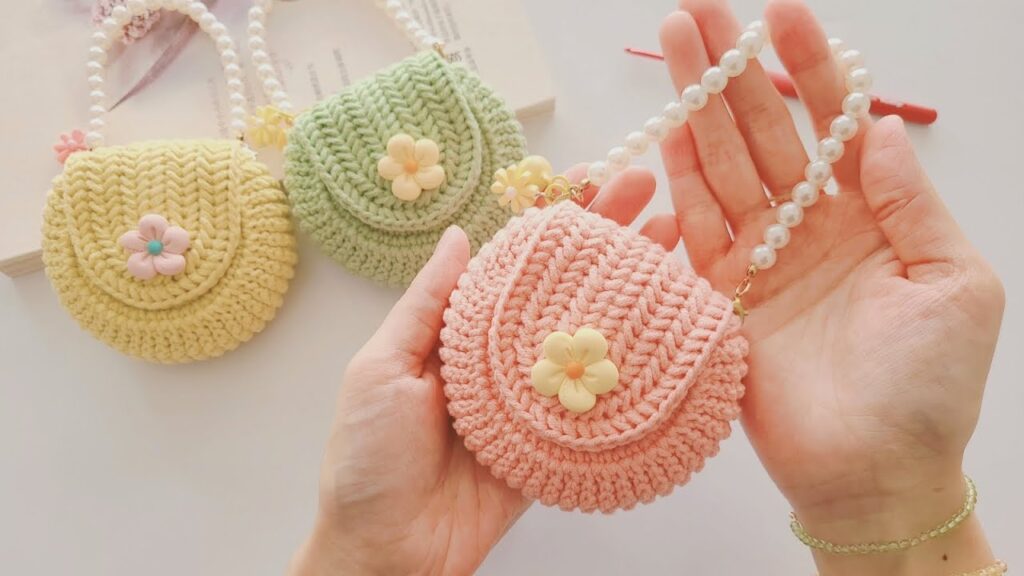
by I’d be happy to help! Here’s a detailed guide on how to make a cute little bag—perfect for beginners in sewing or crafting. This guide will walk you through making a simple fabric pouch-style bag with a drawstring or button closure. You can personalize it with fun fabric, lace, embroidery, or charms to make it as cute as you like!
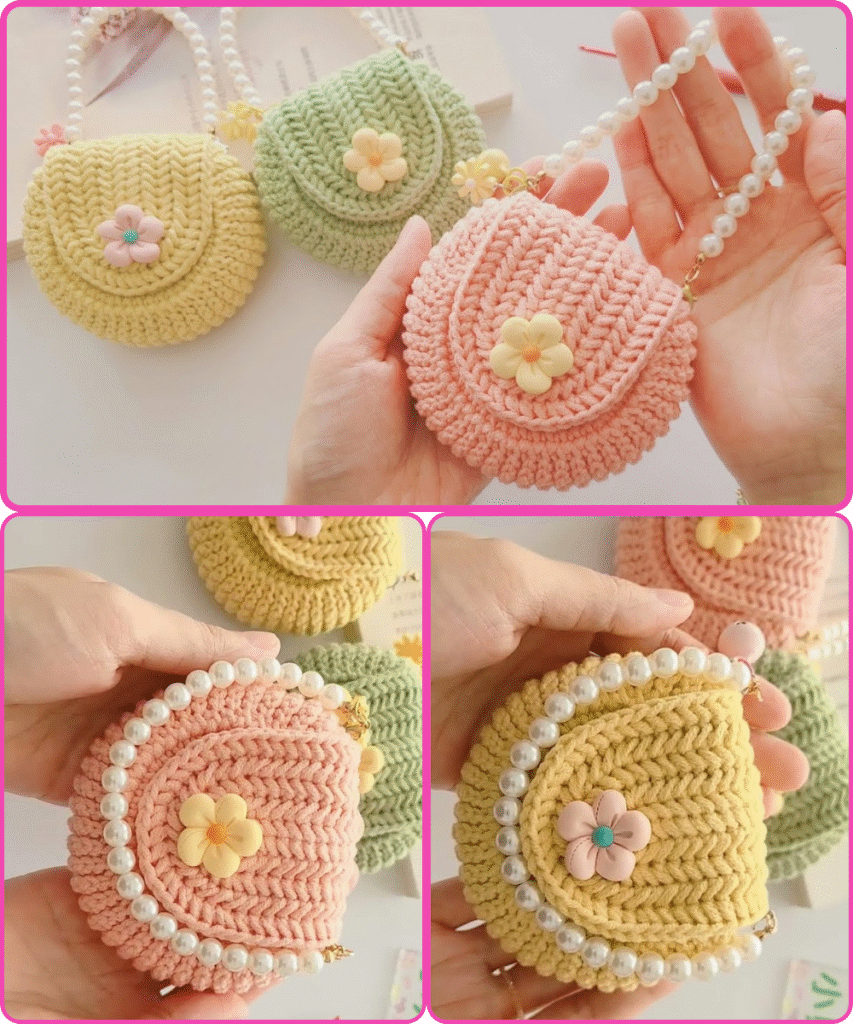
🌸 How to Make a Cute Little Bag (Drawstring Pouch Style)
🧵 Materials You’ll Need:
- Fabric (cotton or linen) – two pieces (outer & lining) about 10″x10″ each
- Matching thread
- Ribbon or cord – about 20″ for the drawstring
- Scissors or rotary cutter
- Pins or fabric clips
- Measuring tape or ruler
- Sewing machine (or hand needle if sewing by hand)
- Iron (optional but helpful)
✂️ Step-by-Step Instructions:
1. Cut the Fabric
- Cut two pieces of fabric: one for the outer layer and one for the lining (each 10″ x 10″, or any square size you want).
- If you’re adding lace, ruffles, or embroidery, do this now on the outer fabric.
2. Place Fabrics Right Sides Together
- Stack the fabrics with the right sides facing each other (the pretty sides).
- Pin or clip them to keep in place.
3. Sew Around the Edges
- Sew three sides (left, bottom, right) using a ¼” seam allowance.
- Leave the top open.
- If you’re using a lining fabric, do the same for the lining but leave a 2” opening on one side (you’ll turn the bag through this later).
4. Box the Corners (Optional for a flat bottom)
- Pinch each corner to form a triangle. Measure 1″ from the tip and draw a line.
- Sew along the line, then cut off the triangle, leaving a ¼” seam.
- Repeat for all corners on both outer and lining pieces.
5. Join the Outer and Lining
- Turn the outer fabric right side out and place it inside the lining, which is still wrong side out. This means right sides are facing each other.
- Align the top edges and sew all around the top opening.
6. Turn It Right Side Out
- Pull the bag right side out through the 2″ hole in the lining.
- Sew the hole in the lining shut with a small stitch (hand stitch or machine).
- Push the lining inside the outer fabric and press with an iron for neatness.
7. Make the Casing for the Drawstring
- Fold down the top edge (about ½” to 1”) and sew around the edge, leaving a small gap for the ribbon or cord.
8. Insert the Drawstring
- Use a safety pin to thread the ribbon or cord through the casing.
- Tie the ends together or add little beads for cuteness!
🎀 Customization Ideas:
- Add lace trim to the top edge.
- Use patterned fabric with characters or animals.
- Add embroidered initials or cute patches.
- Sew on buttons, charms, or felt shapes.
🧺 What You Can Use It For:
- Coin purse
- Makeup pouch
- Gift bag
- Jewelry storage
- Kids’ treasure bag
Watch video: