 by
by It seems you’re looking for a detailed crochet pattern for an easy headband! That’s a great project for beginners and experienced crocheters alike. To give you the best and most comprehensive guide, I’ll structure this like a typical crochet pattern.
Here’s a detailed crochet pattern for an easy headband:
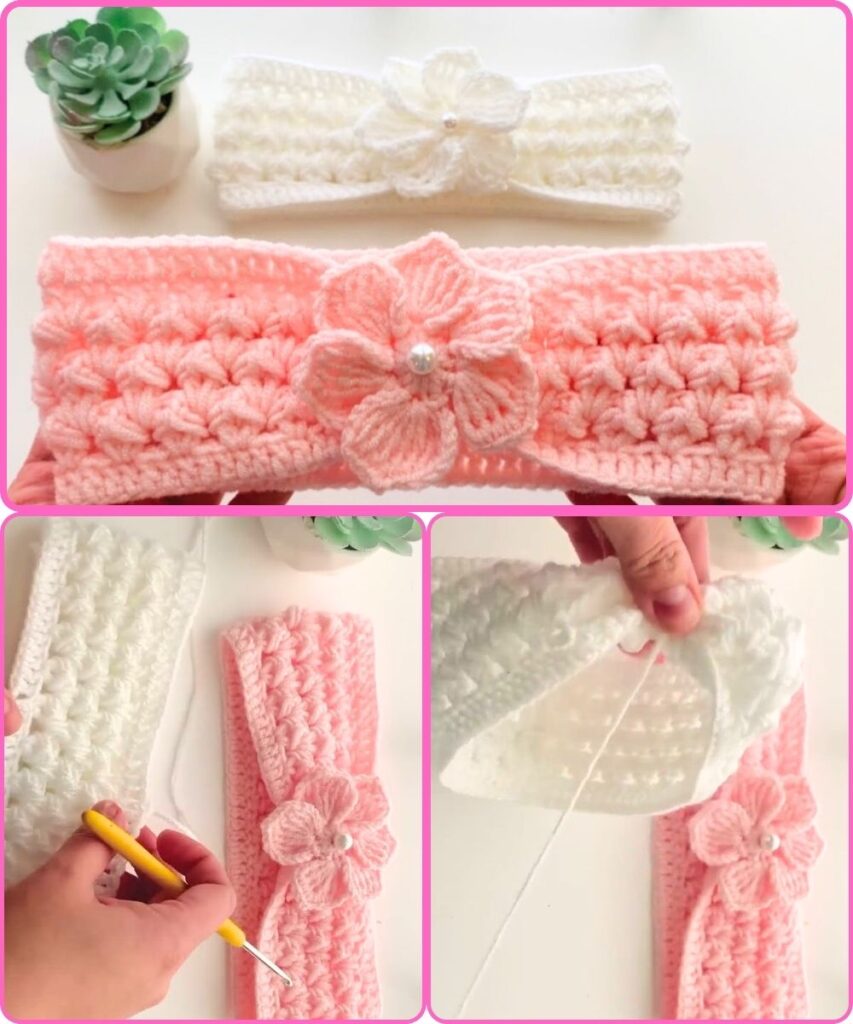
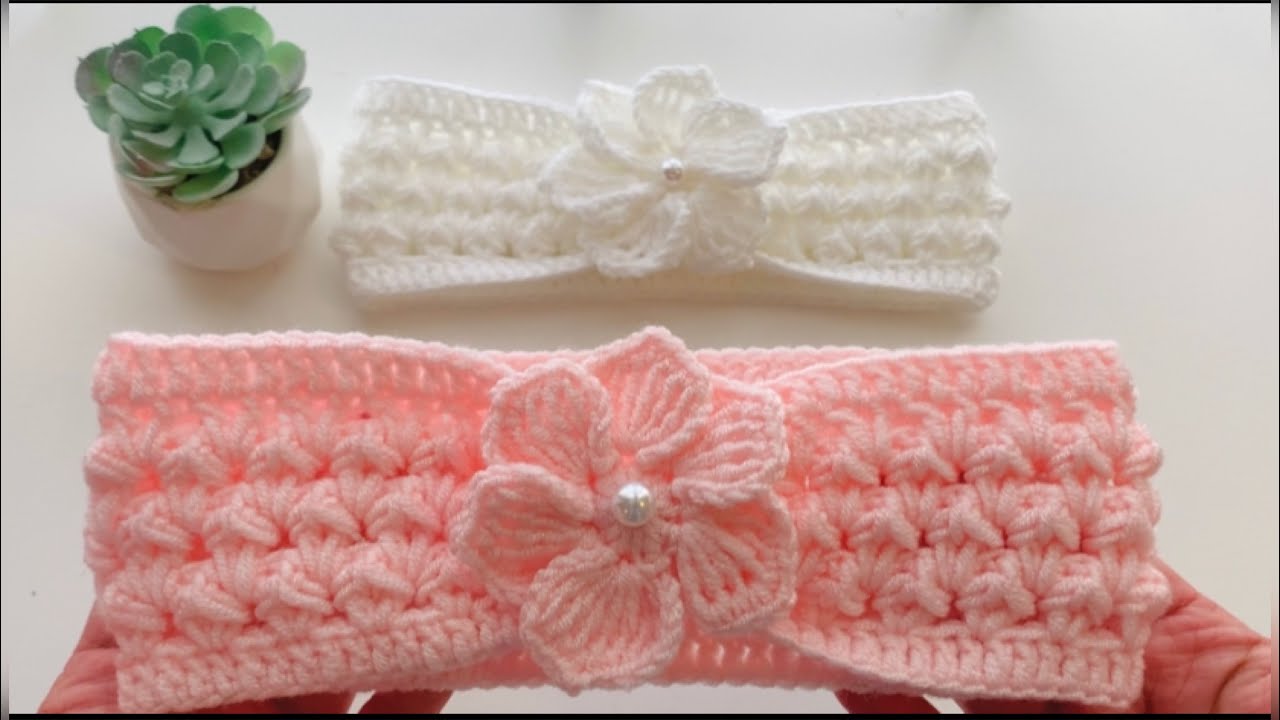
Easy Crochet Headband Pattern
This pattern is designed to be simple and quick, perfect for beginners and a satisfying project for more experienced crocheters. It uses basic stitches and is easily customizable.
Skill Level: Beginner
Finished Size: Customizable (instructions for common sizes provided)
Gauge: Not critical for this project, but aiming for a consistent tension will result in a neater finish.
- For reference: Approximately 4 single crochet stitches per inch (after 2 rows).
Materials:
- Yarn: Worsted weight (Aran/10-ply) cotton or acrylic yarn. (e.g., Lily Sugar’n Cream, Caron Simply Soft, Lion Brand Vanna’s Choice)
- Yardage: Approximately 50-80 yards, depending on size and desired width.
- Crochet Hook: Corresponding to your yarn weight.
- Recommended: US H/8 (5.0 mm)
- Yarn Needle (Tapestry Needle): For weaving in ends.
- Scissors
- Measuring Tape: Crucial for getting the right fit!
Abbreviations (US Terms):
- ch: chain
- sc: single crochet
- sl st: slip stitch
- st(s): stitch(es)
- fo: fasten off
Pattern Notes:
- This headband is worked flat in rows and then seamed to form a loop.
- The turning chain (ch 1 at the beginning of each row) does not count as a stitch.
- Always work into both loops of the stitches unless otherwise specified.
- To adjust the width of your headband, adjust your starting chain.
- To adjust the length, work more or fewer rows.
Instructions:
Step 1: Determine Desired Headband Length
The key to a well-fitting headband is the length. A good rule of thumb is to make the headband about 2 inches shorter than the actual head circumference, as crochet fabric has some stretch.
Here are some approximate head circumferences and corresponding headband lengths:
- Baby (0-6 months): Head 14-17″ | Headband ~12-15″
- Baby (6-12 months): Head 16-19″ | Headband ~14-17″
- Toddler (1-3 years): Head 18-20″ | Headband ~16-18″
- Child (3-10 years): Head 19-21″ | Headband ~17-19″
- Teen/Adult Small: Head 20-22″ | Headband ~18-20″
- Adult Medium/Large: Head 22-24″ | Headband ~20-22″
Measure the recipient’s head if possible for the most accurate fit!
Step 2: Starting Chain (Determining Headband Width)
The number of chains you make at the beginning will determine the width of your headband.
- For a narrow headband (approx. 1 inch wide): Ch 5
- For a medium headband (approx. 2 inches wide): Ch 9
- For a wider headband (approx. 3 inches wide): Ch 13
- Custom Width: Chain an odd number of stitches until you reach your desired width. (Having an odd number of chains helps if you later want to do a ribbed look or different stitch patterns.)
For this pattern, let’s assume a medium width.
Start: Ch 9 (or your desired starting chain for width)
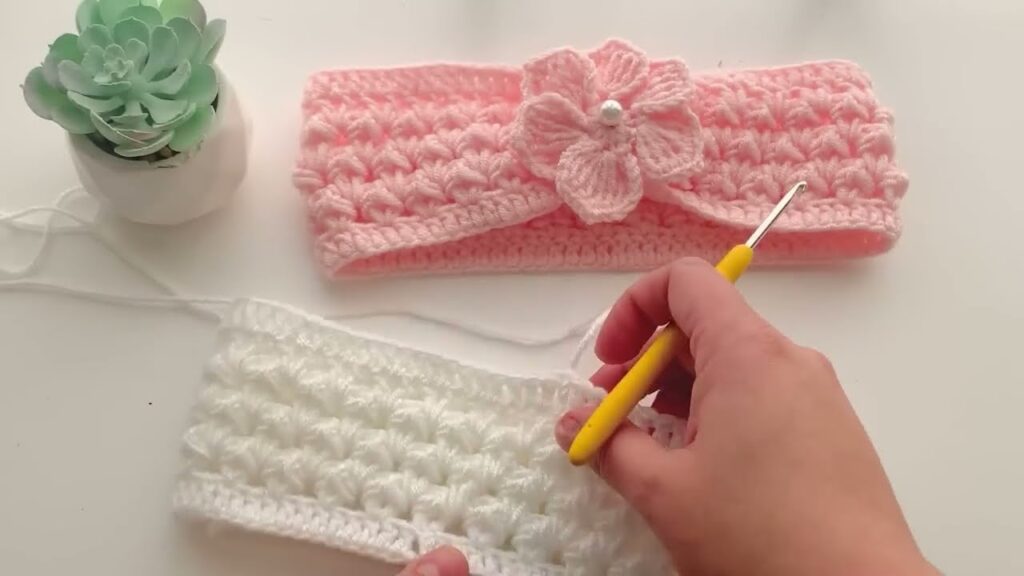
Step 3: Crocheting the Rows
This pattern primarily uses single crochet stitches, making it simple and quick.
Row 1: Sc in the 2nd ch from the hook, sc in each ch across. (8 sc, or 1 less than your starting chain)
Row 2: Ch 1 (does not count as a stitch), turn your work. Sc in each st across. (8 sc)
Repeat Row 2 until your headband reaches the desired length determined in Step 1.
- Example: If you want a 20-inch long headband, keep crocheting rows until your piece measures approximately 20 inches.
- Important: Gently stretch your work to get an accurate length measurement, as crochet fabric has some give.
Step 4: Fasten Off
Once your headband reaches the desired length:
- Cut the yarn, leaving a long tail (at least 12-18 inches) for seaming.
- Yarn over and pull the tail completely through the loop on your hook to secure.
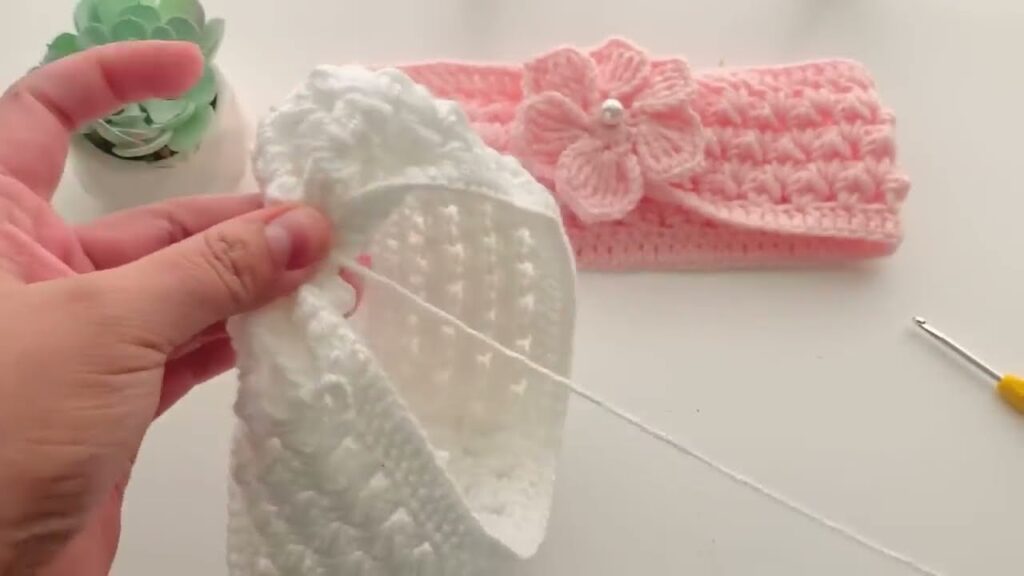
Step 5: Seaming the Headband
This is where you’ll join the two ends of your crocheted strip to form a loop.
- Fold your crocheted strip in half lengthwise, bringing the two short ends together.
- Thread the long yarn tail onto your yarn needle.
- Align the stitches of both ends carefully.
- Whip Stitch or Mattress Stitch: Use your yarn needle to sew the two ends together.
- Whip Stitch (easier): Insert your needle through both loops of a stitch on one side, then through both loops of the corresponding stitch on the other side, and pull through. Repeat, going around the edge of the fabric.
- Mattress Stitch (invisible seam): This creates a nearly invisible seam. Insert your needle under the horizontal bar between stitches on one side, then across to the other side and under the corresponding bar. Pull tight, bringing the edges together. This takes a bit more practice but is worth it for a neat finish.
- Once seamed, weave in any remaining loose ends securely into the fabric using your yarn needle. Trim excess yarn.
Step 6: Finishing Touches (Optional)
- Blocking: While not strictly necessary for this simple headband, blocking can help even out your stitches and give the headband a more polished look. Gently wet the headband, shape it to the desired dimensions, and let it air dry flat.
- Embellishments:
- Sew on a small crochet flower or other appliqué.
- Add a decorative button.
- Create a twisted look by sewing the ends together in a specific way (see “Variations” below).
Care Instructions:
- Refer to your yarn label for specific care instructions.
- Generally, cotton and acrylic headbands can be machine washed on a gentle cycle in cool water and laid flat to dry.
Variations and Customization:
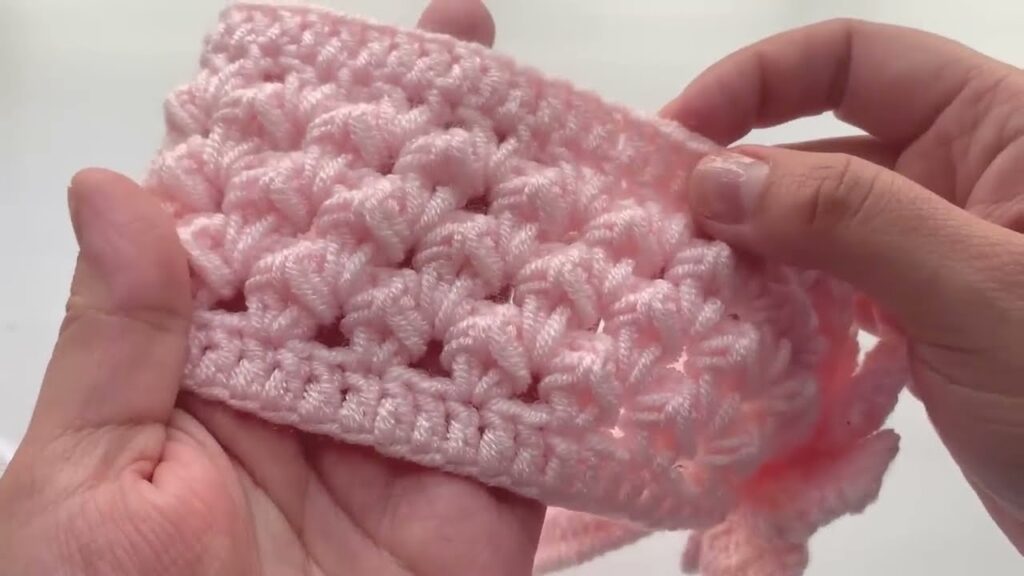
- Different Stitches:
- Half Double Crochet (hdc): For a slightly thicker and faster-growing fabric. Replace all ‘sc’ with ‘hdc’.
- Double Crochet (dc): For an even lacier and faster fabric. Replace all ‘sc’ with ‘dc’.
- Ribbed Look: After your starting chain, work sc in the back loop only (BLO) for all subsequent rows. This creates a stretchy, ribbed texture similar to knitting.
- Stripes: Change yarn color every 1-2 rows for a striped effect.
- Twisted Headband: Instead of simply seaming the ends together, you can create a “twist” in the front.
- After crocheting your strip, overlap the two ends in the center, as if you’re making an “X”.
- Fold the bottom arm of the “X” up and the top arm down, so that the four corners of the “X” are now aligned.
- Carefully seam all four layers together through the center. This creates a stylish twist.
- Button Closure: Instead of seaming, you can add a button and a buttonhole (made by chaining a few stitches and skipping the same number of stitches in a row) to make an adjustable headband.
Enjoy making your easy crochet headband! It’s a wonderful project for practicing basic stitches and creating a custom accessory or a thoughtful gift.
Watch video: