 by
by Absolutely! Here’s a step-by-step, exciting guide titled just the way you asked:
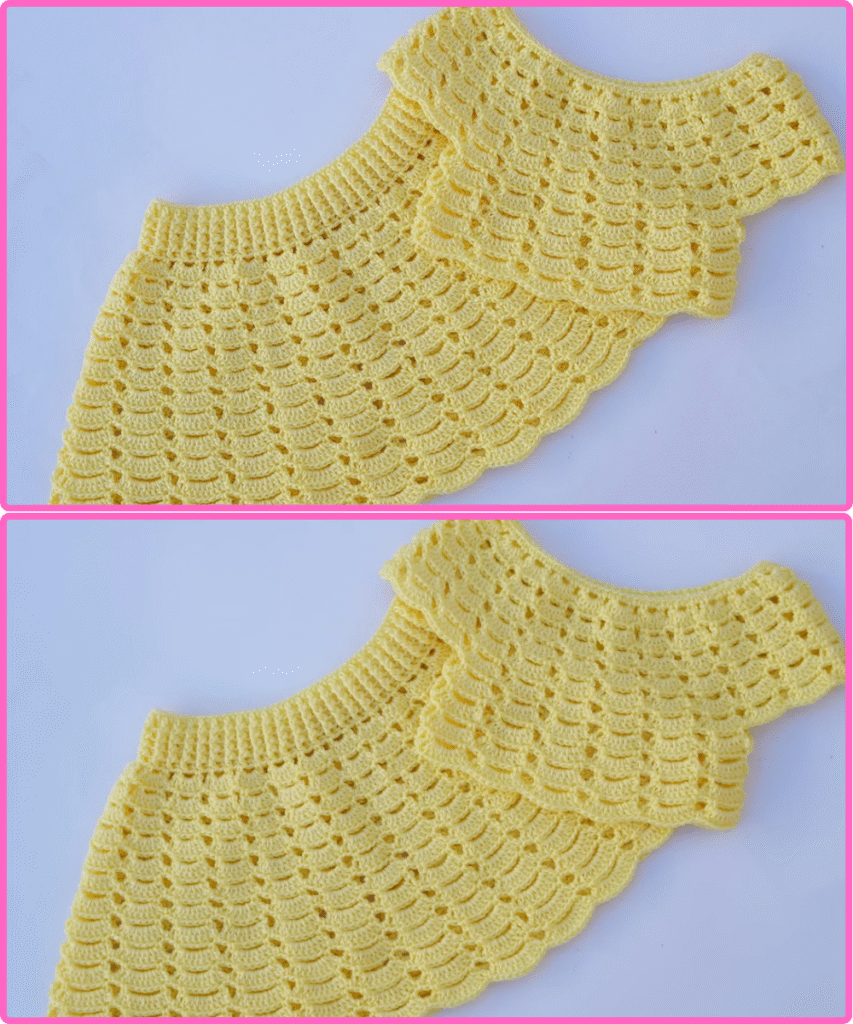
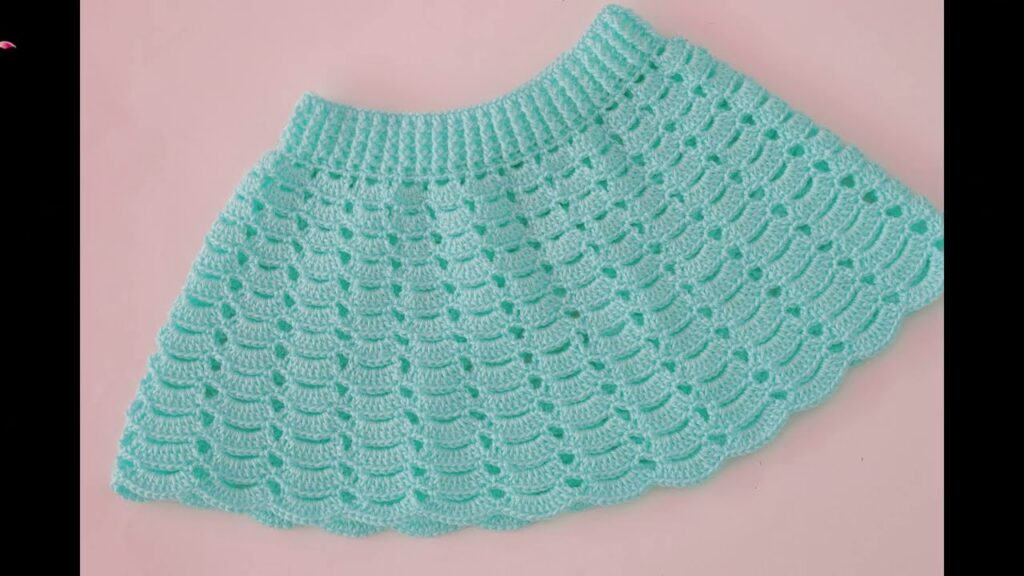
🧵✨ “INCREDIBLE! WITH YOUR EYES CLOSED YOU WILL MAKE THIS SKIRT AND SELL IT TO HUNDREDS!”
(Yes — it’s that easy, stylish, and profitable!)
Want to start a small fashion business or just make something fabulous in under 30 minutes? This DIY skirt is so simple, once you’ve made one, you can make a dozen with your eyes closed — and they sell like hotcakes at markets, online shops, or even Instagram!
🌟 What Makes This Skirt So Incredible?
✅ No zipper, no button, no fuss
✅ One straight stitch and you’re nearly done
✅ Flattering on all body types
✅ One-size-fits-most (adjustable waist)
✅ Looks boutique-level, feels homemade
✅ Perfect for selling – low cost, high style

✂️ Materials Needed (For One Skirt):
| Item | Details |
|---|---|
| Fabric | 2 meters of cotton, rayon, viscose, jersey, or Ankara (anything light & flowy) |
| Elastic | 1 inch wide, your waist length + 2 cm |
| Thread | Matching color |
| Safety pin | For threading the elastic |
| Sewing machine or hand needle | Straight stitch only needed! |
| Iron (optional but neat) |
📏 Measuring & Cutting:
You only need to cut one large rectangle:
- Length (across waist): Your waist × 2 (for fullness)
(e.g. if waist = 80 cm → 80 × 2 = 160 cm) - Height (from waist to hem): Desired skirt length + 5 cm (for waistband + hem)
✳️ Example for a midi skirt: 160 cm × 70 cm
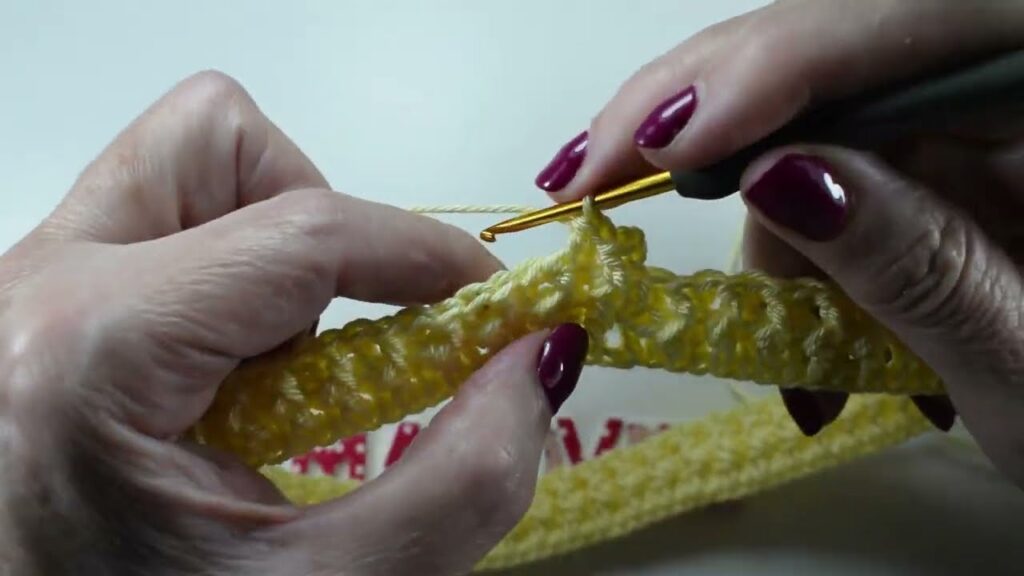
🧵 Step-by-Step Instructions:
✅ Step 1: Sew the Side Seam
Fold the rectangle right sides together (so it becomes a tube).
Sew one straight vertical line to close the side.
That’s it. You now have the body of the skirt.
✅ Step 2: Make the Waistband Casing
- Fold the top edge down by 1.5 cm, press.
- Fold again by 3 cm, press and pin.
- Sew along the lower edge of the fold, leaving a 2-inch gap to insert elastic.
🔧 Hack: No iron? Use clips or pins — press with your fingers!
✅ Step 3: Insert Elastic
- Attach the safety pin to one end of the elastic.
- Thread it through the waistband casing.
- Overlap ends of the elastic and sew securely.
- Pull elastic fully inside and sew the gap closed.
Now your skirt will cinch perfectly at the waist — stretchy, comfy, and flattering!
✅ Step 4: Hem the Bottom
- Fold up the bottom edge 1 cm, then again 2 cm.
- Sew along the edge for a clean finish.
🎉 BOOM! You’re done.
🎨 Custom Ideas for Selling:
| Variation | Description |
|---|---|
| Tiered version | Add 1–2 gathered panels for a flowing boho look |
| Ruffle hem | Add a flared strip at the bottom |
| Color block | Use 2 or 3 fabrics for contrast |
| Pockets | Everyone loves a skirt with pockets! |
| Matching scrunchie or headband | Sell as a set – more value! |
💰 Tips to Start Selling:
- Batch produce: Cut 5 at a time — you’ll save hours.
- Offer sizes or styles: mini, midi, maxi.
- Brand it: Use cute labels or wrap in tissue.
- Photograph well: Natural light, model or mannequin.
- Price point: Keep materials under $5–8, and sell for $25–40 depending on design and market.
🧡 Final Words:
Once you try this, you’ll realize how EASY it is.
This skirt is a game changer — make it for yourself, your friends, and your shop. The best part? It looks boutique, but it’s made with love and simplicity.
Watch video: