 by
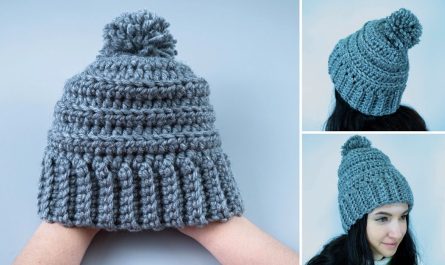
by Sure! Making a large shopper bag from T-shirt yarn (also known as T-yarn or textile yarn) is a fun and eco-friendly DIY crochet project. This bag is perfect for everyday use – sturdy, stretchy, washable, and stylish. Below is a detailed step-by-step guide including materials, techniques, and tips.
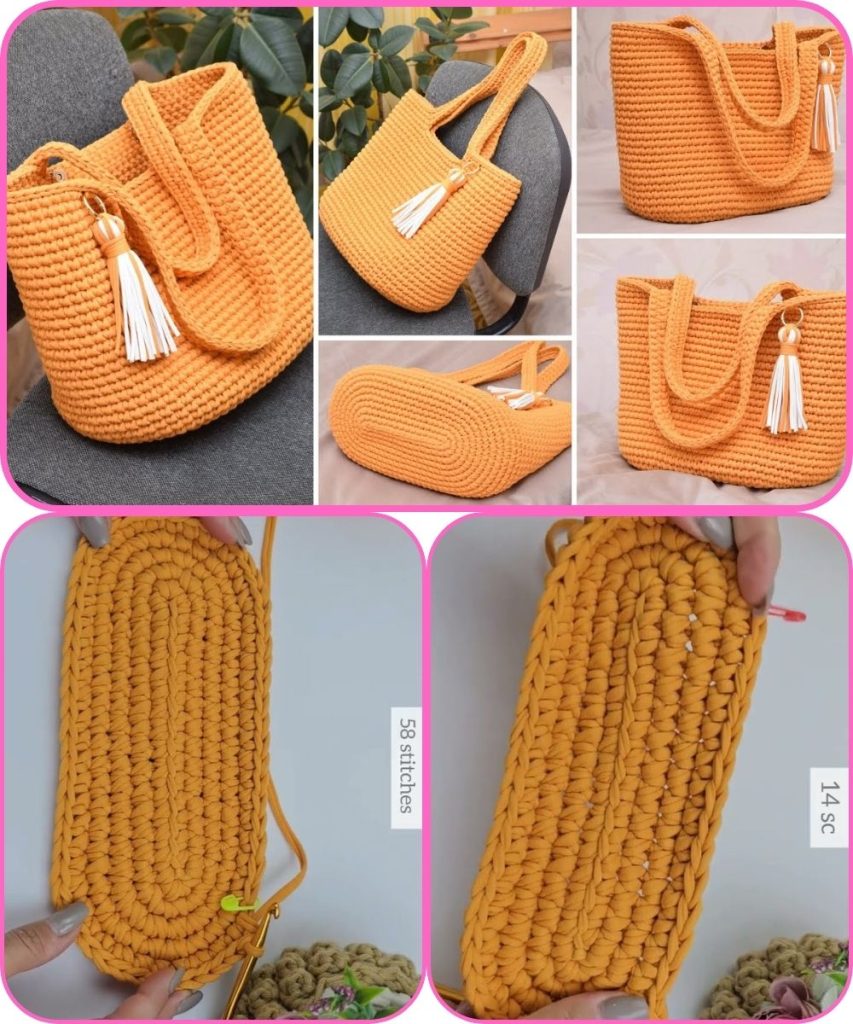
🧶 How to Make a Large Shopper Bag from T-shirt Yarn
✂️ Materials Needed:
- T-shirt yarn (T-yarn) – approx. 800g–1kg (depends on size and pattern)
- You can buy it or make your own from old T-shirts.
- Crochet hook – 8 mm to 12 mm (depending on your yarn thickness)
- Scissors
- Yarn needle (for weaving in ends)
- Stitch markers (optional but useful)
🪡 Step-by-Step Instructions
🧵 Step 1: Make or Prepare Your T-shirt Yarn
If you’re making your own yarn:
- Use seamless cotton T-shirts.
- Cut the body into 1–2 cm wide continuous strips.
- Stretch the strip gently – it will curl into a tube shape.
- Roll it into a ball.
Tip: Use the same thickness for consistent texture.
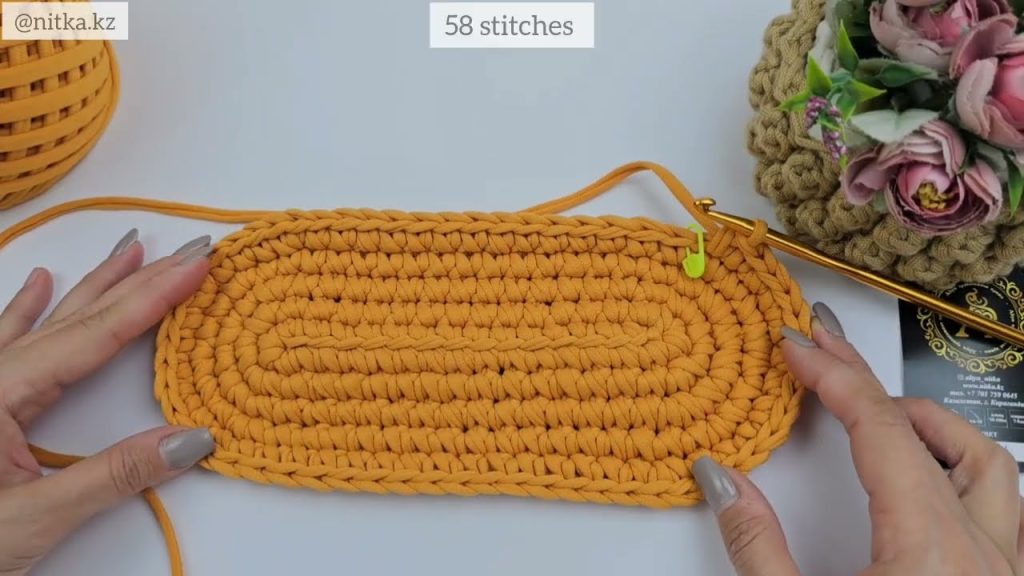
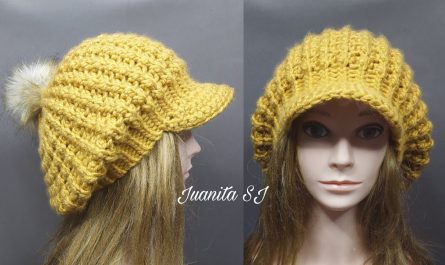
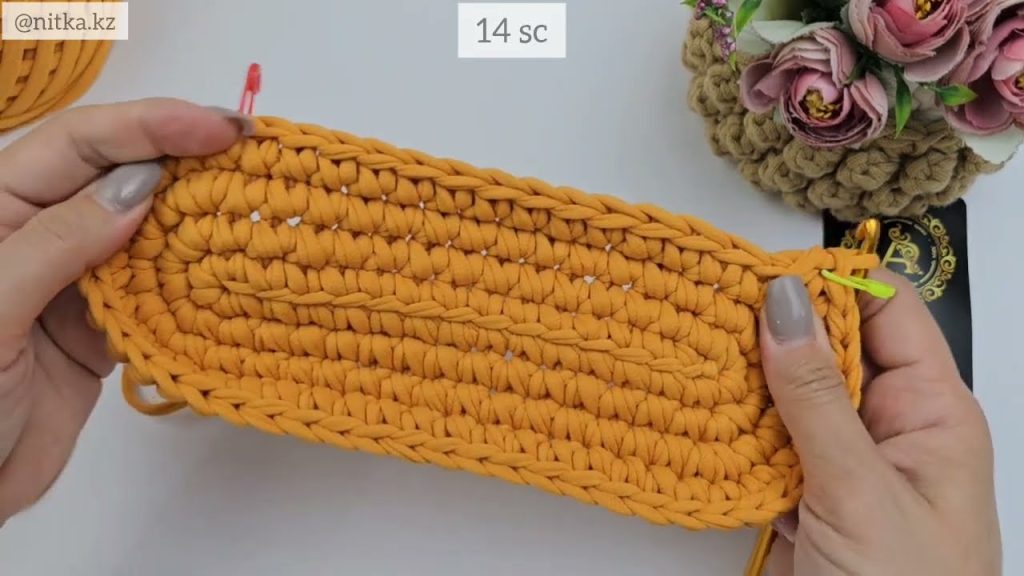
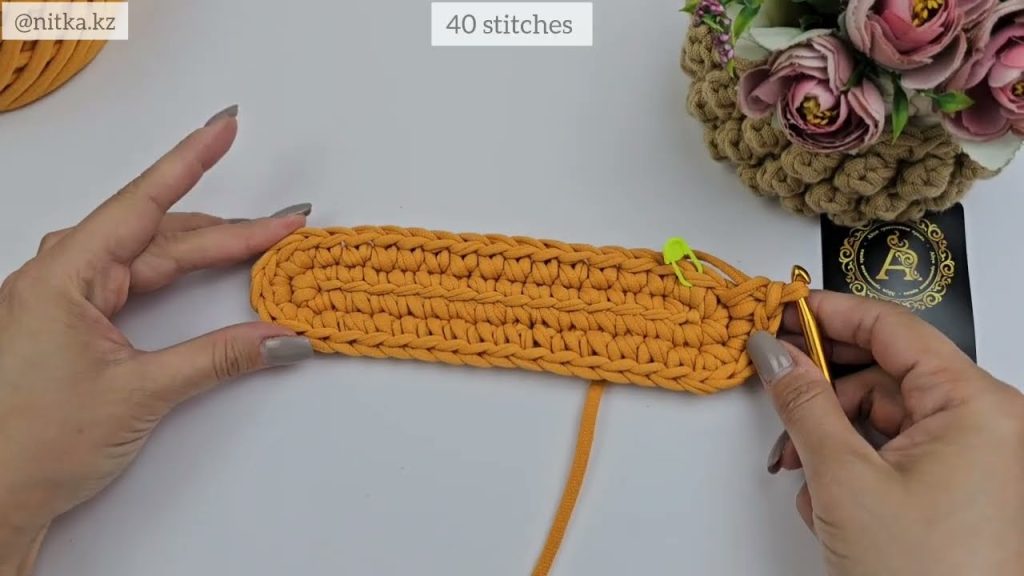
🧺 Step 2: Start with the Base (Flat Oval or Rectangle)
Option 1: Oval Base
- Chain 20–30 (depends on how wide you want the bag).
- Single crochet (sc) into the second chain from the hook and across.
- When you reach the end, add 3 sc into the last stitch to curve around.
- Continue on the other side of the chain.
- Add 3 sc into the other end to match.
- Join with slip stitch.
Repeat for 4–6 rounds, increasing at the ends to keep the oval shape.
Option 2: Rectangle Base
- Chain 25–35 stitches.
- Work single crochet (sc) back and forth for 6–10 rows.
- When the base is wide enough, work around the entire rectangle to begin building sides.
👜 Step 3: Build Up the Bag (Sides)
- After the base is done, start crocheting in the round without increasing.
- Use single crochet (sc) or half double crochet (hdc) for a tight, sturdy stitch.
- Continue working up in rounds until the bag is about 30–40 cm (12–16″) tall.
Optional textures:
- Back loop only (BLO) stitches for ribbed texture.
- Mesh stitches (ch1, skip1, sc) for a more open look.
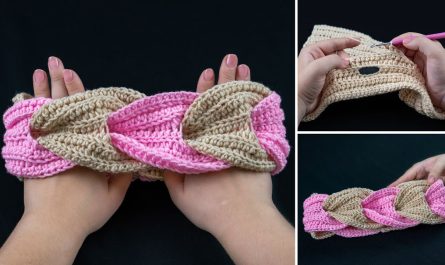
🪢 Step 4: Add Handles
Option 1: Built-in Handles
- When your bag reaches the desired height, mark where you want handles (e.g., 6–8 stitches on each side).
- Crochet until you reach the first marker, chain 10–15, skip the same number of stitches, and continue around.
- Repeat on the other side.
- On the next round, sc into the chains to reinforce the handles.
Option 2: Separate Handles
- Create two flat straps with rows of single crochet (e.g., 5 stitches wide, 30 rows).
- Sew onto the inside of the bag with a yarn needle.
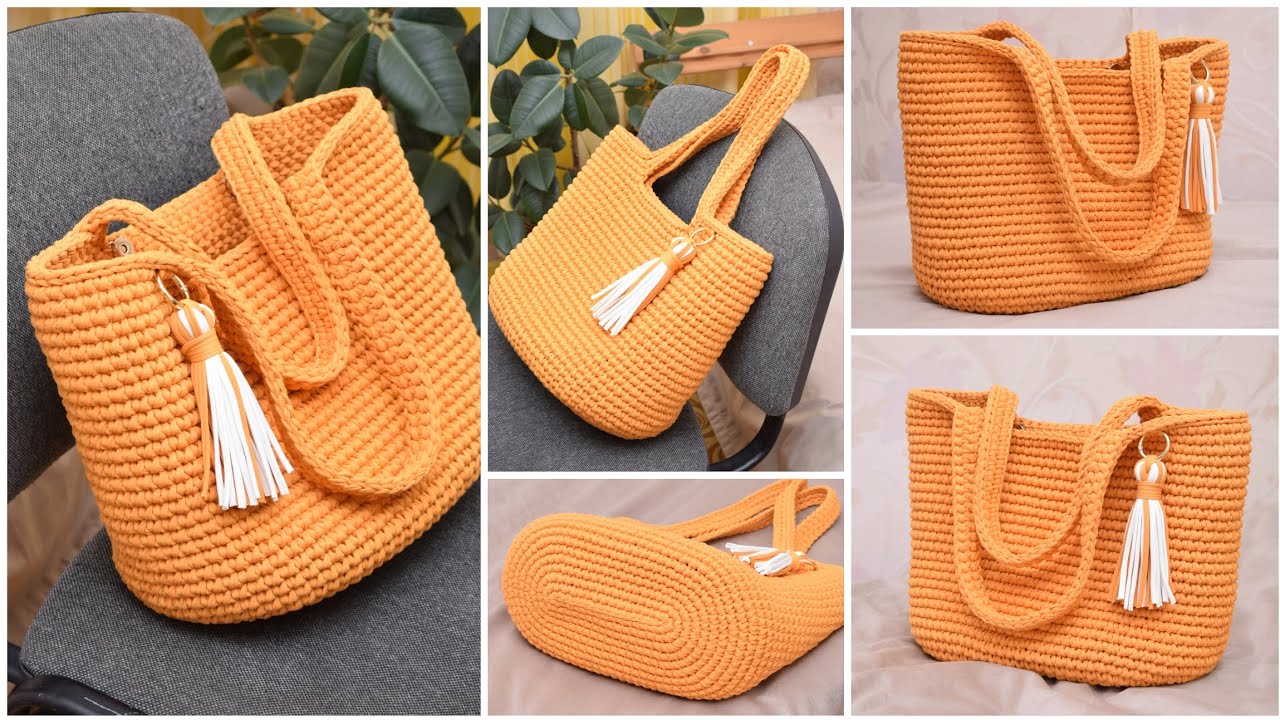
✨ Step 5: Finishing Touches
- Weave in all yarn ends securely using a yarn needle.
- You can add a button loop and button to close the top if desired.
- Block the bag gently by stuffing it and lightly spraying with water to shape it.
🧼 Care Tips
- Wash in cold water by hand or gentle cycle.
- Air dry flat to avoid stretching.
🪄 Customization Ideas
- Use multiple colors for stripes.
- Add a pocket on the inside or outside.
- Attach wooden handles for a stylish touch.
- Sew in a fabric lining for extra durability and to prevent stretching.
🧶 Simple Pattern Summary (Beginner Friendly – Oval Base)
1. Ch 25
2. Round 1: Sc in 2nd ch from hook and in each ch across. 3 sc in last ch.
   Work on other side of ch, sc across, 3 sc in last ch. Join.
3. Round 2–6: Sc around, increase 3 sc at each curved end. Join.
4. Round 7–30: Sc in each stitch (no increases). Work in spiral or join each round.
5. Final rounds: Mark handle placement, ch 12 for handles, skip stitches, continue round.
6. Reinforce handles with 1–2 more rounds.
7. Fasten off, weave in ends.
🧺 Final Thoughts
This project is:
- Beginner-friendly 🧶
- Sustainable ♻️
- Customizable 🎨
- Super functional 🛍️
Watch tutorial: