 by
by Here’s a detailed, beginner-friendly guide for making a crochet headband in 30 minutes using a simple pattern.
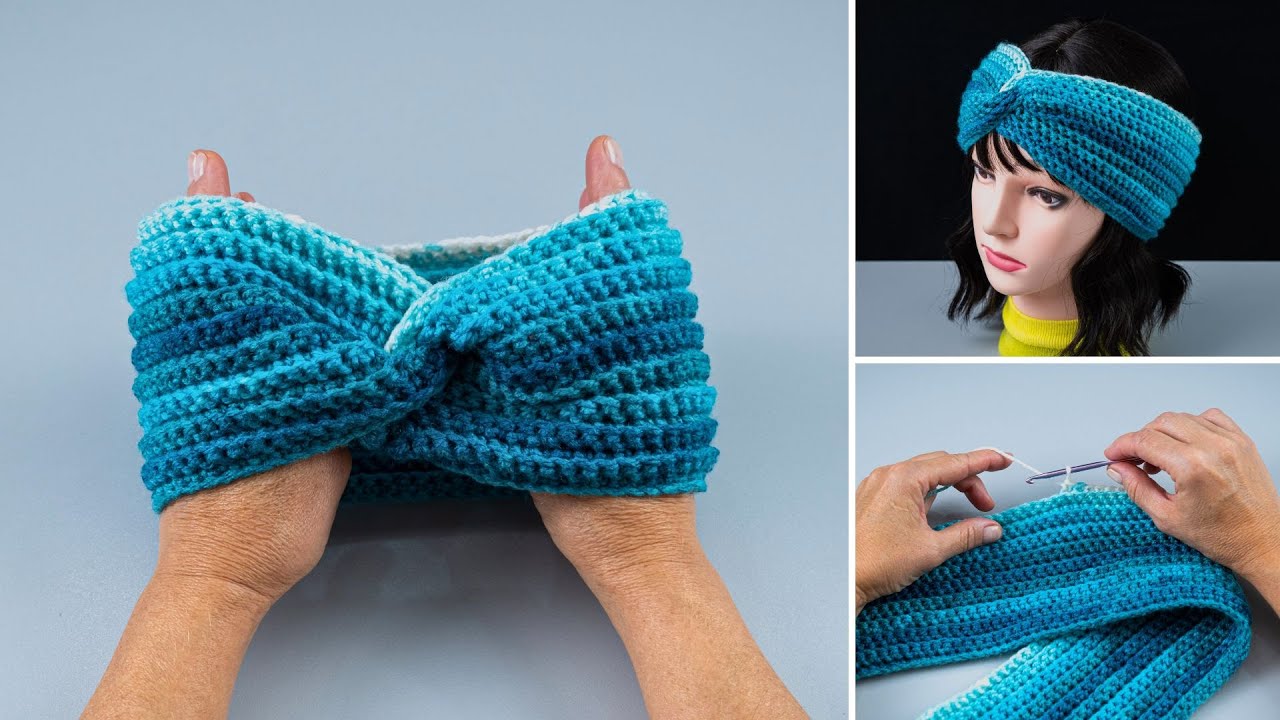
How to Make a Crochet Headband in 30 Minutes with a Simple Pattern
Crochet headbands are fast, practical, and a great beginner project. With just a few basic stitches, you can create a stylish, stretchy headband in under 30 minutes. Perfect for cold weather, sports, or adding a handmade touch to any outfit!
Why This Project Is Beginner-Friendly
- Uses basic crochet stitches (single or half double crochet)
- Small, manageable size
- Quick to make (about 30 minutes)
- Flexible and adjustable to any head size
- Can be customized with colors, textures, or embellishments
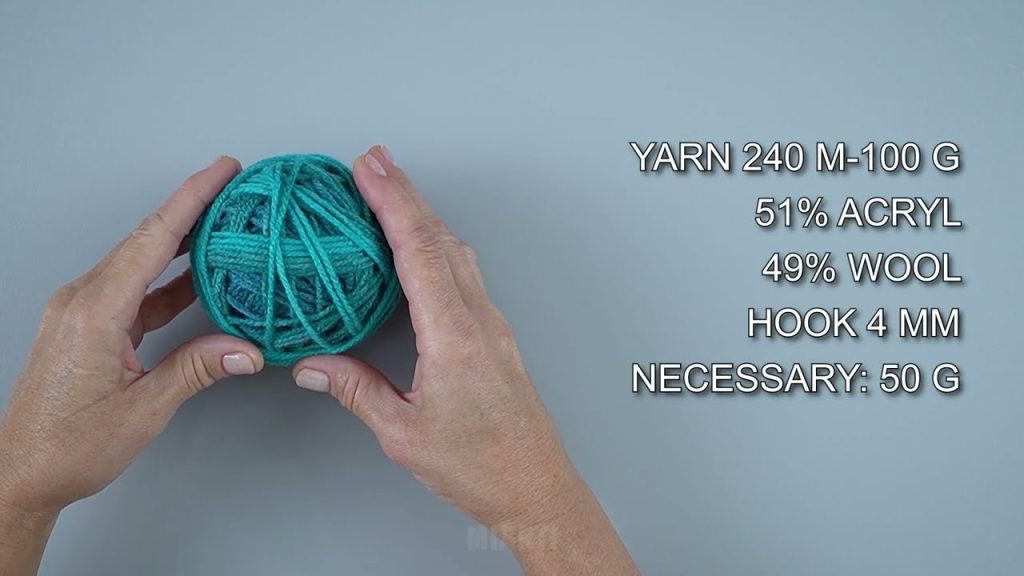
Materials You’ll Need
- Yarn: Medium-weight (worsted) yarn; cotton for lightweight headband or acrylic/wool for warmth
- Crochet Hook: 4–5 mm
- Scissors
- Yarn Needle for weaving ends
- Optional: Stitch marker
Stitches Used
- Chain stitch (ch)
- Single crochet (sc) or half double crochet (hdc)
- Slip stitch (sl st) for finishing
Even beginners can easily handle these stitches.
Step-by-Step Instructions
Step 1: Measure Your Head
- Adult size: 50–55 cm (20–22 inches) circumference
- Child size: 45–50 cm (18–20 inches)
- Adjust chain length to fit snugly but comfortably around your head.
Step 2: Chain Foundation
- Chain the required length to fit your head (example: 60 ch for adult).
- Check the fit around your head before continuing.
Step 3: First Row
- Single crochet (sc) or half double crochet (hdc) into the second chain from hook.
- Continue across the row, one stitch per chain.
- Turn the work.
Step 4: Build the Headband
- Chain 1 and continue crocheting in rows using the same stitch (sc or hdc).
- Continue until the band reaches the desired width (4–6 cm is common).
Optional variations:
- Textured look: Alternate front-post and back-post stitches
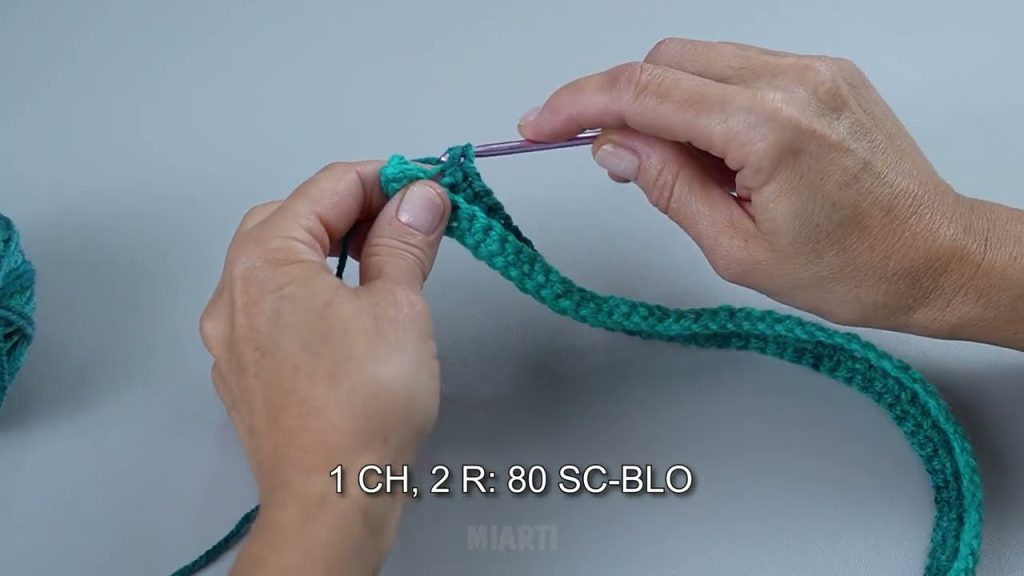
- Ribbing: Work sc in back loop only
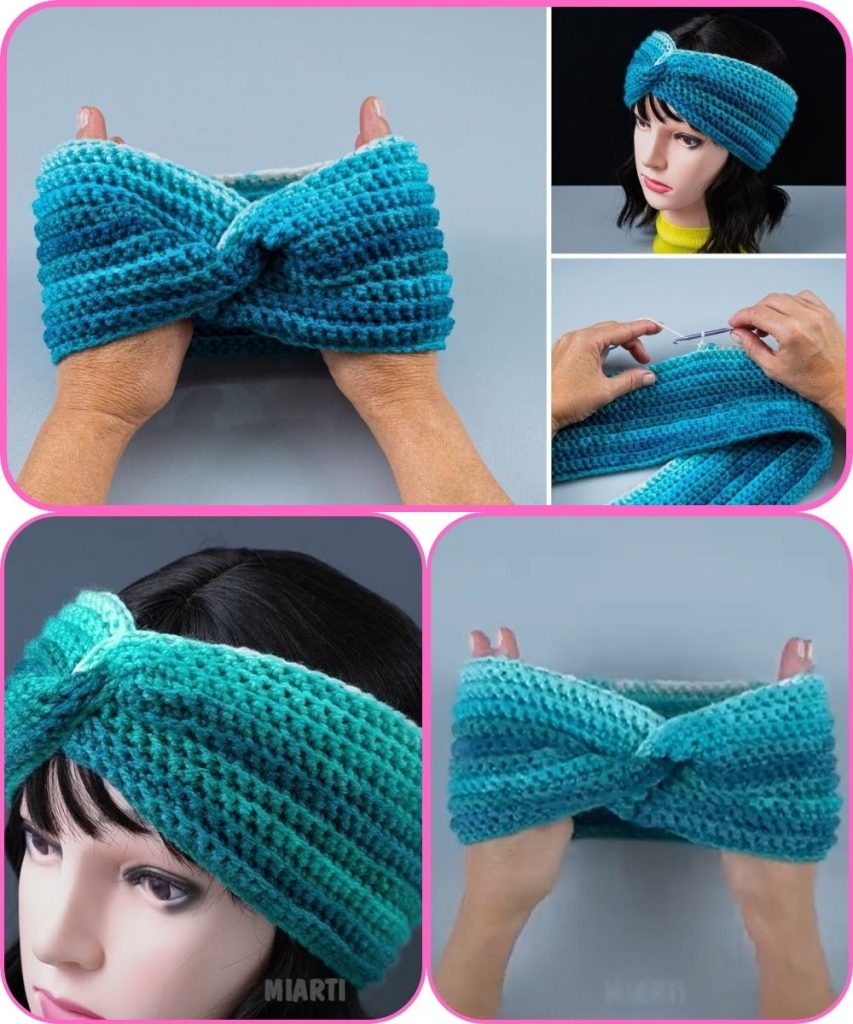
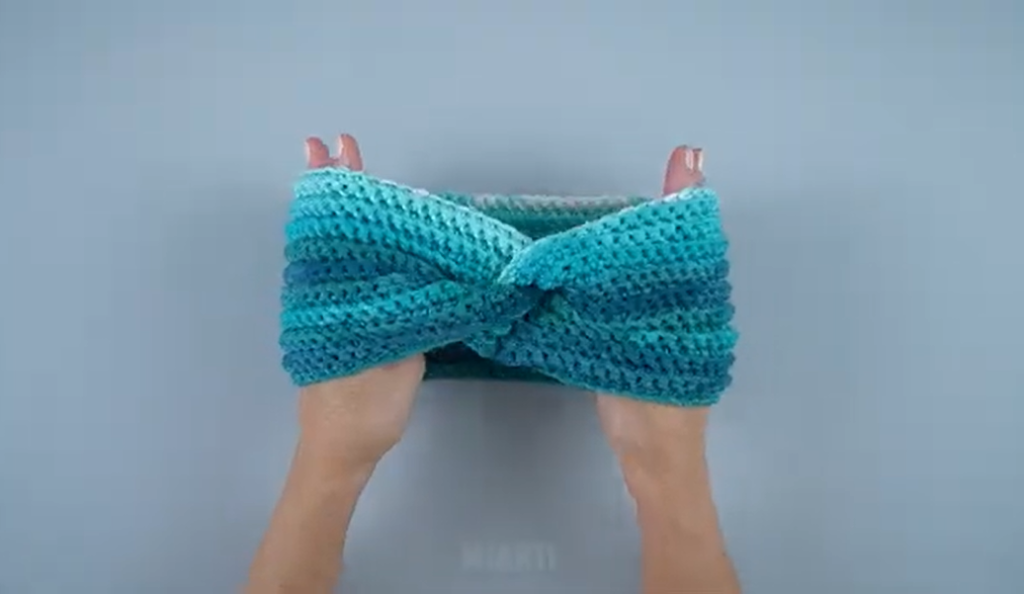
Step 5: Join Ends
- Fold the headband in a loop and join ends using a slip stitch or sew with a yarn needle.
- Make sure the seam is secure and neat.
Step 6: Finishing Touches
- Weave in all loose ends
- Adjust seam for comfort
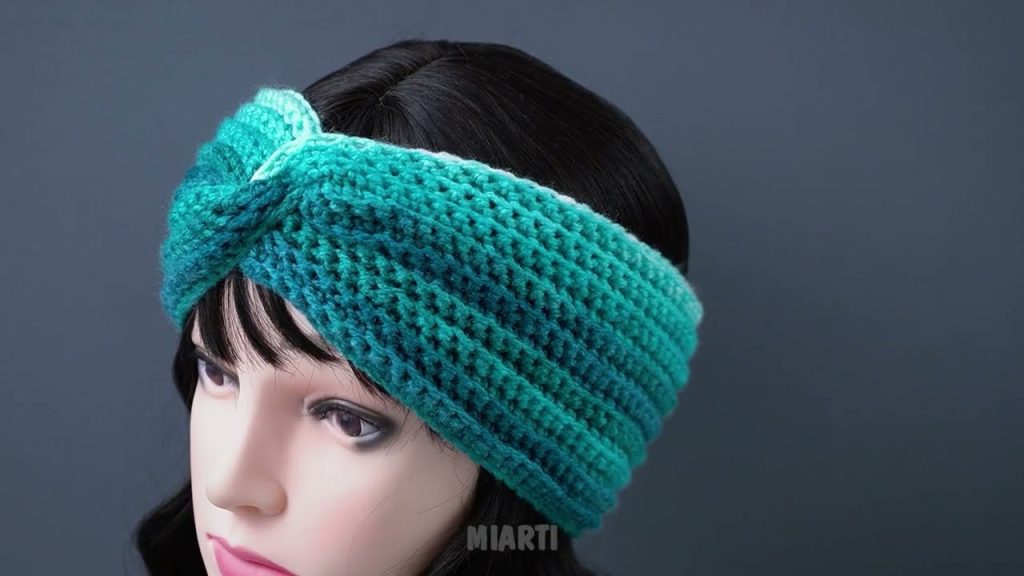
- Optional: Add a bow, knot, or twist at the front for style
Tips for Beginners
- Use medium-weight yarn for a quick and flexible headband
- Keep stitches even and not too tight for stretch
- Try a scrap yarn first to practice before using your main yarn
- For a fancier look, twist the headband before joining to make a “turban-style” headband
Customization Ideas
- Use two colors for stripes
- Add beads or buttons for decoration
- Make wider or narrower depending on style
- Use chunky yarn for faster results
- Create matching sets with scarves or mittens
Final Thoughts
A crochet headband in 30 minutes is perfect for a quick, satisfying project. Even beginners can make a stylish and functional accessory in under half an hour. Once you finish your first headband, you can experiment with colors, textures, and embellishments to create a collection for yourself or as gifts.
If you want, I can also create a one-page printable step-by-step crochet pattern with exact chain count and row numbers so you can finish a headband in 30 minutes easily.
Watch tutorial: