by
by Sure! Here’s a detailed, easy-to-follow guide on how to make a crochet hat using the honeycomb stitch pattern. This project is suitable for advanced beginners to intermediate crocheters, especially if you’re comfortable working in the round and using post stitches.
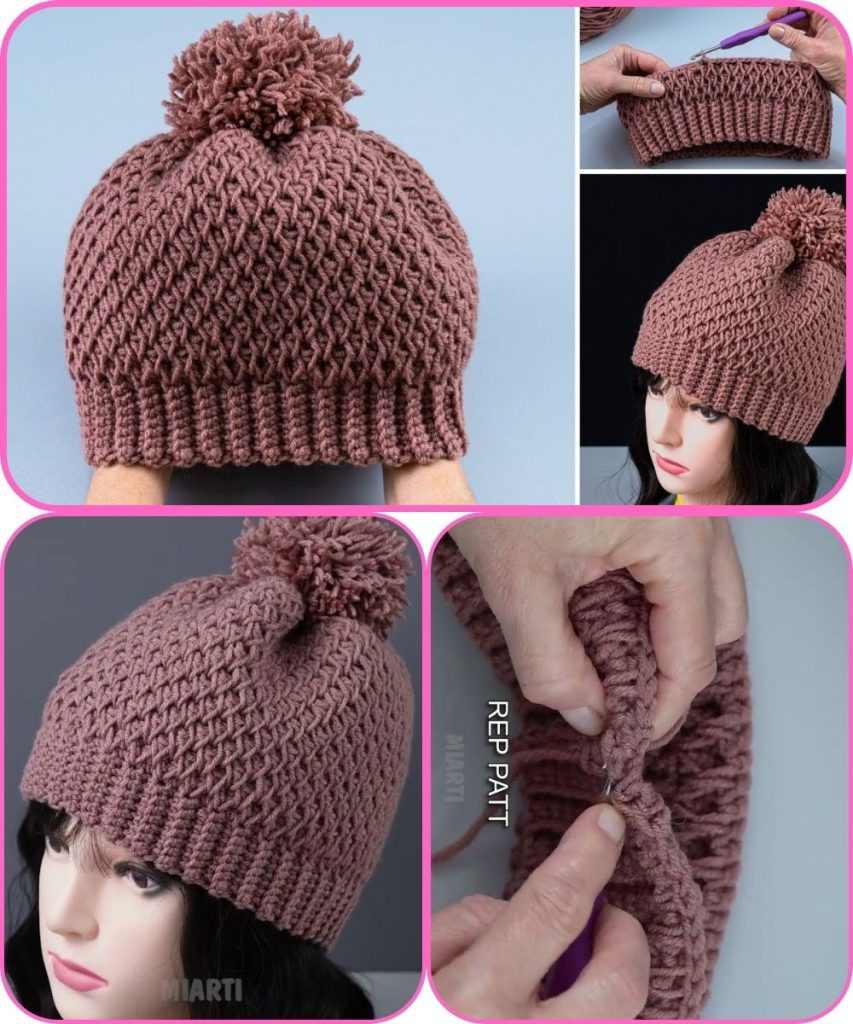
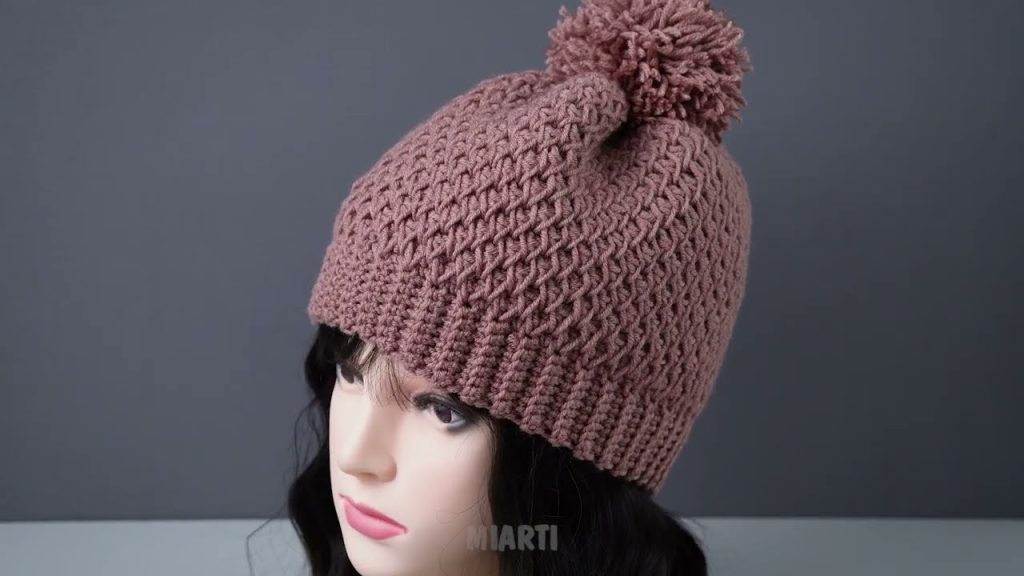
🧶 How to Make a Crochet Hat with Honeycomb Stitch Pattern (EASY!)
🐝 What is the Honeycomb Stitch?
The honeycomb stitch in crochet typically uses front and back post double crochet (FPdc & BPdc) to create a textured, raised hexagonal or diamond pattern that resembles a beehive. It’s beautiful, warm, and stretchy—perfect for hats!
🧵 Materials You’ll Need:
- Yarn: Worsted weight yarn (Category 4), about 150–200 yards
- Hook: 5.0 mm (H/8) crochet hook
- Tapestry needle (for weaving in ends)
- Scissors
- Stitch marker (optional but helpful)
📏 Sizing Info:
This pattern makes an adult-sized beanie (21–23″ head circumference), but you can adjust by changing the initial stitch count (must be a multiple of 6 for the honeycomb pattern to work).
🔁 Abbreviations (US Terms):
- ch – chain
- sl st – slip stitch
- sc – single crochet
- dc – double crochet
- FPdc – front post double crochet
- BPdc – back post double crochet
- st – stitch
- rep – repeat
👒 Part 1: Make the Hat Brim (Optional Ribbed Band)
This is a simple sc ribbing that makes the hat fit snugly.
Ribbed Brim:
- Ch 10
- Row 1: Sc in 2nd ch from hook and each ch across. (9 sc)
- Row 2–70 (or to desired circumference):
Ch 1, turn, sc in back loops only across. (9 sc) Tip: Adjust rows to fit head snugly. - Join ends with sl st to form a band.
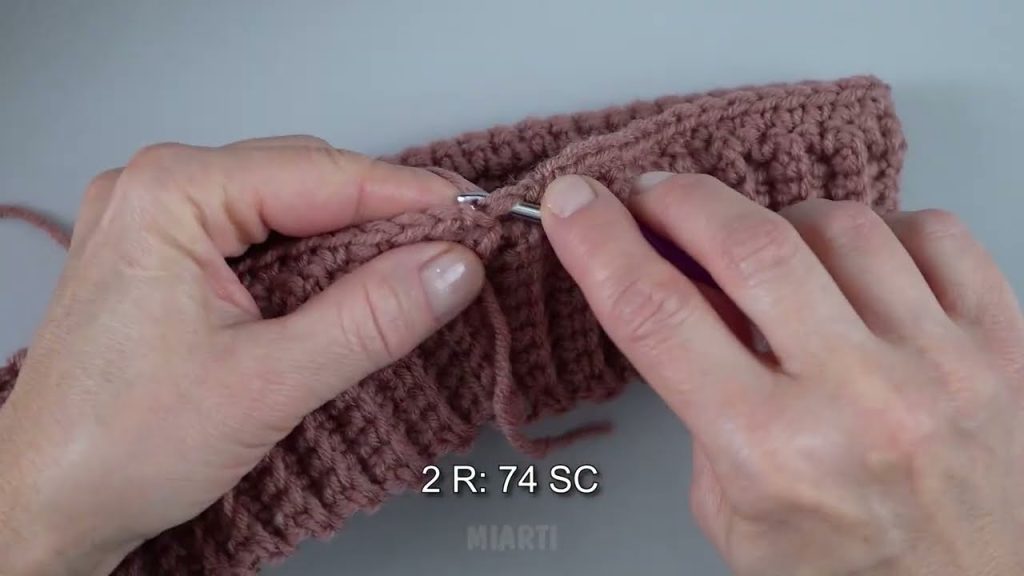
🍯 Part 2: Set Up for Honeycomb Stitch Pattern
- Round 1 (Setup):
Ch 1, sc evenly around the edge of the band to make a base for your stitch pattern. Make sure the total number of sc is a multiple of 6. Sl st to join. - Round 2:
Ch 2 (does not count as st), FPdc in next 3 sts, BPdc in next 3 sts, rep * around. Sl st to join.
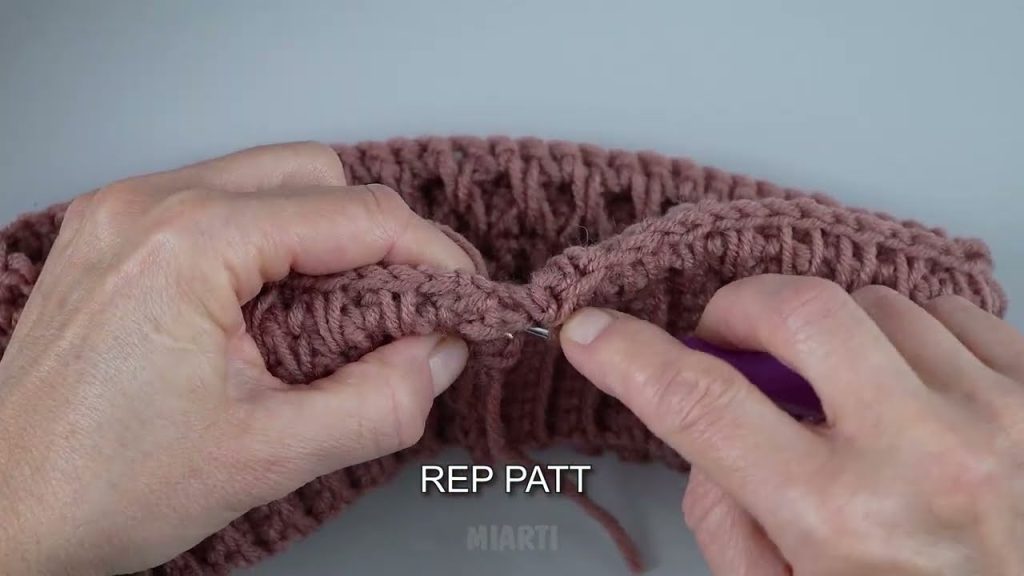
🍯 Part 3: Work the Honeycomb Stitch Pattern
The basic honeycomb pattern alternates 3 FPdc and 3 BPdc stitches, but you shift them every 2 rounds to create the “honeycomb” effect.
Repeat the following:
- Round A: 3 FPdc, 3 BPdc around. Sl st to join.
- Round B: Repeat Round A.
- Round C: 3 BPdc, 3 FPdc around (this shifts the pattern). Sl st to join.
- Round D: Repeat Round C.
⏳ Continue repeating Rounds A–D until the hat is about 7–8 inches tall from the brim.
🧵 Part 4: Shaping the Crown (Top of the Hat)
As you reach the desired height, start decreasing to close the top of the hat.
Begin Decreases (Keep FPdc/BPdc pattern where possible):
- Round 1: [FPdc2tog over next 2 FPdc], FPdc, [BPdc2tog over next 2 BPdc], BPdc, repeat around.
- Round 2: Continue decreasing: FPdc2tog, BPdc2tog around.
Continue decreasing (switch to dc2tog if easier) until about 6–8 stitches remain.
🧵 Part 5: Finishing
- Cut yarn, leaving a long tail.
- Thread the tail through the remaining stitches and pull tight to close.
- Weave in ends.
- Add a pom-pom if desired!
🎉 You’re Done!
You’ve just made a cozy, textured honeycomb stitch crochet hat!
✅ Tips for Success:
- Use a stitch marker to keep track of the beginning of each round.
- Practice FPdc and BPdc before starting if you’re new to post stitches.
- Block the finished hat lightly with steam to open up the stitch texture.
Watch tutorial: