 by
by Here’s a clear, beginner-friendly tutorial you can use as a detailed guide or even turn into a blog post or project write-up.
How to Make an Easy Crochet Bucket Hat
A Step-by-Step Tutorial for Beginners
Crocheting a bucket hat is a fun and rewarding project, especially for beginners. It uses simple stitches, works in the round, and helps you practice increasing and shaping. By the end, you’ll have a stylish and wearable hat you can customize with colors and textures.
Materials You’ll Need
- Yarn: Medium weight yarn (Category 4 / worsted weight)
Cotton yarn is great for bucket hats because it holds shape well. - Crochet Hook: 4.5 mm – 5.5 mm (use the size recommended on your yarn label)
- Scissors
- Yarn Needle (for weaving in ends)
- Stitch Marker (optional but very helpful)

Basic Stitches You Should Know
This project is perfect if you know (or want to learn) these basic stitches:
- Chain (ch)
- Slip stitch (sl st)
- Single crochet (sc)
- Increase (2 single crochets in the same stitch)
Don’t worry—this hat uses mostly single crochet, which makes it beginner-friendly.
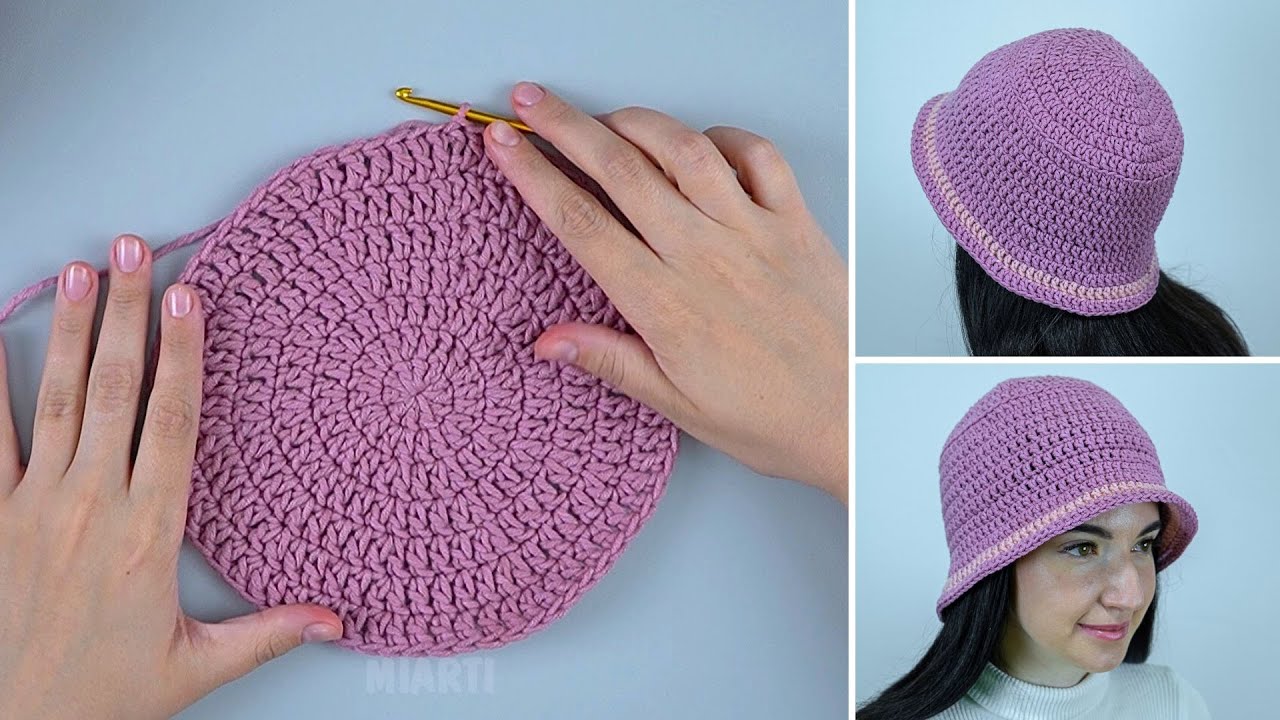
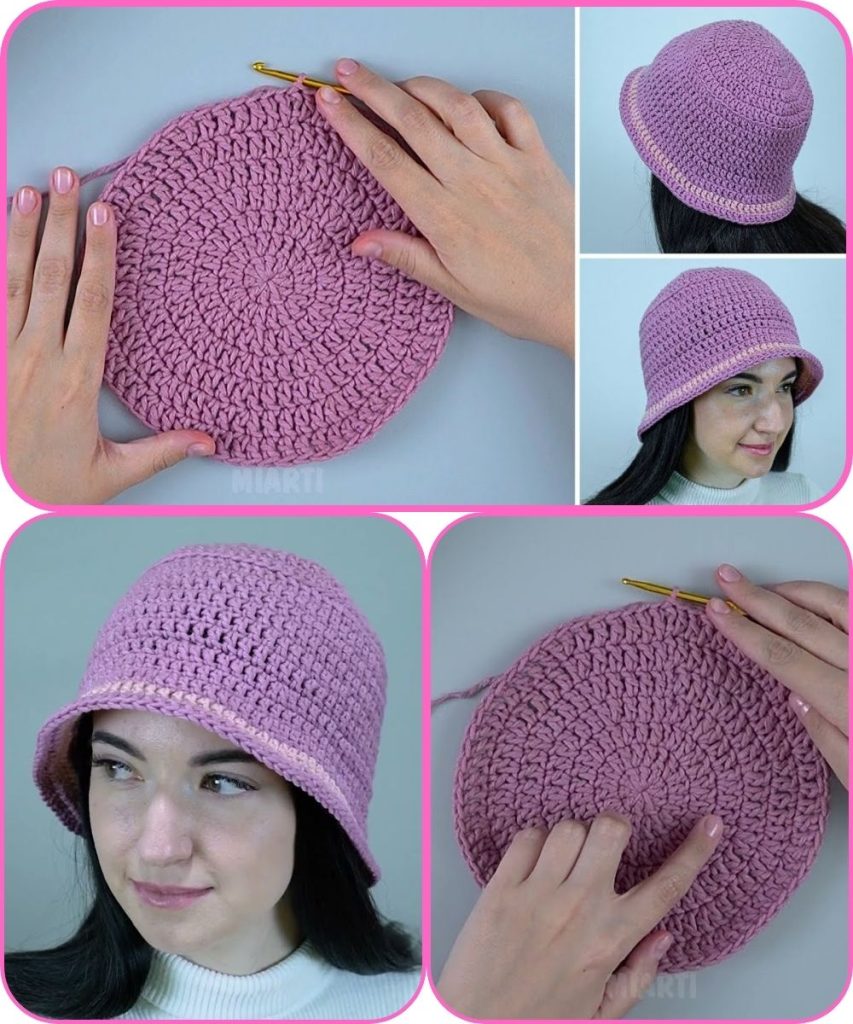
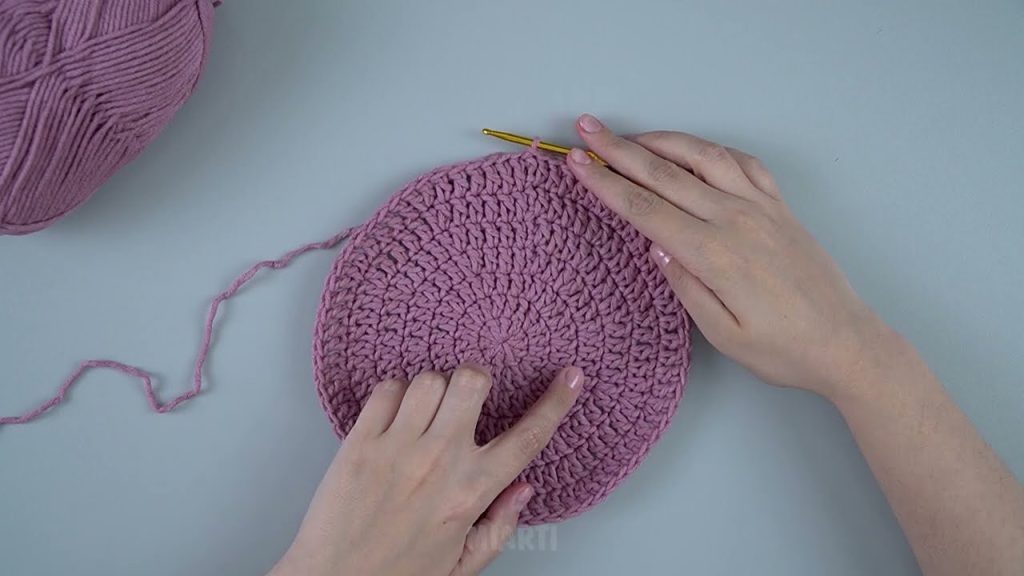
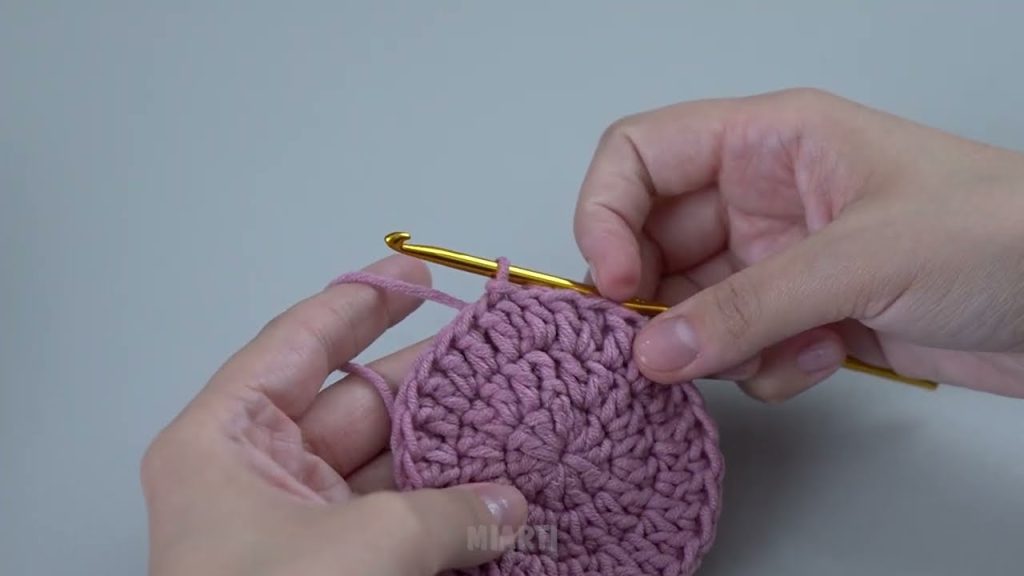
Step 1: Crochet the Crown (Top of the Hat)
The crown is a flat circle that forms the top of your bucket hat.
- Start with a magic ring (or chain 4 and join with a slip stitch).
- Round 1: Work 6 single crochets into the ring.
- Round 2: Increase in every stitch (2 sc in each stitch).
You’ll now have 12 stitches. - Round 3: 1 sc, increase – repeat around (18 stitches).
- Continue increasing evenly each round until the circle is wide enough to cover the top of your head.
👉 Tip: To keep the circle flat, add 6 stitches per round.
Step 2: Crochet the Sides
Once the crown is the right size, it’s time to build the height of the hat.
- Crochet one round of single crochet without any increases.
- This causes the work to bend downward, forming the sides.
- Continue working single crochet in each stitch around.
- Try the hat on as you go to check the length.
👉 For a classic bucket hat look, the sides are usually 2.5–4 inches tall.
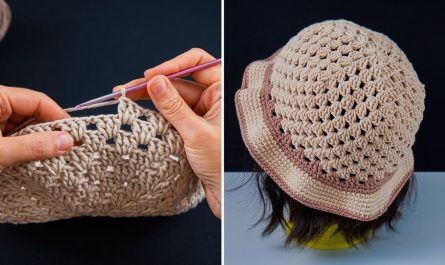
Step 3: Crochet the Brim
The brim gives the bucket hat its signature shape.
- Start increasing again:
- 3 sc, increase – repeat around.
- Continue crocheting 2–4 rounds, increasing slightly each round.
- Keep the increases gentle so the brim lays flat instead of ruffling.
👉 If the brim waves, you’re increasing too much.
👉 If it curls up, add a few more increases.
Step 4: Finish the Hat
- Cut the yarn, leaving a small tail.
- Pull through and tighten.
- Use a yarn needle to weave in all loose ends.
- Lightly block the hat if needed to smooth out the shape.
Customization Ideas
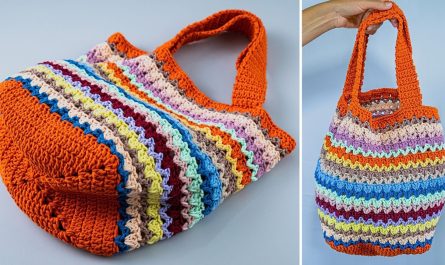
- Use striped colors for a fun look
- Add a decorative edge like crab stitch
- Attach a small crochet flower or patch
- Make it oversized or cropped for different styles
Beginner Tips
- Use a stitch marker to mark the start of each round
- Count your stitches every round to avoid mistakes
- Practice tension—don’t crochet too tight
- Take breaks and enjoy the process!
Final Thoughts
An easy crochet bucket hat is a fantastic beginner project that teaches essential skills like working in the round, shaping, and increasing. With simple stitches and endless customization options, it’s a project you’ll want to make again and again.
Happy crocheting! 🧶✨
If you want, I can also:
- Adjust this for kids or adults
- Turn it into a short pattern
- Help you write this as a blog post or school project
Watch tutorial: