 by
by Absolutely! Let’s go step by step through how to make a crochet braid pattern for a beautiful large cord bag — including materials, techniques, and a full construction guide.
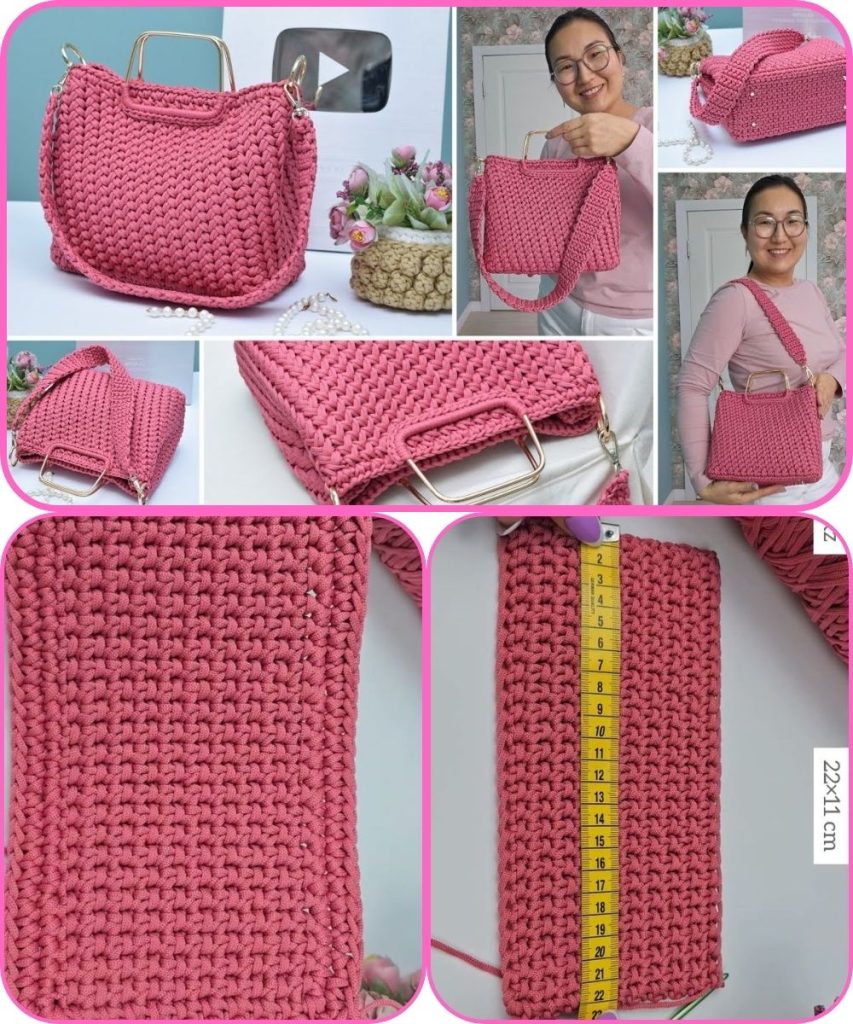
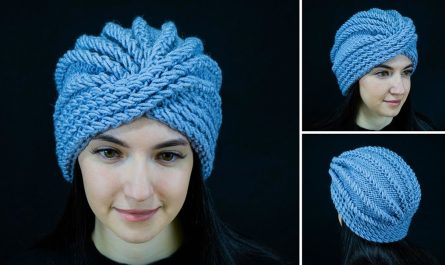
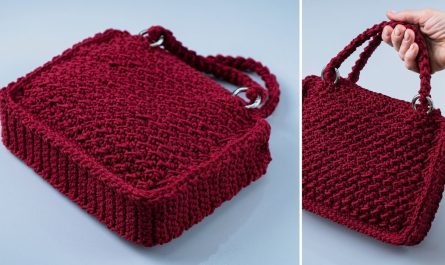
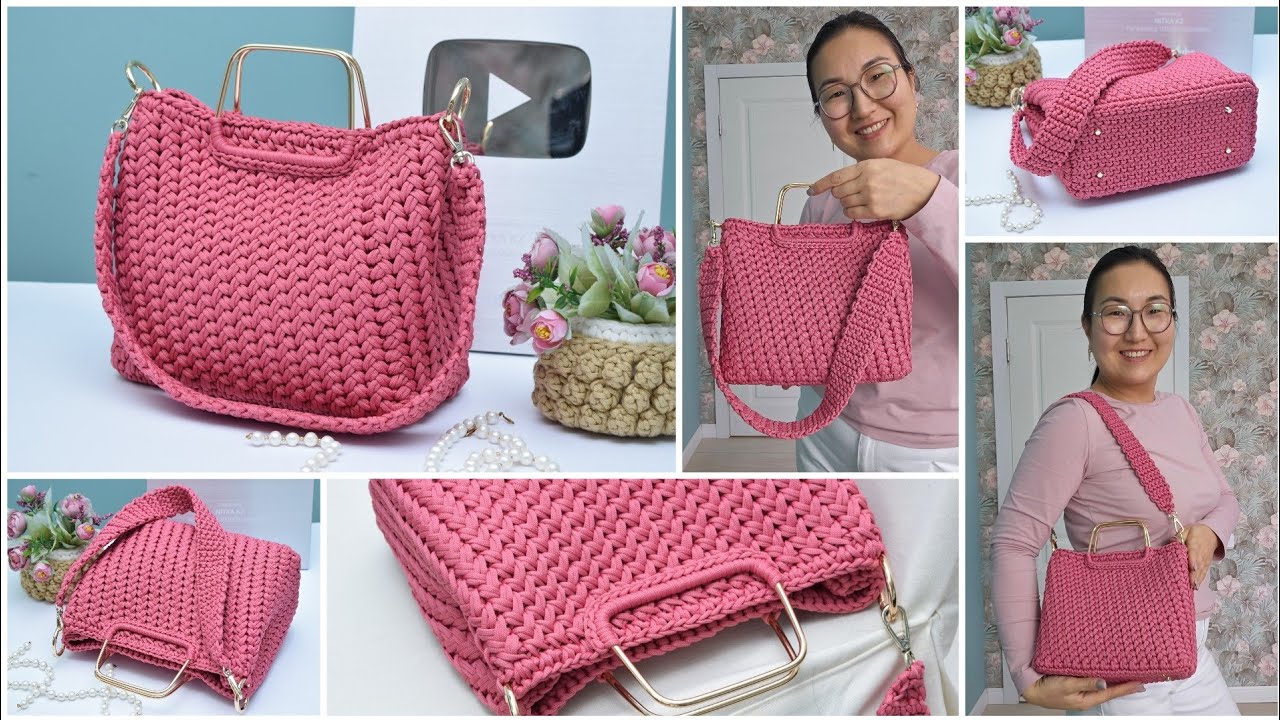
🧶 Project: Crochet Braid Pattern – Large Cord Bag
This project creates a stylish, sturdy tote or shoulder bag using thick cord and a braid-inspired crochet pattern. The result is a textured, elegant accessory that looks both modern and handmade.
✨ Overview
- Skill Level: Intermediate
- Time Required: 6–8 hours
- Finished Size: Approx. 14″ wide × 11″ tall × 4″ deep (adjustable)
- Techniques Used: Crochet braids (raised stitch pattern), single crochet (sc), slip stitch (sl st), chain (ch), working in the round, seaming.
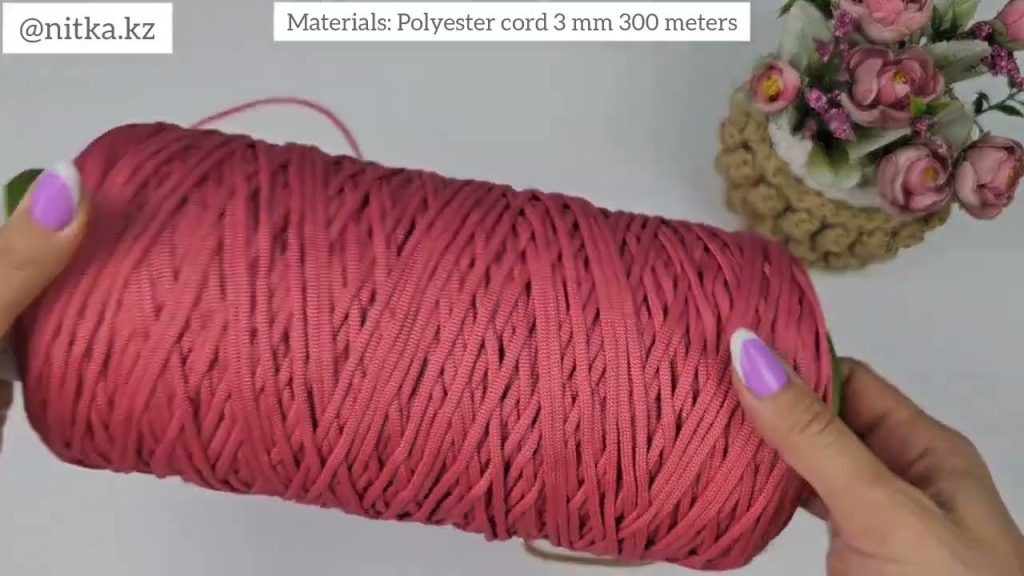
🧵 Materials Needed
| Item | Description |
|---|---|
| Cord/Yarn | 4–5 mm macramé cord, t-shirt yarn, or chunky cotton rope (~400–500 g) |
| Hook Size | 6 mm or 7 mm crochet hook (depending on cord thickness) |
| Stitch Markers | To mark rounds or pattern repeats |
| Scissors | For cutting yarn |
| Tapestry Needle | To weave in ends |
| Lining Fabric (optional) | For a professional finish inside |
| Magnetic Snap or Zipper (optional) | Bag closure |
🪡 Step-by-Step Instructions
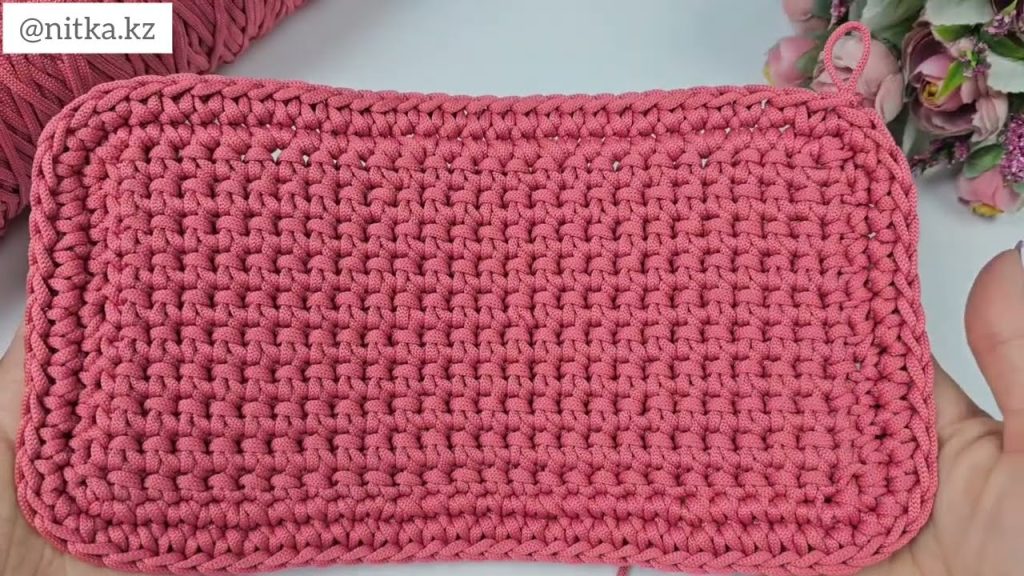
1. Create the Base
You’ll begin with an oval base worked in the round.
Foundation Chain:
- Ch 25 (for a medium-large bag; adjust as needed).
Round 1:
- Sc in 2nd ch from hook and across (24 sc),
- 3 sc in the last ch (to round the corner),
- Work on the opposite side of the chain: 23 sc,
- 2 sc in last ch (total 52 sts).
- Sl st to the first sc to join.
Round 2:
- Ch 1, sc in each stitch around, making 2 sc in each of the 3 corner sts at both ends of the oval to maintain shape.
- Repeat until your base is as wide as you want (usually 3–4 rounds).
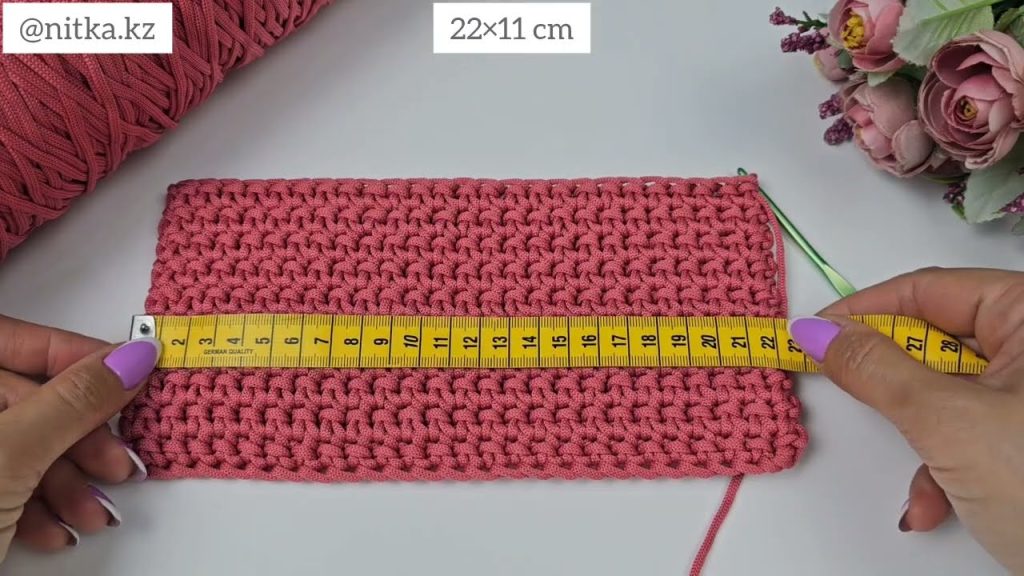
2. Build the Sides – Start the Braid Pattern
Now that the base is done, stop increasing. Work up the sides in a textured braid pattern.
Braid Stitch Pattern (for round walls)
Repeat pattern in multiples of 2 stitches.
Round 1:
- Ch 2 (counts as first hdc),
- Front Post Double Crochet (FPdc) around next st, dc in next st, repeat around.
- Sl st to top of ch-2 to join.
Round 2:
- Ch 2, FPdc around next FPdc, dc in next dc, repeat around.
- Sl st to join.
👉 The alternating FPdc + dc stitches create a braided texture that looks like overlapping cords.
Continue for 12–14 rounds (or desired height). The bag will start to form a beautiful, thick braid pattern around the sides.
3. Shape the Top Edge
Once you reach your desired height:
Final 2 Rounds:
- Round 1: hdc in each st around to even the edge.
- Round 2: sl st around loosely to create a neat finished rim.
Fasten off and weave in ends securely with your tapestry needle.
4. Add Handles
You can make handles in two ways:
Option 1: Integrated Cord Handles
- Mark two points on opposite sides of the bag.
- Ch 35 (for handle length), skip 10 sts on the bag edge, then sl st to join back.
- Repeat for other side.
- Work 2 rows of sc around handle loops to thicken them.
Option 2: Sew-on Rope Handles
- Use pre-made rope handles or thick leather straps.
- Sew securely with matching thread or use metal rings.
5. (Optional) Add a Lining
To give your bag structure and hide the inside stitches:
- Cut fabric to match the bag’s inner dimensions.
- Sew sides and bottom, then insert into the bag.
- Stitch around the top edge by hand with invisible thread.
6. (Optional) Add a Closure
- Attach a magnetic snap, zipper, or button loop at the top center.
🌸 Tips for a Perfect Braid Pattern Bag
- Keep consistent tension — uneven tension can distort the braid effect.
- Use a slightly larger hook if your cord is stiff.
- You can alternate colors every few rows for a striped braid effect.
- Add a tassel or charm to personalize your bag!
💡 Variation Ideas
- Mini version: Reduce the foundation chain to 15 and fewer braid rounds.
- Two-tone bag: Use one color for the base and another for the body.
- Crossbody style: Crochet a long cord strap with slip stitches or a twisted rope.
Watch tutorial: