 by
by Sure! Here’s a detailed, beginner-friendly guide for making a crocheted children’s hat — with instructions for any size (baby, toddler, child, teen, or adult). This tutorial uses simple stitches, is easy to adjust, and includes clear step-by-step directions.
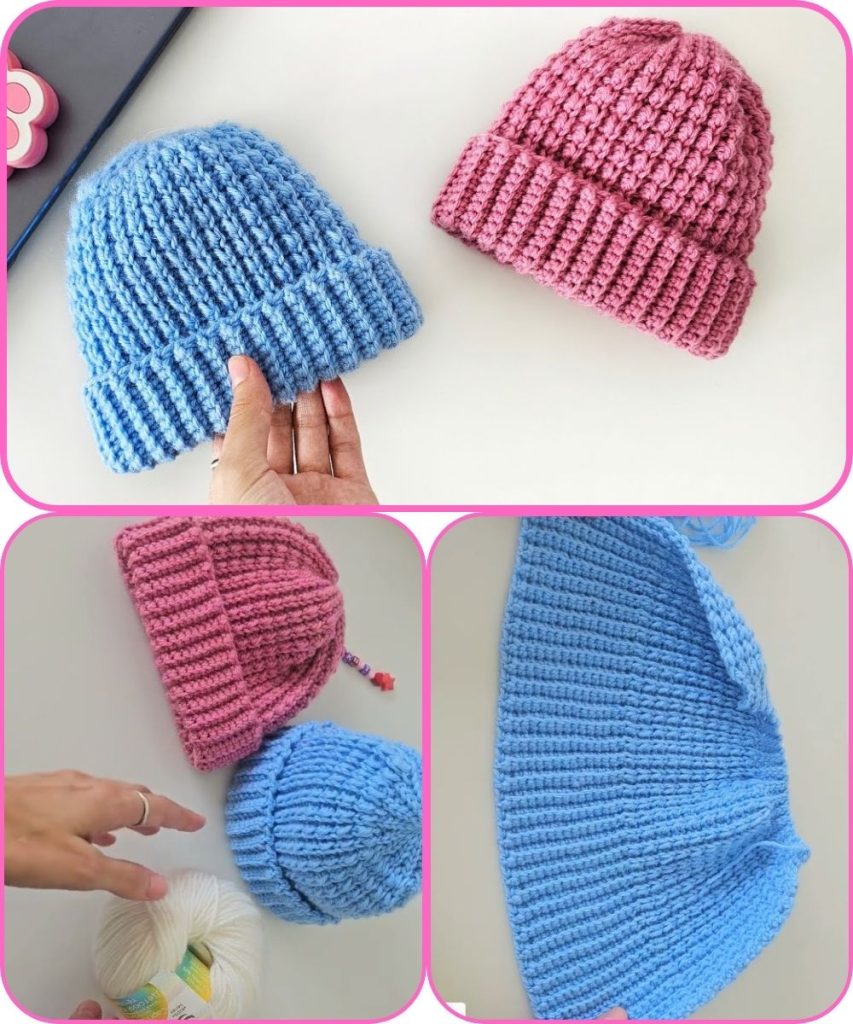
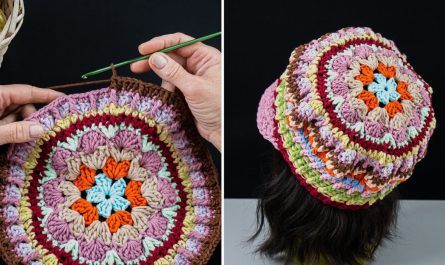
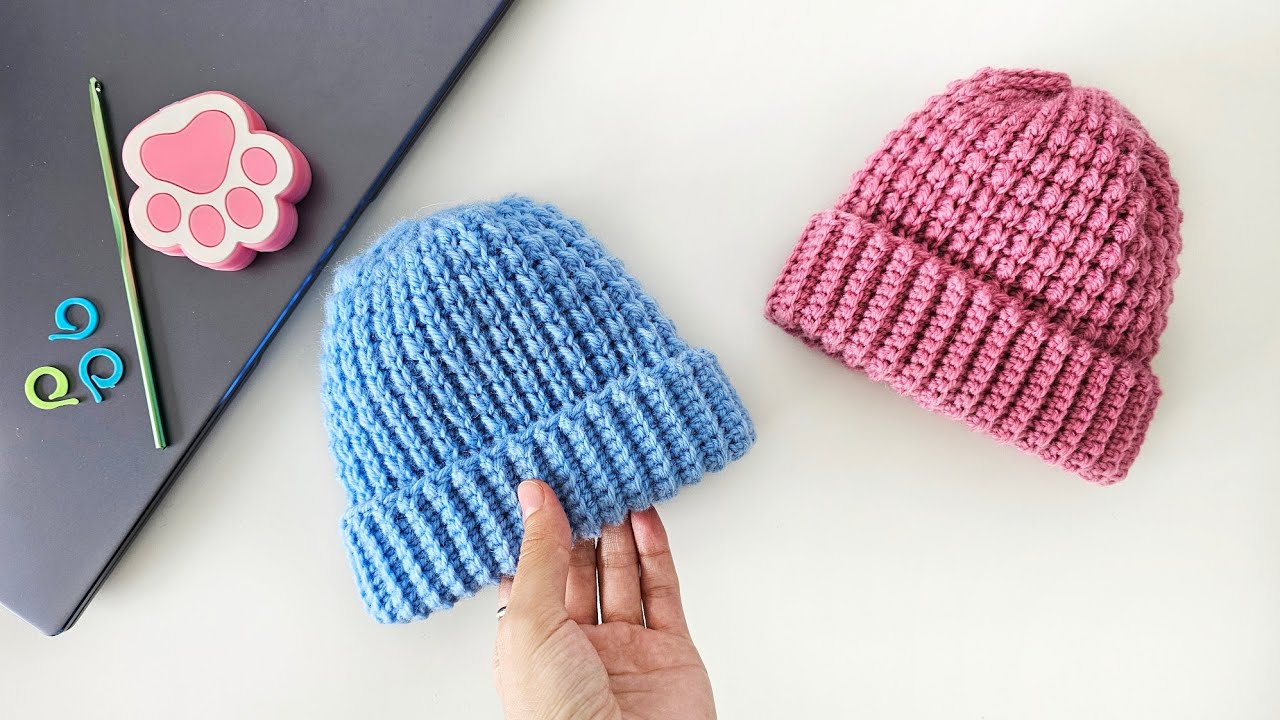
🧶 How to Crochet a Children’s Hat (Adjustable for Any Size)
🧵 Skill Level:
Beginner
⏰ Time:
About 1–2 hours (depending on size)
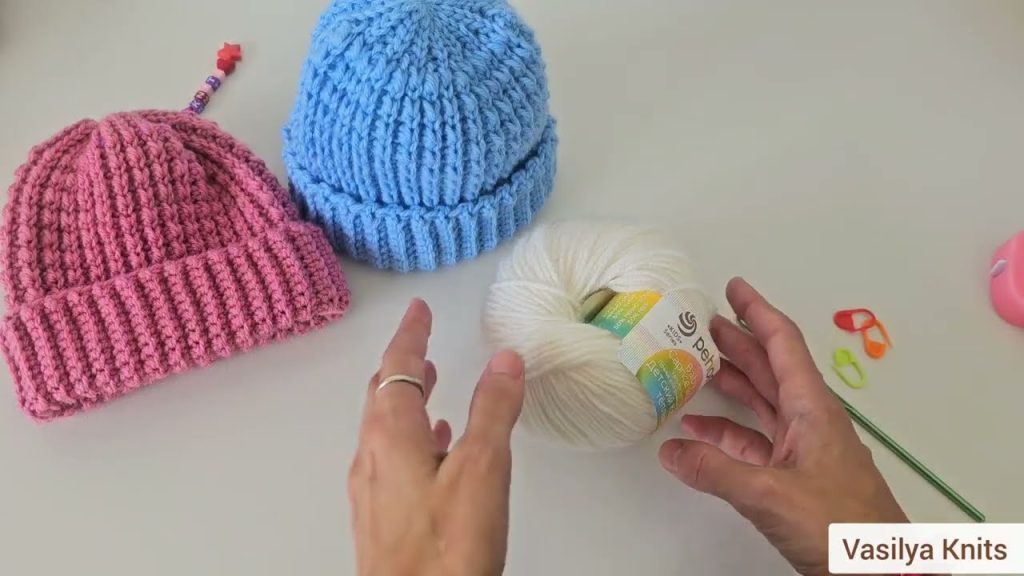
✨ Materials Needed:
- Yarn: Medium-weight (Category 4) acrylic or cotton yarn
(Soft baby yarn for infants) - Hook: 5 mm (H/8) crochet hook (adjust size to yarn label)
- Scissors
- Tapestry needle (for weaving in ends)
- Measuring tape
📏 Sizing Chart (Average Head Circumference)
| Age Group | Head Circumference | Hat Height |
|---|---|---|
| Newborn | 13–14 in (33–36 cm) | 5 in (12 cm) |
| 3–6 months | 15–16 in (38–41 cm) | 5.5 in (14 cm) |
| 6–12 months | 16–17 in (41–43 cm) | 6 in (15 cm) |
| Toddler (1–3 yrs) | 18–19 in (46–48 cm) | 6.5 in (16.5 cm) |
| Child (4–10 yrs) | 19–20.5 in (48–52 cm) | 7 in (18 cm) |
| Teen/Adult Small | 21–22 in (53–56 cm) | 7.5–8 in (19–20 cm) |
(Hats stretch, so make them about 1 inch smaller than head size.)
🪡 Step-by-Step Crochet Hat Instructions
Step 1: Make a Magic Ring
- Create a magic ring (or chain 4 and slip stitch to form a circle).
- Round 1: Chain 2 (counts as first double crochet). Crochet 11 double crochets (dc) into the ring.
Join with a slip stitch to the top of the first dc. (Total 12 dc)
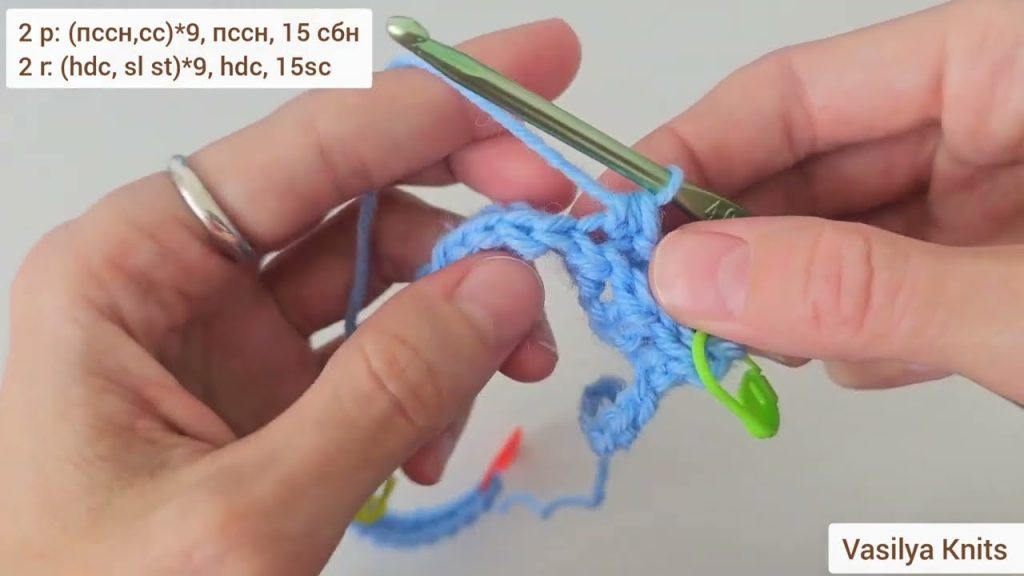
Step 2: Increase the Crown
You’ll increase each round until the circle reaches the right crown diameter (see below).
Crown diameter = head circumference ÷ 3.14 (π)
(Example: For 18” head → 18 ÷ 3.14 ≈ 5.7” crown)
| Round | Pattern | Total Stitches |
|---|---|---|
| 2 | Ch 2, 2 dc in each st around | 24 |
| 3 | Ch 2, 1 dc in next st, 2 dc in next, repeat around | 36 |
| 4 | Ch 2, 1 dc in next 2 sts, 2 dc in next, repeat | 48 |
| 5 | Ch 2, 1 dc in next 3 sts, 2 dc in next, repeat | 60 |
Keep increasing (adding 1 more regular dc between increases each round) until the crown measures the right diameter for your chosen size.
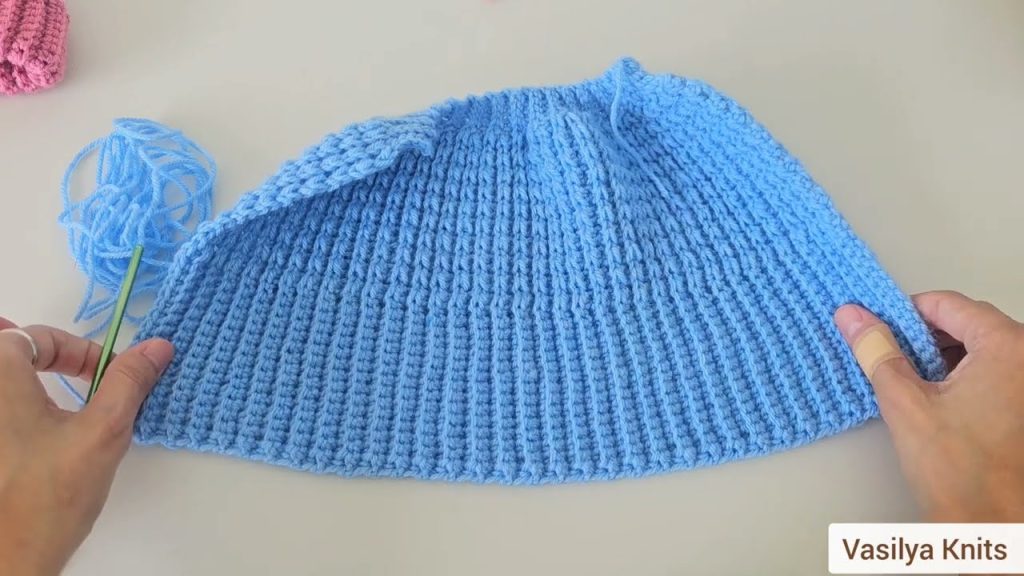
Step 3: Work Even (Form the Sides)
- Once the crown is the right size, stop increasing.
- Crochet 1 dc in each stitch around.
- Continue this for enough rounds to reach the hat’s desired height (see chart above).
- Join each round with a slip stitch and chain 2 to start the next.
Step 4: Finishing the Edge
You can finish with:
- Round of single crochet (sc) for a neat edge, or
- Front post/back post double crochet for a ribbed brim look.
Optional: Use a contrasting color for the brim for extra flair.
Step 5: Optional Add-Ons
- Pom-pom: Attach one to the top using matching yarn.
- Earflaps: Add by crocheting small triangles on each side.
- Appliqué: Sew on flowers, stars, or initials for personalization.
🧩 Tips for Success
- Try on the hat (or measure) as you go to ensure fit.
- Use a stitch marker to mark the start of each round.
- Adjust hook size if your stitches are too tight or too loose.
🧤 Simple Pattern Example (Toddler Size)
R1: Magic ring, Ch 2, 11 dc into ring. Join. (12)
R2: Ch 2, 2 dc in each st. Join. (24)
R3: Ch 2, *1 dc, 2 dc in next*. Repeat. Join. (36)
R4: Ch 2, *2 dc, 2 dc in next*. Repeat. Join. (48)
R5–12: Ch 2, 1 dc in each st. Join. (48)
R13: 1 sc in each st for edging. Fasten off.
Add pom-pom or earflaps if desired!
🌈 Customization Ideas
- Use striped yarns or color blocks for fun designs.
- Add buttons or animal ears (bear, cat, bunny).
- Try different stitches (half-double crochet or puff stitch) once you’re confident.
Watch tutorial: