 by
by Here is a clear, beginner-friendly detailed guide you can use or adapt for a project description, blog post, or assignment.
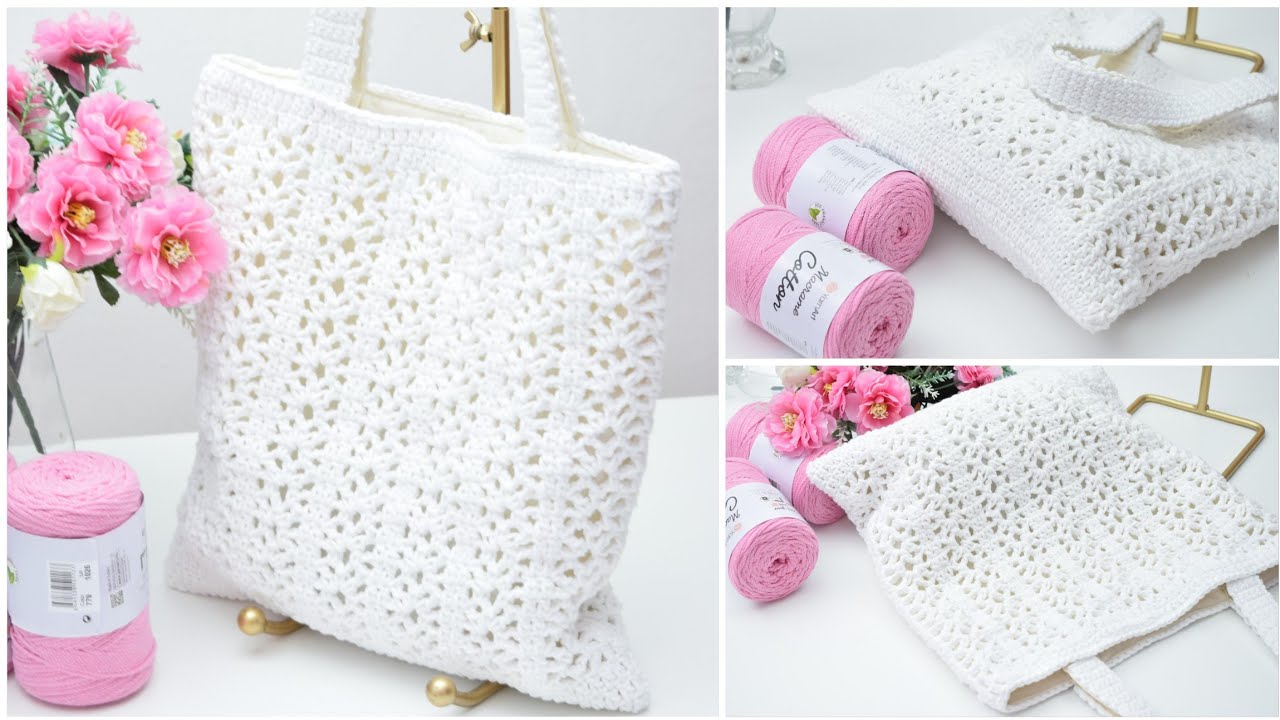
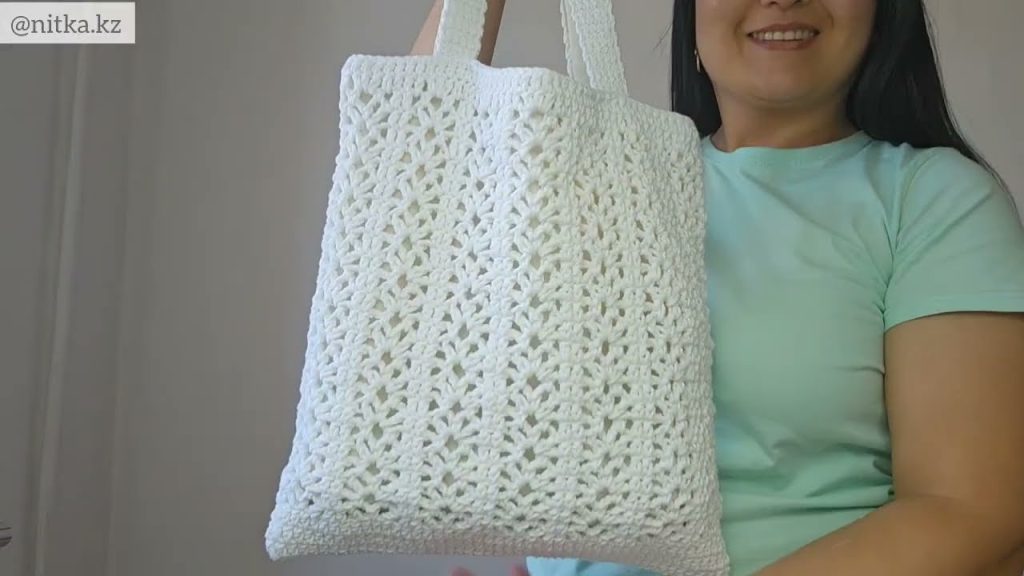
How to Make a Beautiful Lace Crochet Bag – Easy Summer Project for Beginners
Crocheting a lace bag is a perfect summer project, especially for beginners. It is lightweight, stylish, and practical for daily use, beach trips, or shopping. Lace crochet patterns look delicate and elegant, but they are actually easy to make when you use simple stitches and repeatable steps. This guide explains how beginners can make a beautiful lace crochet bag step by step.
Why Choose a Lace Crochet Bag?
- Lightweight and breathable – perfect for summer
- Uses basic stitches – ideal for beginners
- Stylish and handmade – great for gifts or personal use
- Customizable – change colors, size, or handle style
Materials Needed
For this project, you will need:
- Cotton or cotton-blend yarn (medium weight is best for beginners)
- Crochet hook (size recommended on the yarn label, usually 4–5 mm)
- Scissors
- Yarn needle
- Stitch markers (optional)
Cotton yarn is recommended because it holds its shape well and is comfortable for summer use.
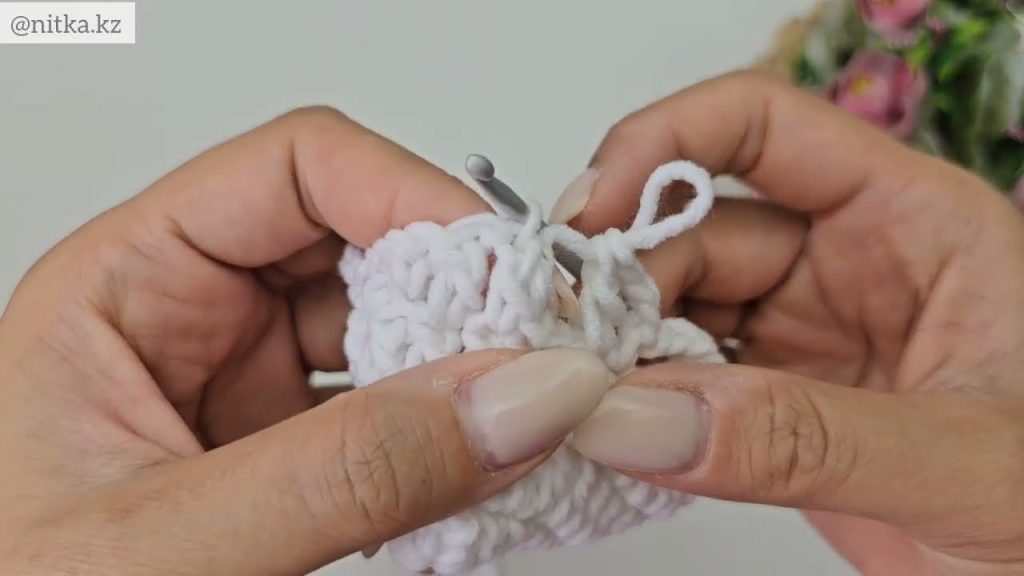
Basic Crochet Stitches Used
This lace bag uses simple stitches that beginners can easily learn:
- Chain stitch (ch)
- Slip stitch (sl st)
- Single crochet (sc)
- Double crochet (dc)
- Chain spaces (for lace effect)
Once you know these stitches, you can complete the entire bag.
Step 1: Creating the Base
Start by making a chain that matches the width you want for your bag.
Work single crochet stitches across the chain to form a strong base. Crochet several rows until the base is firm and flat. This part gives the bag stability.
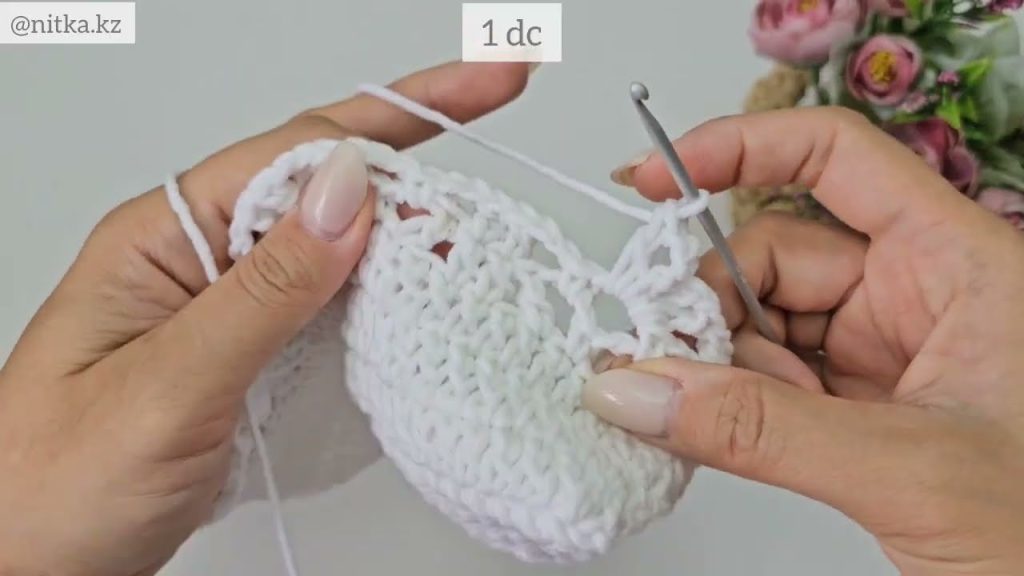
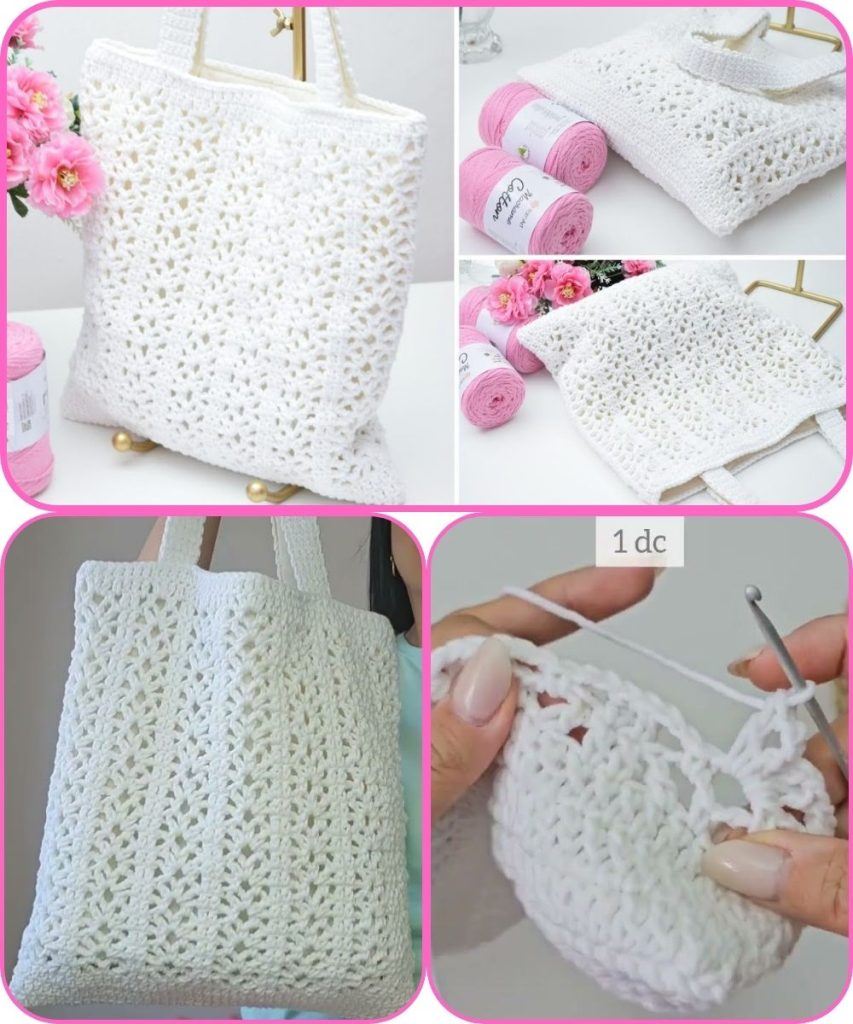
Step 2: Working the Lace Pattern
After finishing the base, you will begin the lace design:
- Use a combination of double crochet stitches and chain spaces
- Skip stitches to create open, airy holes
- Repeat the same pattern in each round or row
This repetition makes the project easy and relaxing for beginners.
Step 3: Building the Bag Body
Continue crocheting the lace pattern upward until the bag reaches your desired height.
Make sure your stitches stay even and not too tight so the lace pattern stays visible and soft.
Step 4: Making the Handles
For the handles:
- Attach yarn to one side of the bag
- Chain to your desired handle length
- Secure the chain to the opposite side
- Crochet single or double crochet stitches along the chain for strength
You can make short handles or long shoulder straps depending on your preference.
Step 5: Finishing Touches
- Fasten off and weave in all loose yarn ends
- Gently stretch the lace pattern to open it up
- Optional: add a lining, tassel, or decorative button
Tips for Beginners
- Practice basic stitches before starting
- Count stitches to keep your pattern even
- Use light-colored yarn so stitches are easy to see
- Take breaks to avoid hand strain
Final Result
Your finished lace crochet bag will be:
- Elegant and airy
- Perfect for summer outings
- Handmade with love
- A great confidence booster for beginner crocheters
This project is a wonderful way to learn crochet while creating something beautiful and useful.
If you want, I can also:
- Simplify this into step-by-step bullet instructions
- Turn it into a YouTube video description
- Create a short version for social media
- Add a very easy lace pattern row-by-row
Watch tutorial: