 by
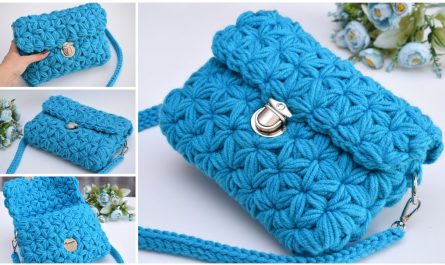
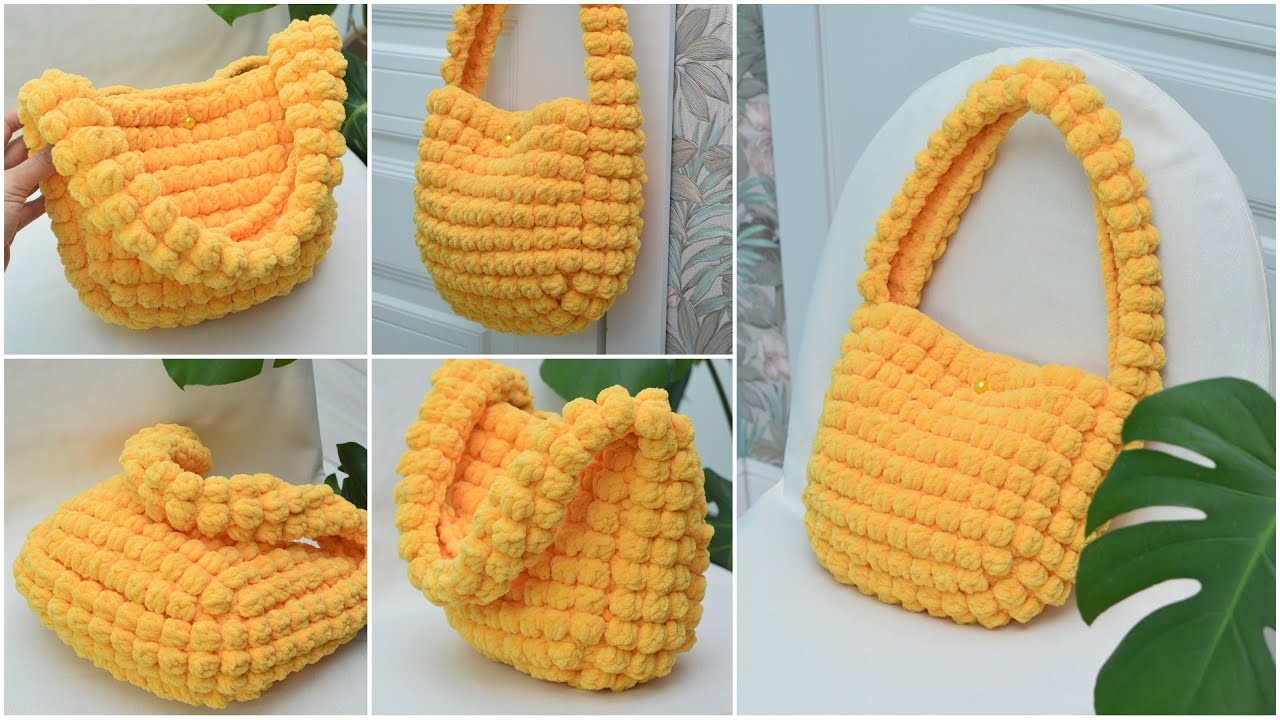
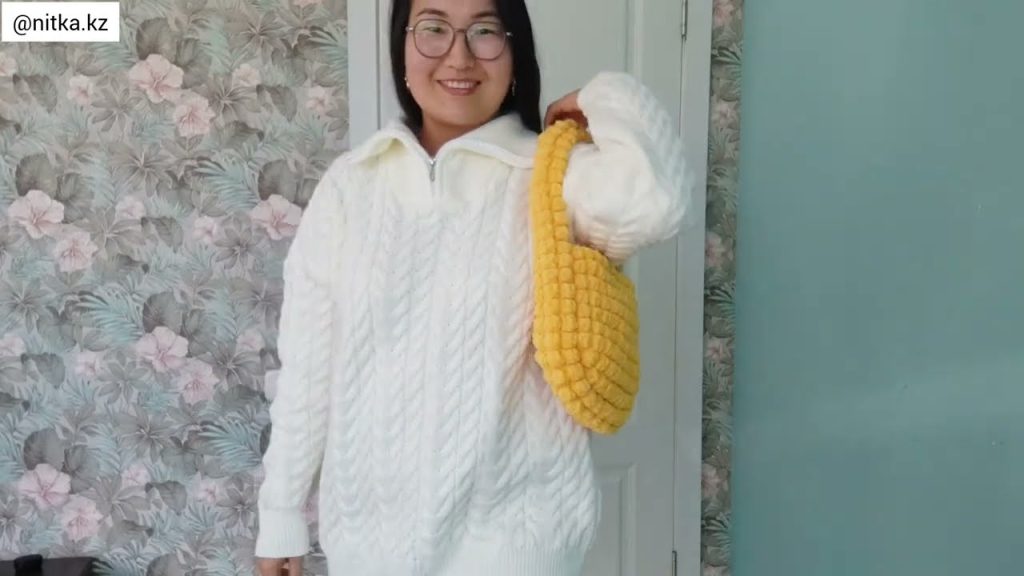
by Absolutely! Let’s go step by step. I’ll give you a detailed guide on how to make a soft and cozy medium-sized handbag with a bobble pattern in crochet. I’ll cover materials, techniques, and step-by-step instructions so you can create a lovely, tactile bag.
Materials Needed
- Yarn:
- Soft, chunky, or worsted weight yarn works best for a cozy feel. Cotton, acrylic, or a blend is great.
- Approximately 300–400 grams (depending on bag size).
- Choose colors you love—bobbles look great in contrasting colors, but a single color can be elegant too.
- Crochet Hook:
- Use a hook size appropriate for your yarn, usually 5.5–6.5 mm for worsted/medium yarn.
- A larger hook gives a softer, looser fabric.
- Other Supplies:
- Tapestry needle for weaving in ends.
- Scissors.
- Optional: bag lining fabric and needle/thread for sewing the lining.
- Optional: buttons, magnetic snaps, or zippers for closure.
- Optional: handles (you can crochet these or attach pre-made handles).
Stitches You’ll Need
- Chain (ch)
- Single Crochet (sc)
- Double Crochet (dc)
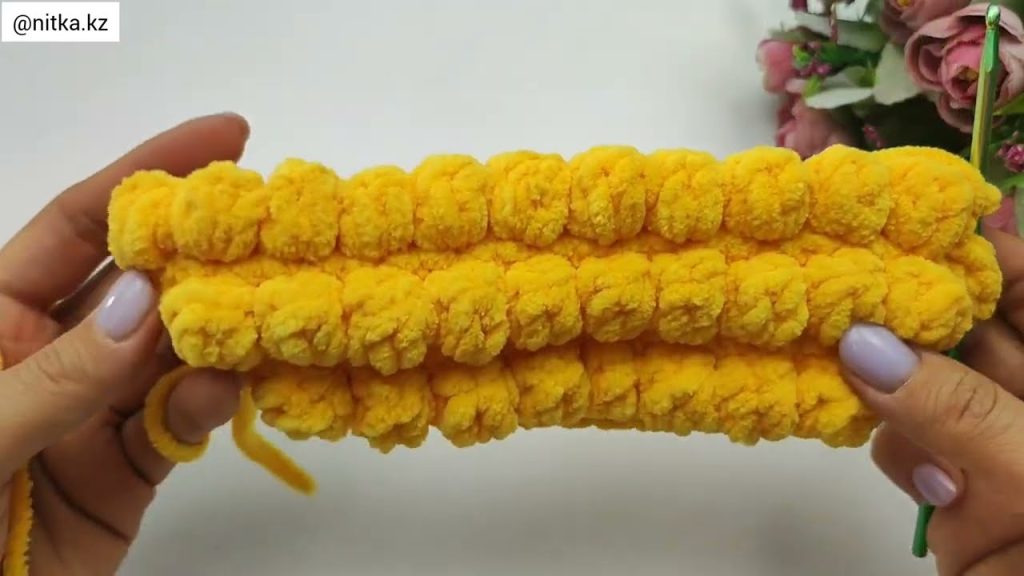
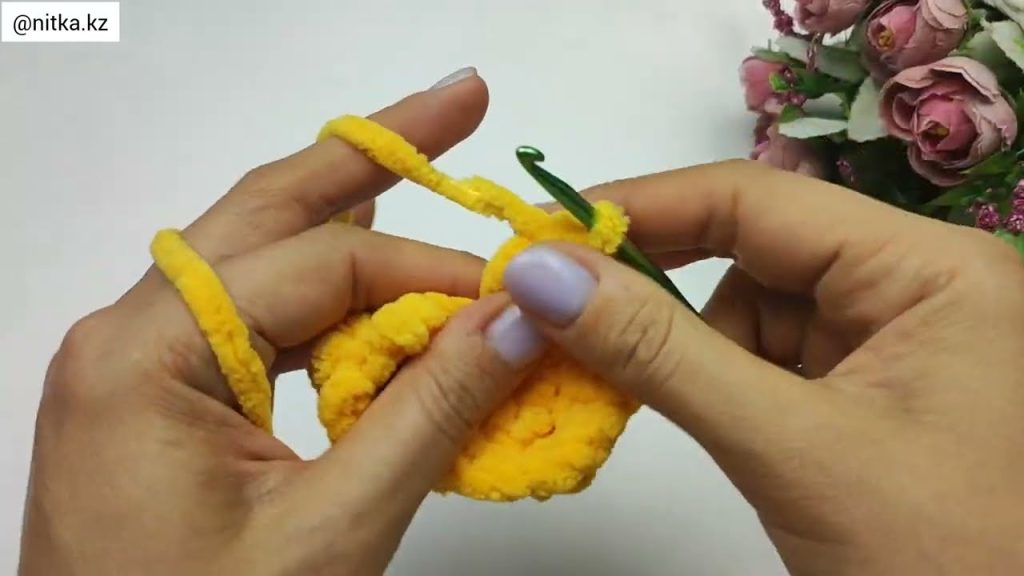
- Bobble Stitch:
Bobble Stitch (dc bobble):
- Yarn over, insert hook in stitch, yarn over and pull through (3 loops on hook).
- Yarn over, pull through 2 loops, leave last loop on hook.
- Repeat step 1–2 4 more times (total 5 partial double crochets).
- Yarn over, pull through all loops on hook.
- Bobble created!
Step-by-Step Instructions
Step 1: Base of the Bag
- Decide your bag size. For medium: roughly 30 cm width × 25 cm height.
- Chain the foundation row to your desired width. Example: ch 40.
- Row 1: sc in 2nd chain from hook and each across. Turn.
- Row 2–5: Continue sc to form a solid, sturdy base.
- You can use single crochet in the back loop only (BLO) for a flexible base.
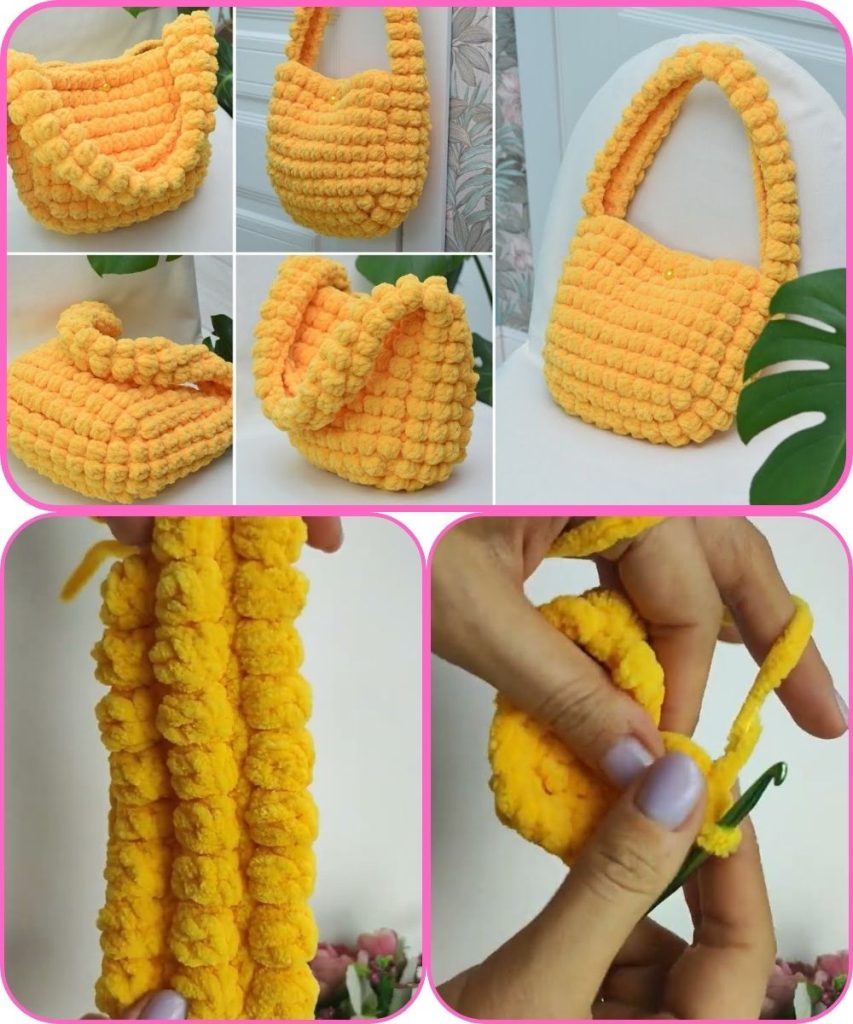
Step 2: Body with Bobble Pattern
- Switch to your bobble pattern. Common pattern for a medium bag:
Pattern Example (bobble every 4 stitches):
- Row 1: sc 3, bobble in next stitch; repeat across.
- Row 2: sc in each stitch across.
- Row 3: sc 3, bobble in next stitch; repeat.
- Continue alternating rows until the bag reaches your desired height (~25 cm).
- Adjust bobble spacing and rows to create your preferred texture.
Step 3: Shaping the Top
- Once the bag body is complete, you can create a straight top or slightly taper:
- Straight top: continue pattern for 2–3 more rows of sc only.
- Tapered: decrease 1 stitch at each end every other row.
Step 4: Handles
- Crocheted Handles:
- Chain to desired length (e.g., 50–60 cm).
- Row 1: sc across the chain, turn. Repeat 3–4 rows for thickness.
- Attach handles securely to top edges using sc or whip stitch.
Step 5: Optional Lining
- Cut a fabric rectangle slightly smaller than bag size.
- Sew sides to fit inside the bag.
- This prevents stretching and gives structure.
Step 6: Finishing Touches
- Weave in all yarn ends.
- Add closure (button, snap, or zipper).
- Block lightly if needed to shape the bag.
Tips for a Cozy Finish
- Use soft, fluffy yarn for extra coziness.
- Avoid too tight tension—it’ll make bobbles pop nicely.
- Add a lining for sturdiness if you plan to carry heavier items.
- Bobbles can be spaced closer for a more textured look, or further apart for subtlety.
This will give you a soft, tactile medium-sized handbag with a beautiful bobble texture that’s both stylish and practical.
If you want, I can draw a simple bobble pattern diagram for the bag, showing exactly how to place the bobbles row by row—this makes it much easier to follow visually.
Do you want me to do that?
Watch tutorial: