 by
by Here’s a clear, detailed, beginner-friendly guide you can use for a project, blog, or school assignment.
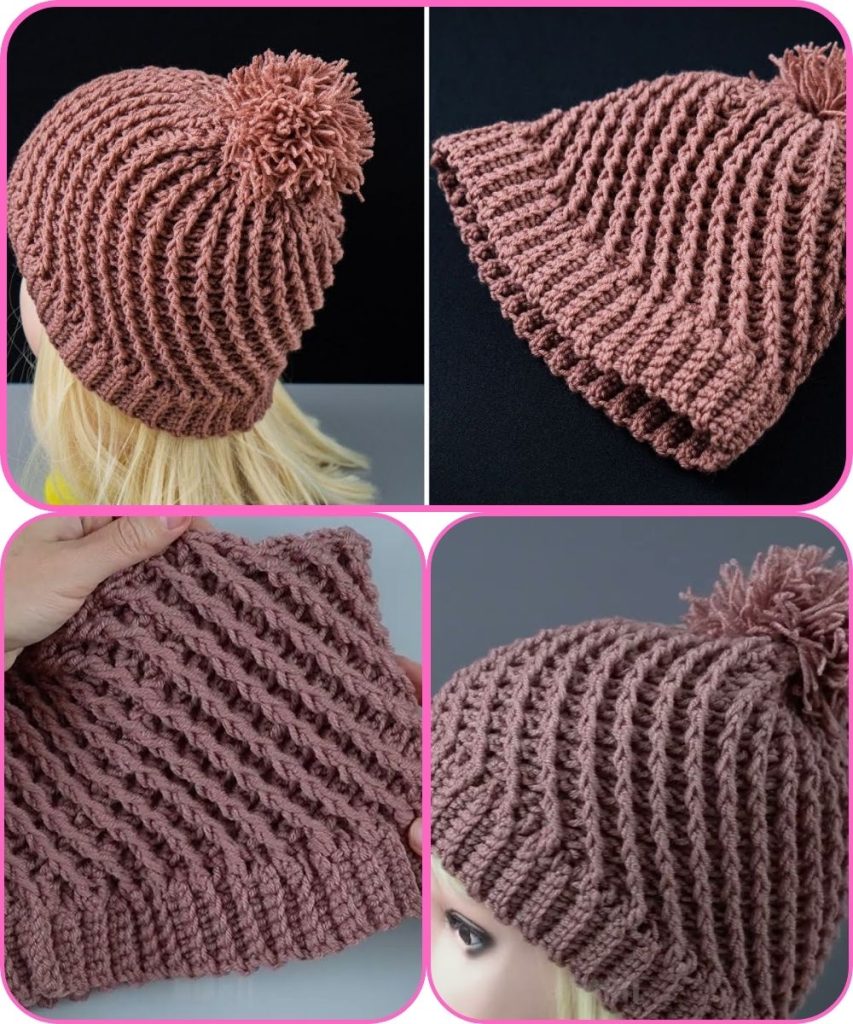
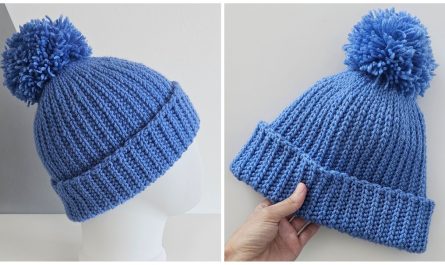
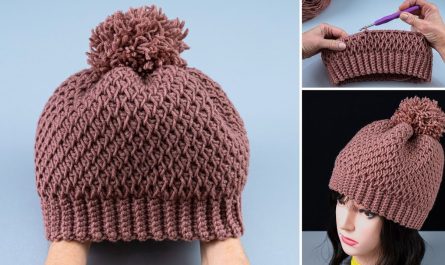
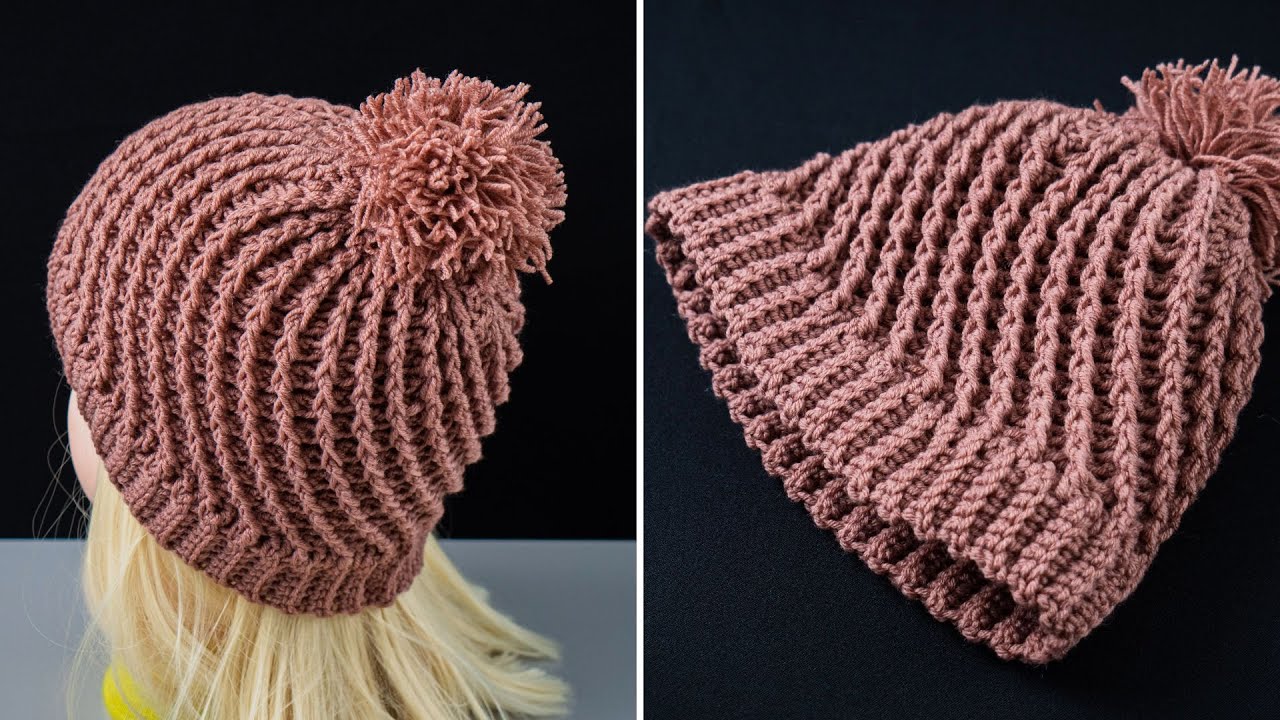
How to Make a Simple Crochet Hat with a 3D Stitch Pattern
Crocheting a hat is a fun and practical project, and adding a 3D stitch pattern gives it extra texture and style. This tutorial explains how to make a simple crochet hat using an easy 3D stitch (such as the puff stitch) that creates a raised, bumpy effect.
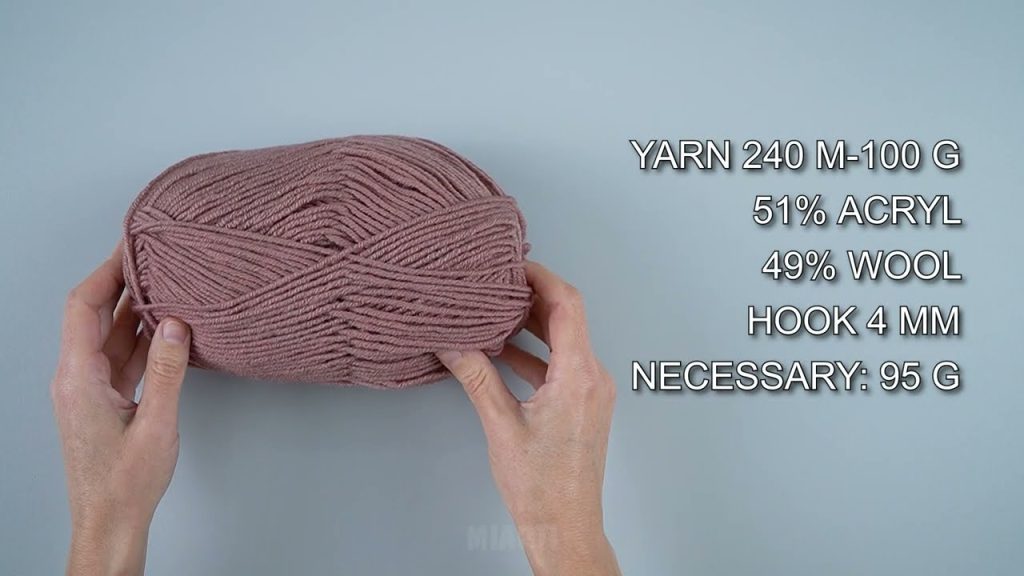
Materials Needed
- Medium-weight yarn (Category 4 / worsted weight)
- Crochet hook (size 5.0–5.5 mm is common)
- Yarn needle
- Scissors
- Stitch marker (optional)
Basic Crochet Stitches You Should Know
Before starting, it helps to know these stitches:
- Chain (ch)
- Slip stitch (sl st)
- Single crochet (sc)
- Double crochet (dc)
- Puff stitch (used for the 3D effect)
Don’t worry—puff stitches are easier than they look!
Step 1: Start with a Magic Ring (Hat Top)
- Create a magic ring.
- Chain 2 (this does not count as a stitch).
- Work 10–12 double crochet (dc) into the ring.
- Pull the ring tight and join with a slip stitch.
This forms the top center of your hat.
Step 2: Increase to Shape the Crown
To make the hat wide enough:
- Round 2: Chain 2, work 2 dc into each stitch around.
- Round 3: Chain 2, 1 dc in first stitch, 2 dc in next stitch, repeat around.
- Round 4: Chain 2, 2 dc in one stitch, 1 dc in next 2 stitches, repeat.
Continue increasing until the circle fits the top of your head (about 6–7 inches across for an average hat).
Step 3: Add the 3D Stitch Pattern
Now it’s time to add texture using a puff stitch.
How to Make a Puff Stitch:
- Yarn over and insert hook into the stitch.
- Pull up a loop.
- Yarn over and repeat 3–4 times in the same stitch.
- Yarn over and pull through all loops.
- Chain 1 to secure.
Pattern Round Example:
- 1 single crochet, 1 puff stitch, repeat around.
This creates a raised, soft 3D texture that stands out beautifully.
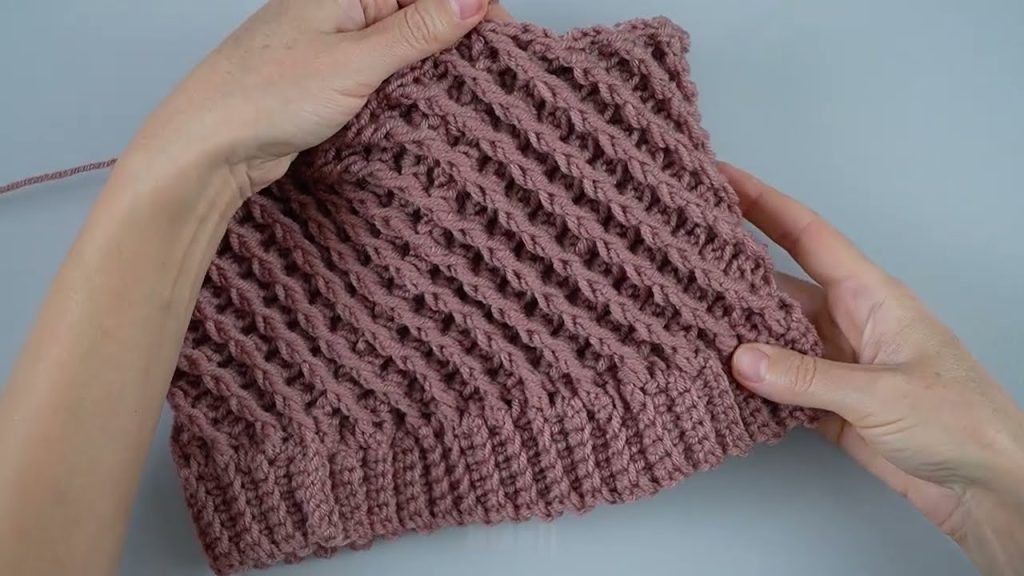
Step 4: Build the Sides of the Hat
- Keep crocheting in rounds without increasing.
- Continue your 3D stitch pattern.
- Try the hat on as you go to check the length.
Most hats are 7–9 inches tall, depending on style.
Step 5: Finish with a Simple Brim
For a clean edge:
- Work 2–3 rounds of single crochet.
- This helps the hat keep its shape and feel snug.
Step 6: Fasten Off and Weave in Ends
- Cut yarn, leaving a small tail.
- Pull through the last loop.
- Use a yarn needle to weave in loose ends.
Your crochet hat is now complete!
Tips for Success
- Use a lighter yarn color to show off the 3D texture.
- Keep stitches loose so puff stitches stay soft.
- Count stitches to keep the hat even.
- Practice the puff stitch on a swatch first if needed.
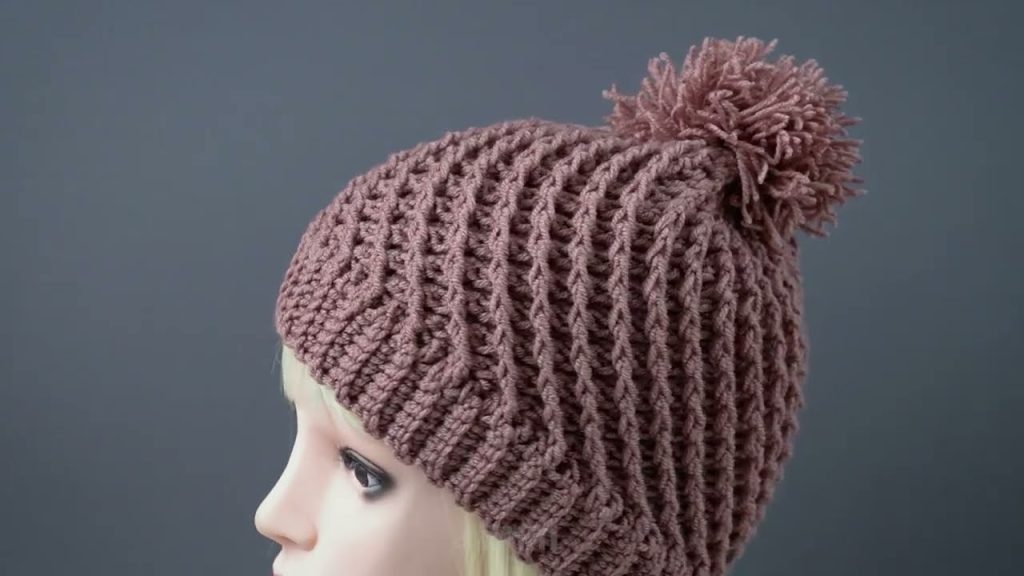
Final Result
You’ll have a simple, cozy crochet hat with a beautiful 3D stitch pattern that adds depth, warmth, and style—perfect for beginners and great as a gift or personal accessory.
If you want, I can also:
- Simplify this for beginners
- Turn it into a school project explanation
- Add pictures or stitch diagrams (descriptions)
- Change the 3D stitch (bobble, popcorn, or waffle)
Watch tutorial: