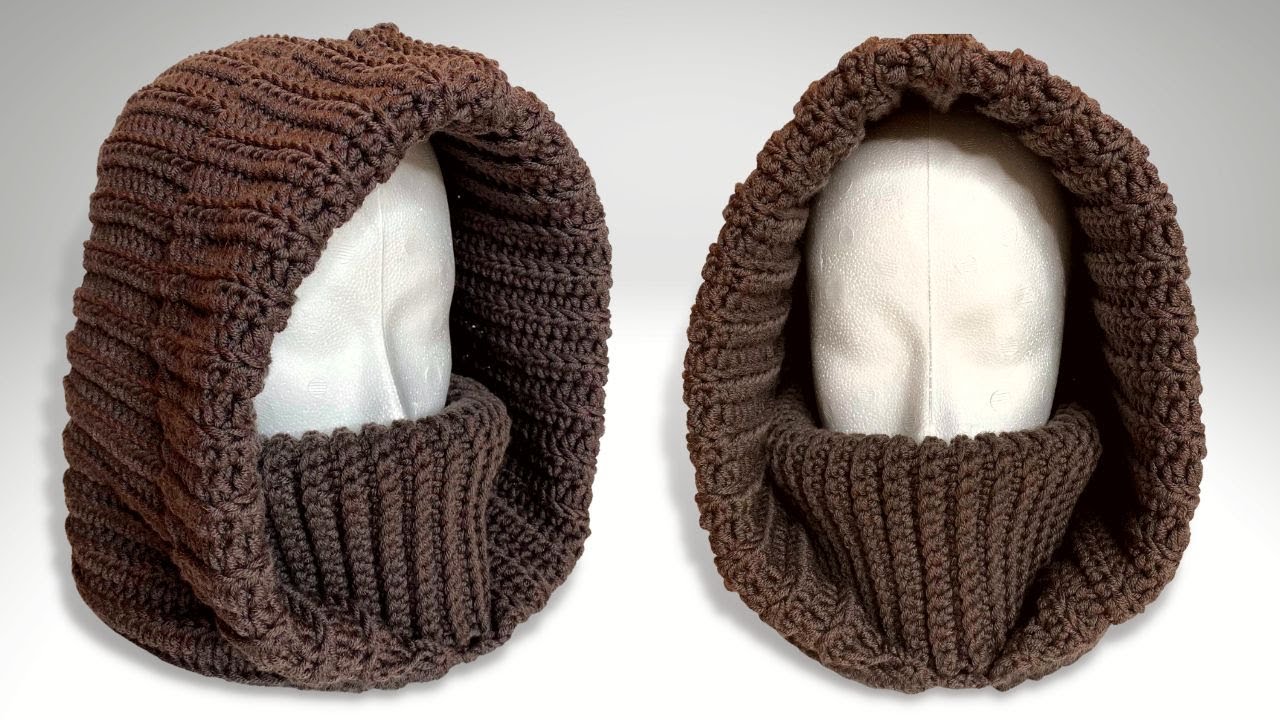
Absolutely! Let’s go step by step. I’ll give you a detailed guide on how to make a crochet balaclava pattern, including materials, stitch types, measurements, and construction techniques.
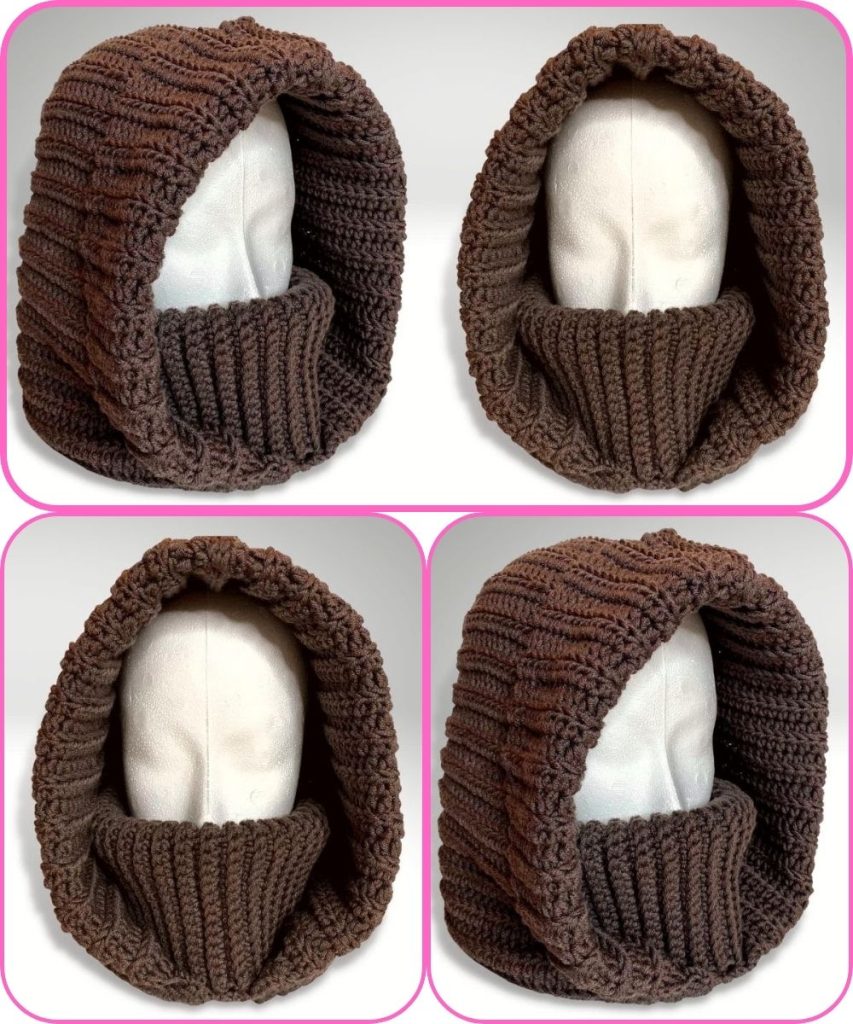
How to Make a Crochet Balaclava Pattern
1. Materials Needed
- Yarn: Worsted weight yarn (medium 4) is ideal for warmth and comfort. Wool blends are cozy, acrylic is easy to care for.
- Crochet Hook: Size recommended for your yarn, usually 5.0 mm (H-8) for worsted weight.
- Scissors
- Tapestry Needle: For weaving in ends.
- Stitch Markers (optional): To mark rounds.
2. Understanding the Structure
A balaclava usually has:
- Crown (top of the head)
- Face opening (for eyes/nose)
- Neck covering
You can make it from top-down (starting at crown) or bottom-up (starting at neck). The top-down method is more common and flexible for size adjustments.
3. Basic Stitches Used
- Chain (ch)
- Slip Stitch (sl st)
- Single Crochet (sc)
- Half Double Crochet (hdc)
- Double Crochet (dc)
- Increase (inc): Usually 2 stitches in one stitch
- Decrease (dec): Usually 2 stitches together
You can use single crochet for a tight, warm balaclava or half-double crochet for a bit stretchier fabric.
4. Top-Down Crochet Balaclava Pattern
Step 1: Crown of the Head
- Make a magic ring (or ch 4, sl st to form a ring).
- Round 1: Work 6 sc into the ring. (6 sts)
- Round 2: 2 sc in each stitch around. (12 sts)
- Round 3: Sc in next st, 2 sc in next st around. (18 sts)
- Round 4: Sc in next 2 sts, 2 sc in next st around. (24 sts)
- Continue increasing like this until your circle diameter matches the top of the head, usually about 6–7 inches for adult.
Step 2: Working Down the Head
- Crochet in continuous rounds (spiral) without increasing.
- Stop increasing once the crown reaches the top of the head size.
- Keep crocheting straight down until you reach just below the ears (around 7–8 inches from crown).
Step 3: Face Opening
- Decide how high you want the eye/nose opening.
- Chain across to leave an opening, skip stitches, then continue on the back side.
- Alternatively, you can crochet the whole head tube first and cut/open the face hole, then edge it with sc for a neat finish.
- Eye opening dimensions: usually about 6–8 inches wide for adults.
- Optional: Make a nose bridge by shaping with decreases at the top of the opening.
Step 4: Neck and Shoulder Coverage
- After the face opening, continue crocheting down to cover the neck.
- You can make it flared by increasing slightly, so it can go over the shoulders or fit under a jacket.
- Usually 3–5 inches from the chin is enough for warmth.
Step 5: Finishing
- Fasten off yarn.
- Use tapestry needle to weave in loose ends.
- Optional: Add ribbing around the face opening using front post/back post sc or hc for a snug fit.
- Optionally, add decorations: pom-pom, stripes, or textured stitches.
5. Tips for Perfect Fit
- Measure head circumference and face length before starting.
- Try on as you go if possible to adjust size.
- Use stretchy stitches (hdc, dc) for a snug but flexible fit.
- For beginners, single crochet is easiest, but dense stitches may reduce stretch.
6. Customization
- Add a chin strap or button closure.
- Add a double layer for extra warmth.
- Use colorwork or stripes for fun patterns.
- Add ear flaps if you want extra coverage.
If you want, I can draw a clear visual diagram with the crown, face opening, and neck shaping, which makes it super easy to follow—even for beginners.
Watch tutorial:
