 by
by Absolutely! 🧶 Let’s go through how to make a crochet hat step-by-step, covering all sizes (baby to adult) with clear instructions and measurements. This guide will help beginners and experienced crocheters alike.

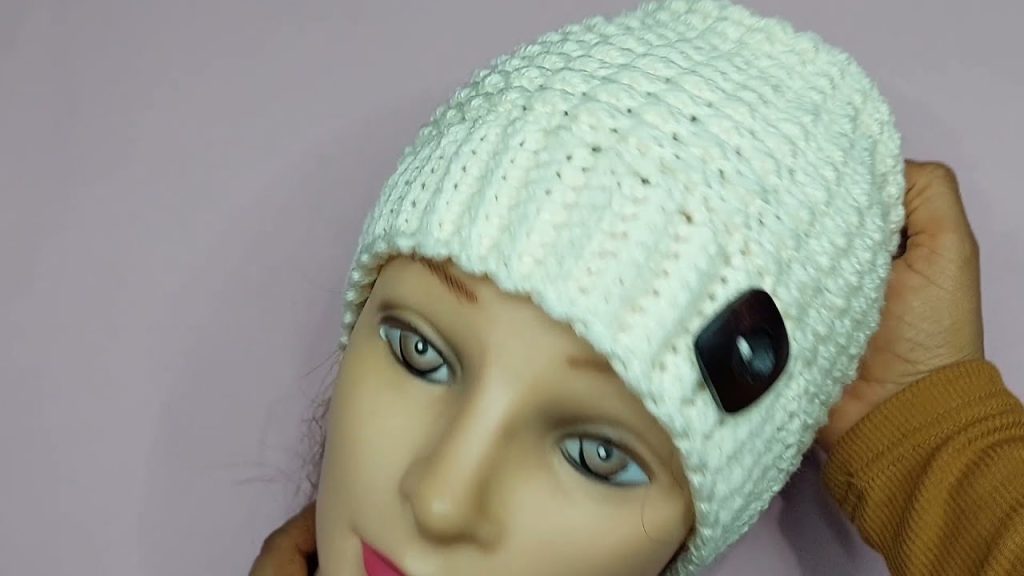
🧵 HOW TO MAKE A CROCHET HAT (STEP BY STEP – ALL SIZES)
🪡 Materials Needed:
- Yarn: Medium (worsted weight, category 4) acrylic or cotton yarn
- Crochet hook: Size H/8 (5.0 mm) — adjust for your yarn thickness
- Scissors
- Yarn needle (for weaving ends)
- Measuring tape
- Stitch marker (optional)
📏 Hat Size Chart (Approximate Measurements)
| Size | Head Circumference | Hat Diameter | Hat Height |
|---|---|---|---|
| Newborn | 13–14″ (33–36 cm) | 4–4.5″ (10–11 cm) | 5″ (12.5 cm) |
| Baby (3–6 mo) | 14–16″ (36–41 cm) | 4.5–5″ (11–13 cm) | 5.5″ (14 cm) |
| Toddler (1–3 yr) | 16–18″ (41–46 cm) | 5.5–6″ (14–15 cm) | 6.5″ (16.5 cm) |
| Child (4–10 yr) | 18–20″ (46–51 cm) | 6–6.5″ (15–16.5 cm) | 7″ (18 cm) |
| Teen/Adult Small | 20–22″ (51–56 cm) | 6.5–7″ (16.5–18 cm) | 7.5–8″ (19–20 cm) |
| Adult Large | 22–24″ (56–61 cm) | 7–7.5″ (18–19 cm) | 8.5″ (21.5 cm) |
🧶 STEP-BY-STEP CROCHET HAT INSTRUCTIONS
🥇 STEP 1: Start with a Magic Ring (or Chain 3 and Join)
- Make a magic ring.
- Chain 2 (this counts as your first half double crochet if using hdc, or dc if using double crochet).
You can choose any stitch pattern, but for beginners, we’ll use Half Double Crochet (HDC).
🥈 STEP 2: Round 1 — Make the Crown Center
- Make 10 HDC into the ring.
- Pull the ring tight.
- Join with a slip stitch to the first HDC.
(10 stitches total)
🥉 STEP 3: Round 2 — Increase
- Chain 2.
- 2 HDC in each stitch around.
- Join with a slip stitch.
(20 stitches total)
🧩 STEP 4: Continue Increasing
Increase evenly in each round until you reach your desired hat diameter (refer to size chart above).
| Round | Pattern | Total Stitches |
|---|---|---|
| 3 | 1 HDC in next st, 2 HDC in next st repeat | 30 |
| 4 | 1 HDC in next 2 sts, 2 HDC in next st repeat | 40 |
| 5 | 1 HDC in next 3 sts, 2 HDC in next st repeat | 50 |
| 6 | 1 HDC in next 4 sts, 2 HDC in next st repeat | 60 |
➡️ Stop increasing once your flat circle (hat crown) measures the correct diameter for your size (see chart).
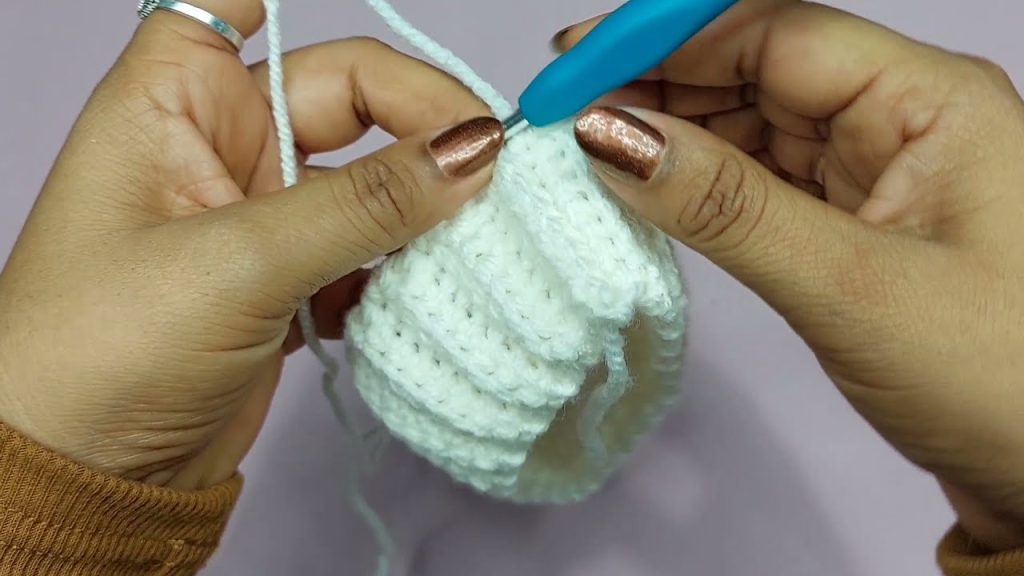
🧵 STEP 5: Form the Hat Body
Once the crown is wide enough:
- Work 1 HDC in each stitch around (no more increases).
- Continue in rounds until the hat measures the correct height from crown to edge (see chart).
Join each round with a slip stitch and chain 2 to start the next.
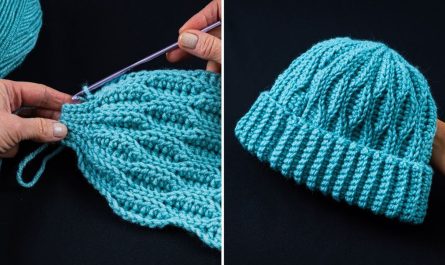
🧢 STEP 6: Finishing the Edge (Optional Ribbed Band)
To create a neat stretchy brim:
- Switch to Front Post / Back Post Half Double Crochet (FPHDC/BPHDC) alternating around.
This gives a ribbed texture. - Do 2–3 rounds of this pattern.
Or simply do 1–2 rounds of single crochet for a clean edge.
🧶 STEP 7: Finish Off
- Fasten off your yarn.
- Use your yarn needle to weave in all loose ends securely inside the hat.
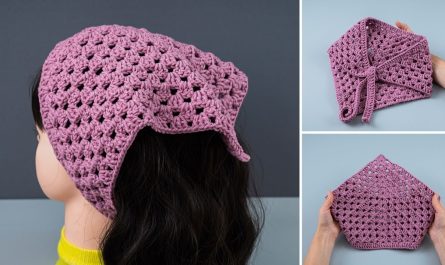
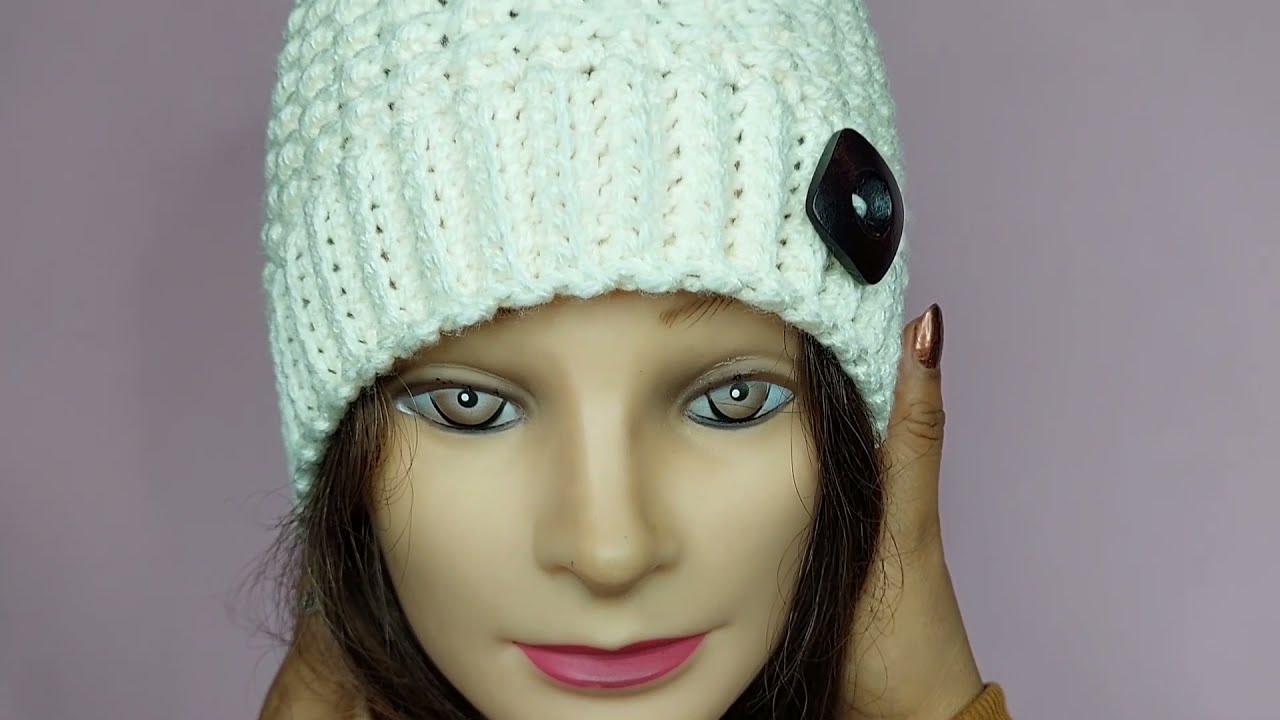
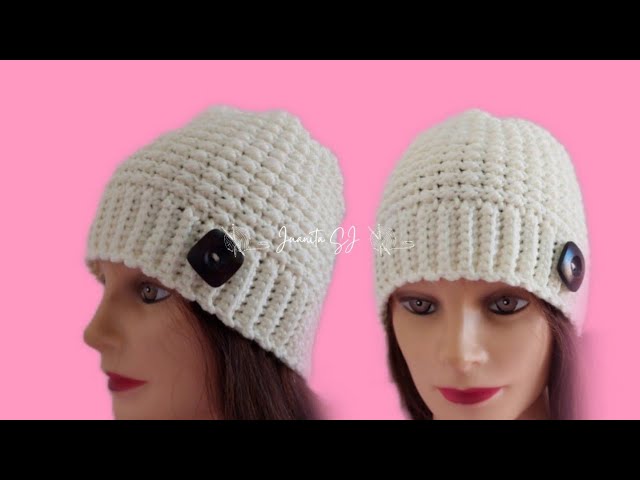
🧤 OPTIONAL ADD-ONS:
- Pom pom on top (yarn or faux fur)
- Ear flaps (for baby/toddler hats)
- Color changes or stripes
- Appliqués (flowers, initials, etc.)
🎨 Adjusting for Different Stitches
You can use other stitches, but remember:
- Single crochet (SC) → smaller, tighter hat (you’ll need more rounds).
- Double crochet (DC) → looser, taller hat (you may need fewer rounds).
🧮 Quick Formula for Custom Sizing
To make any hat fit perfectly:
- Hat Diameter = Head Circumference ÷ π (3.14) × 0.65
- Hat Height = Head Circumference × 0.4
Would you like me to include a printable pattern chart (round by round) for all sizes (baby → adult)?
I can format it like a crochet pattern sheet for easy use.
Watch tutorial: