 by
by Here’s a clear, beginner-friendly, detailed tutorial for making a very simple knitted hat. This version is ideal if you are new to knitting and want something easy, fast, and forgiving.

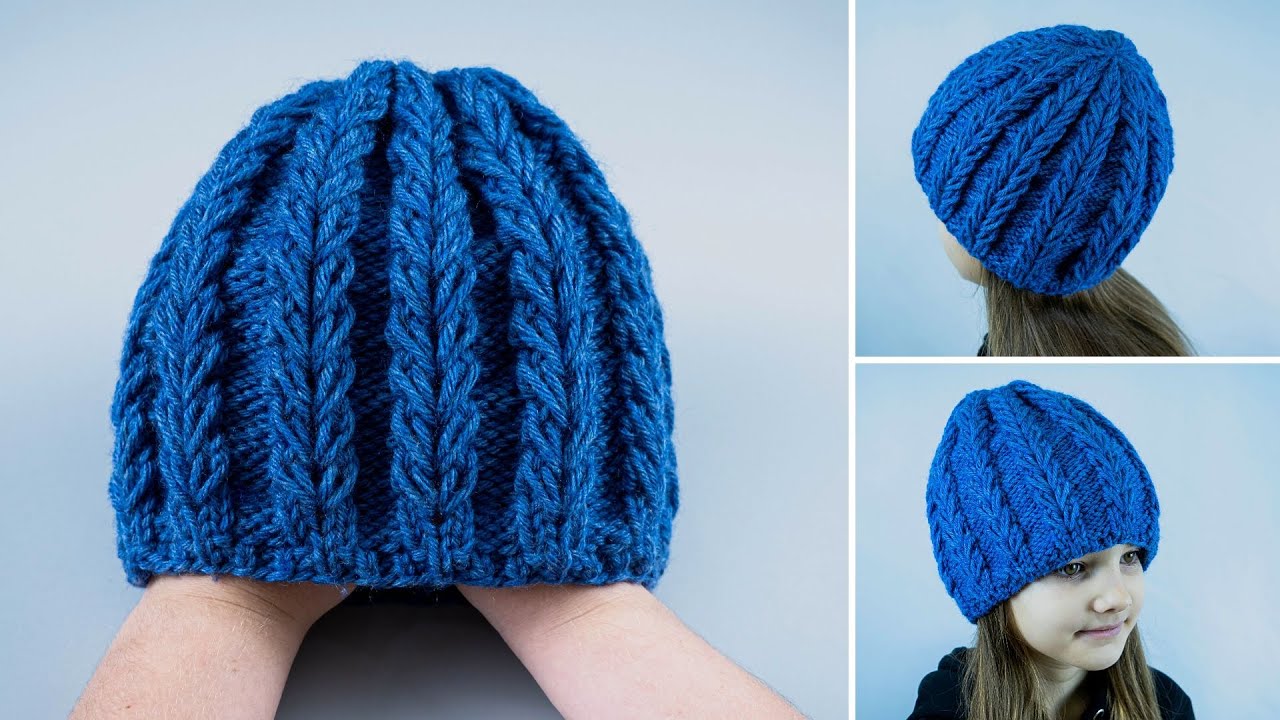
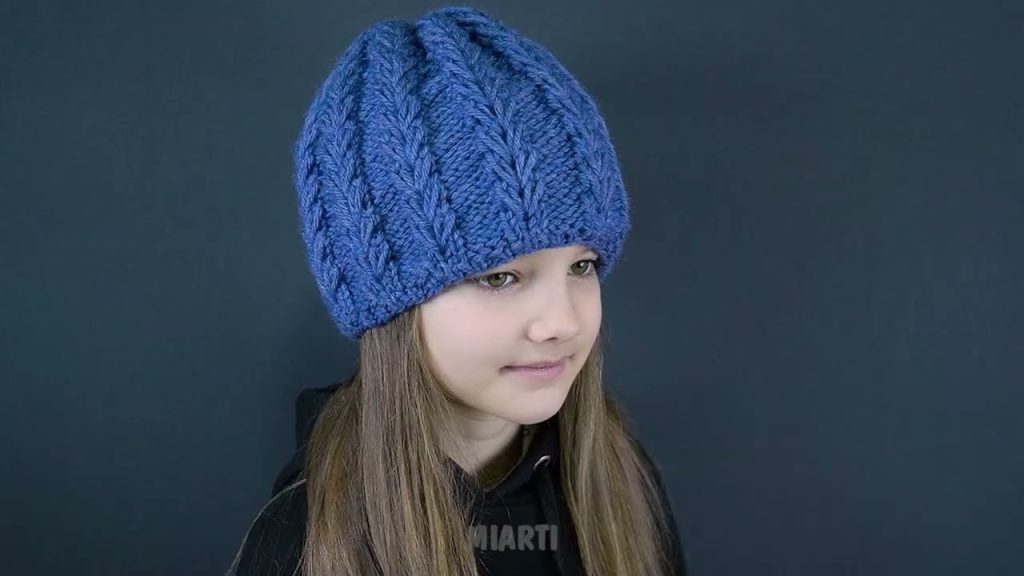
How to Make a Very Simple Knitted Hat
A Step-by-Step Beginner Tutorial
This hat is made by knitting a flat rectangle and then sewing it together—no circular needles or advanced techniques required.
Skill Level
Beginner
You only need to know:
- How to cast on
- Knit stitch
- Purl stitch
- Bind off
Materials Needed
- Yarn:
- Medium weight (Worsted / Category 4) yarn
- About 100–150 grams (one standard skein)
- Knitting needles:
- Size US 8 (5 mm) straight needles
- Yarn needle (for sewing seams)
- Scissors
- Measuring tape (optional but helpful)
Hat Size (Adult – Adjustable)
- Width when laid flat: 9–10 inches (23–25 cm)
- Height: 8–9 inches (20–23 cm)
You can easily make it larger or smaller by adjusting the number of stitches.
Step 1: Cast On Stitches
Cast on 80 stitches.
💡 Tip:
- Fewer stitches = tighter/smaller hat
- More stitches = looser/larger hat
Use any cast-on method you are comfortable with (long-tail cast-on works well).
Step 2: Knit the Brim (Ribbing)
The brim helps the hat stretch and stay on your head.
Row 1:
- Knit 2, Purl 2 — repeat across the row
Row 2:
- Knit the knits, purl the purls
Repeat these two rows until the brim measures about 2 inches (5 cm).
Step 3: Knit the Body of the Hat
Now we create the main part of the hat.
Choose one of the following options:
Option A: Simple Garter Stitch (Easiest)
- Knit every row
Option B: Stockinette Stitch (Classic Look)
- Row 1: Knit
- Row 2: Purl
- Repeat these two rows
Continue until the total piece (from cast-on edge) measures about 8–9 inches (20–23 cm).
Step 4: Bind Off
Bind off all stitches loosely so the top of the hat is not tight.
Cut the yarn, leaving a 12–15 inch (30–38 cm) tail for sewing.
Step 5: Sew the Hat Together
- Fold the rectangle in half, right sides together
- Use a yarn needle to sew the long edge closed using:
- Whip stitch or mattress stitch
- When you reach the top:
- Pull the yarn tight to gather the opening
- Secure with a knot
Turn the hat right side out
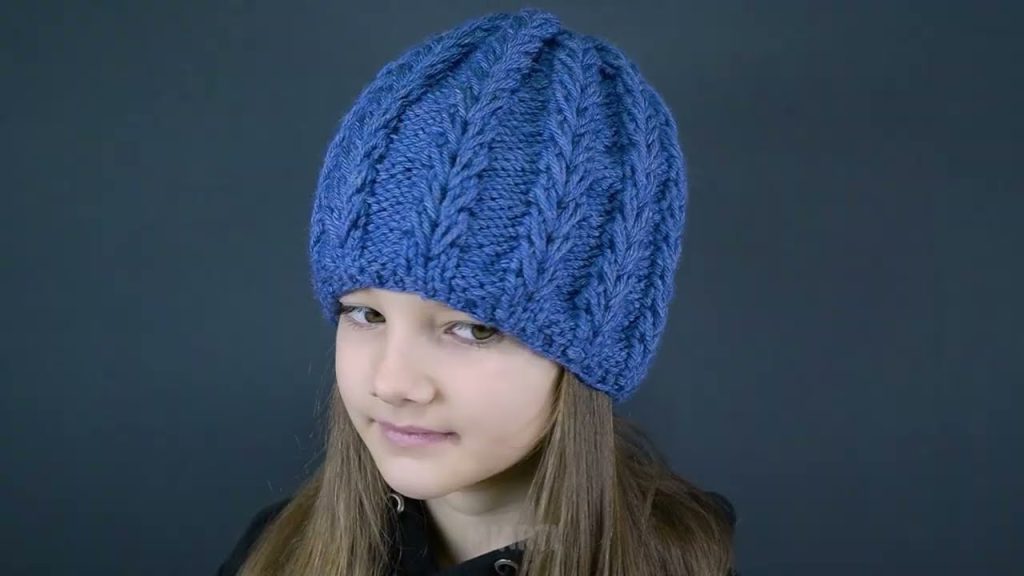
Step 6: Finish & Style
- Weave in all loose ends
- Fold the brim up if desired
- Add a pom-pom (optional!)
🎉 Your simple knitted hat is complete!
Customization Ideas
- Use chunky yarn for a warmer hat
- Add stripes by changing yarn colors
- Sew a label or button for decoration
- Make it longer for a slouchy hat
Common Beginner Tips
- Don’t knit too tightly
- Count your stitches every few rows
- Mistakes are normal—keep going!
If you’d like, I can:
- Adjust this tutorial for kids or babies
- Convert it to circular needles
- Add photos or diagrams
- Rewrite it for a blog or printable PDF
Watch tutorial: