 by
by Sure! Here’s a detailed step-by-step guide on how to make a new modern knitting bag — perfect for beginners. This bag is simple, functional, and stylish, and you’ll only need basic sewing skills and materials.
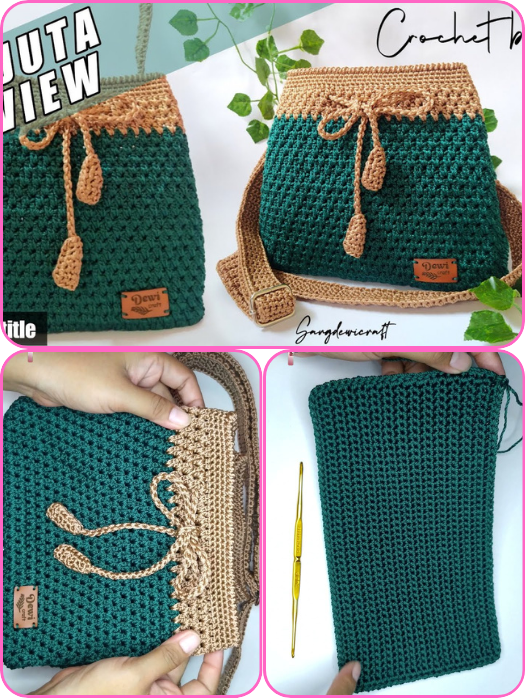
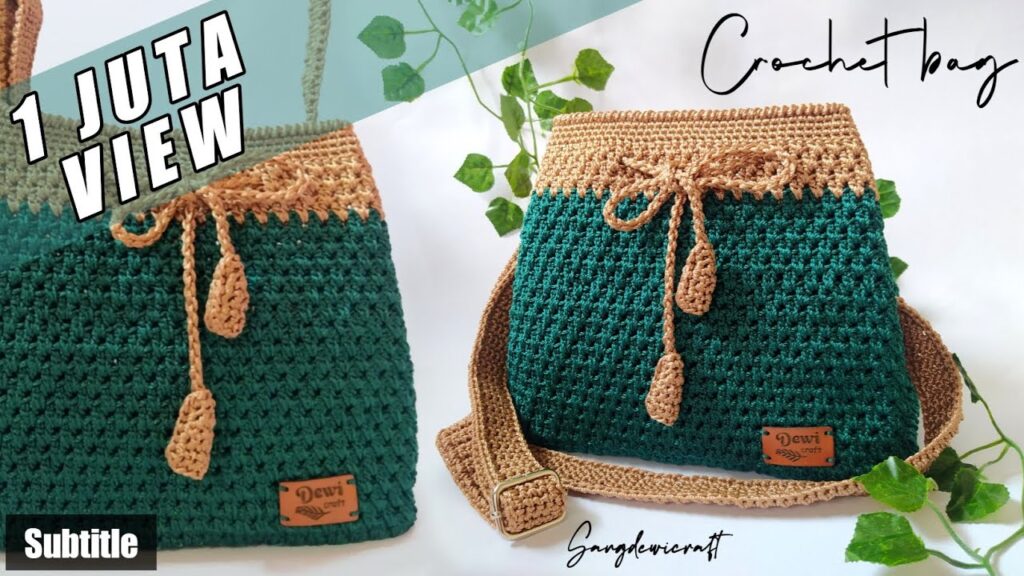
🧵 How to Make a NEW MODERN KNITTING BAG (Beginner Friendly)
🧶 Overview:
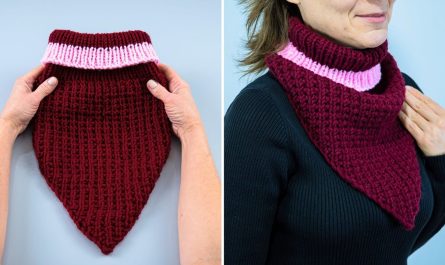
This is a tote-style knitting bag with a modern design, suitable for carrying yarn, needles, and accessories. It’s structured but soft and includes optional interior pockets for organizing tools.
✂️ Materials Needed:
| Item | Details / Recommendation |
|---|---|
| Outer fabric (main body) | 1/2 yard (cotton canvas, denim, or linen blend) |
| Lining fabric | 1/2 yard (cotton or coordinating fabric) |
| Fusible interfacing | Medium weight, for structure (optional) |
| Straps or webbing | 1 yard (or make your own with fabric) |
| Thread | Matching or contrasting |
| Sewing machine | Basic machine is enough |
| Scissors or rotary cutter | For cutting fabric |
| Ruler / measuring tape | |
| Pins or clips | To hold fabric in place |
| Iron | For pressing seams |
| Optional: magnetic snap | For bag closure |
| Optional: interior pockets | Small rectangles of fabric |
📐 Finished Size:
Approx. 12” wide x 10” tall x 4” deep
🪡 Step-by-Step Instructions:
Step 1: Cut Your Fabric
- Outer fabric: Cut 2 pieces – 14″ wide x 12″ tall
- Lining fabric: Cut 2 pieces – 14″ wide x 12″ tall
- Interfacing (if using): Cut 2 pieces – 14″ x 12″
- For base gusset: Cut a 4” wide strip (optional, or box corners later)
- Pocket (optional): Cut 8” x 10” piece and fold in half
- Straps: Cut 2 straps, each 18″–24″ long (your preference)
Step 2: Fuse Interfacing (Optional)
- Iron interfacing to the wrong side of outer fabric pieces for added structure.
Step 3: Add Pocket (Optional)
- Fold the pocket piece in half (right sides together), stitch around 3 sides, leaving a gap.
- Turn inside out, press, topstitch the top edge.
- Place it on one lining panel and sew sides and bottom to attach it.
Step 4: Sew Outer Bag
- Place outer fabric pieces right sides together.
- Sew sides and bottom using a ½” seam allowance.
- Box the corners: pinch corners, measure 2″ from the point, mark a line, and sew across. Cut off excess fabric.
Step 5: Sew Lining
- Repeat the same steps for the lining fabric.
- Leave a 3” gap in the bottom seam (to turn the bag right side out later).
Step 6: Attach Straps
- Place each strap 3″ from the side seams on the right side of the outer bag.
- Pin the ends to the top edge. Let the loop of the strap hang down inside the bag.
Step 7: Assemble the Bag
- Place outer bag inside the lining right sides together.
- Align seams and pin around the top.
- Sew around the top edge using a ½” seam allowance.
Step 8: Turn & Finish
- Pull the bag through the gap in the lining.
- Push lining into the bag and press the top edge.
- Topstitch around the top edge to reinforce and keep straps in place.
- Sew the opening in the lining closed.
Optional: Add Magnetic Snap
- Before assembling, attach snap to lining pieces, about 1.5” from top center.
- Follow snap kit instructions.
🎉 Done!
You now have a modern, practical knitting bag — perfect for carrying your yarn, needles, and even a small project! It’s a great beginner project that can be easily customized with fabric choices, pockets, and closure types.
Watch video: