 by
by Here is a clear, beginner-friendly, and detailed lesson you can use for learning, teaching, or posting as a tutorial.
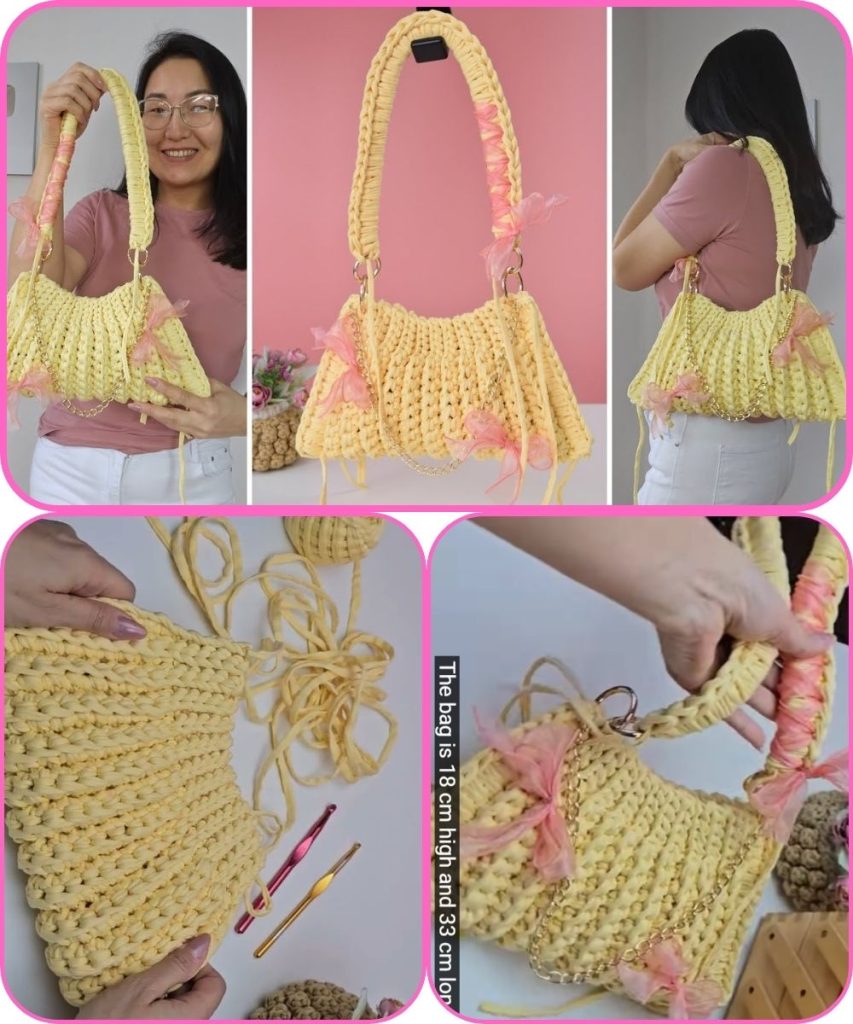
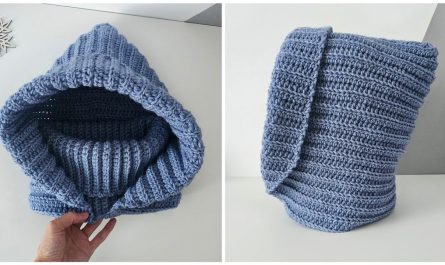
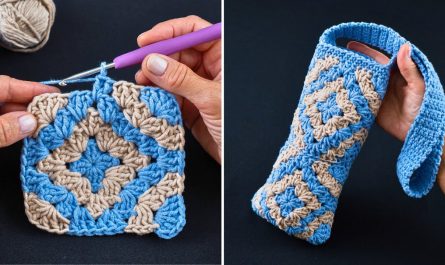
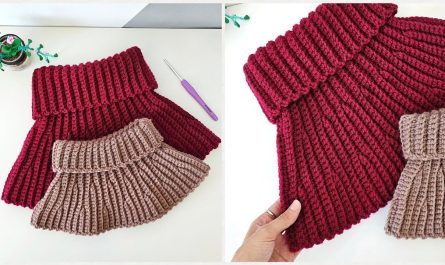
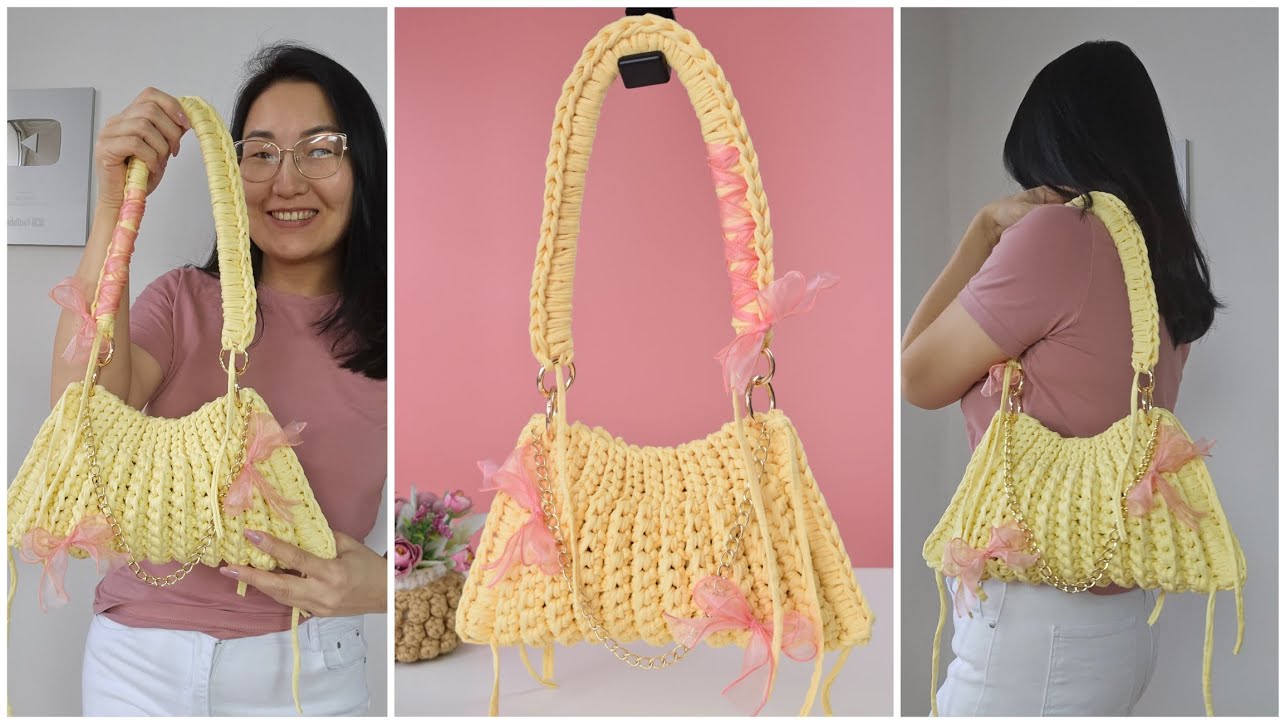
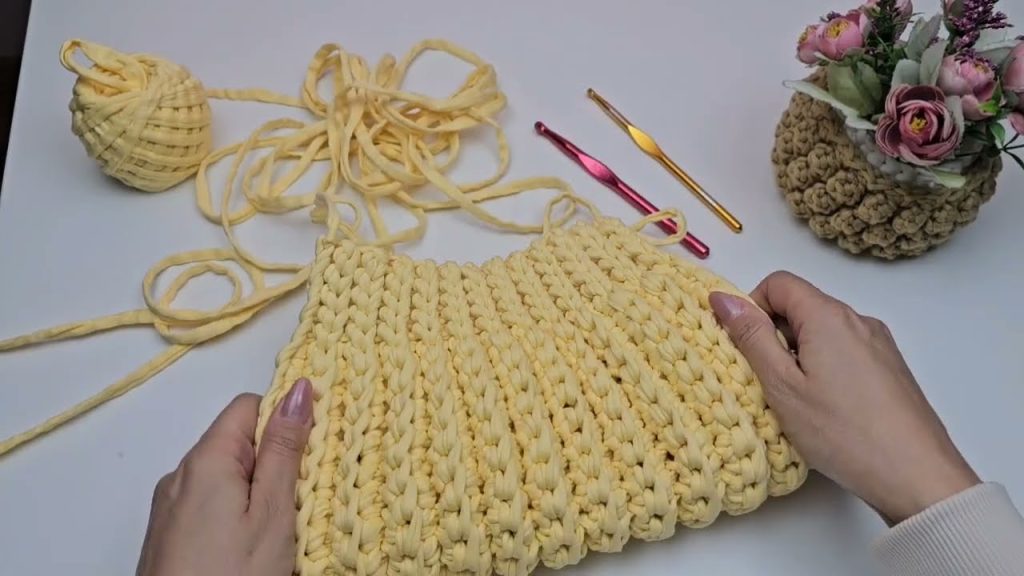
How to Make a Mini Bag from Recycled T-Shirt Yarn
A Pleasant Crochet Lesson for Beginners
Introduction
Crocheting a mini bag from recycled T-shirt yarn is a fun, eco-friendly, and relaxing project—perfect for beginners. This lesson will guide you step by step using simple crochet techniques while helping you transform old T-shirts into something useful and stylish. By the end of this lesson, you’ll have a sturdy mini bag and basic crochet skills you can use for many future projects.
Materials Needed
Before starting, gather the following materials:
- Old T-shirts (cotton works best)
- Scissors
- Crochet hook (8–10 mm is ideal for T-shirt yarn)
- Yarn needle (for finishing)
- Stitch marker (optional but helpful)
Step 1: Making T-Shirt Yarn
- Lay the T-shirt flat and cut off the bottom hem and sleeves.
- Cut the shirt horizontally into strips about 2–3 cm wide.
- Stretch each strip gently—this will cause the fabric to curl into yarn.
- Join strips together by cutting small slits and pulling one strip through another.
Your recycled yarn is now ready!
Step 2: Learning Basic Crochet Stitches
This mini bag uses beginner stitches:
- Slip Knot – to start your crochet
- Chain Stitch (ch) – forms the foundation
- Single Crochet (sc) – creates a strong, tight fabric
Practice these stitches briefly before starting the bag.
Step 3: Creating the Bag Base
- Make a slip knot and chain 12 stitches.
- Single crochet into the second chain from the hook.
- Continue single crocheting across the chain.
- Crochet 3 single crochets into the last stitch to turn the corner.
- Crochet along the other side of the chain.
- Add 2 single crochets in the final stitch and join with a slip stitch.
This oval base gives the bag stability.
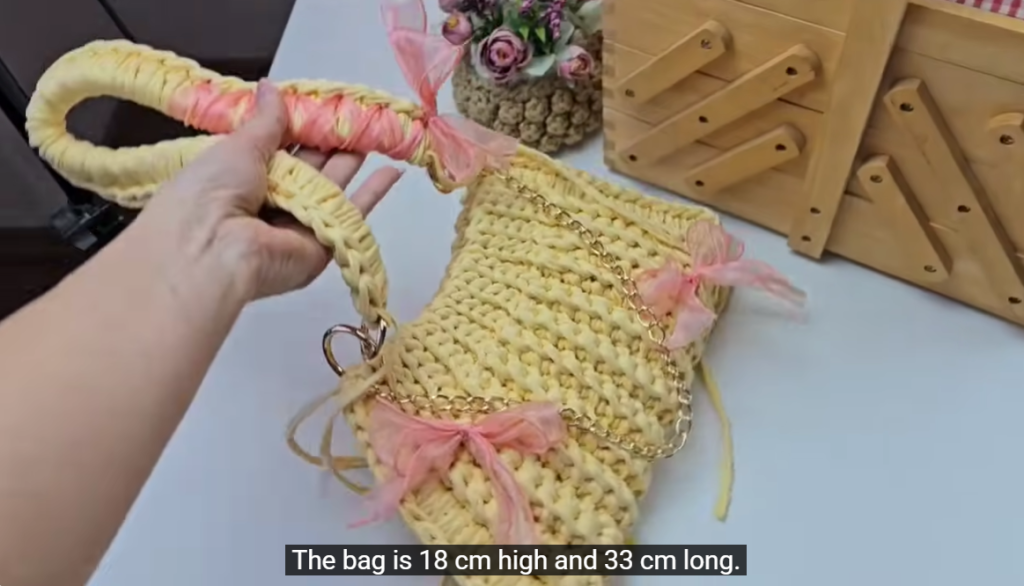
Step 4: Building the Bag Body
- Crochet single crochet stitches in continuous rounds.
- Do not increase—this allows the sides to rise naturally.
- Use a stitch marker to track rounds.
- Continue crocheting until the bag reaches your desired height (about 12–15 cm).
Take your time and enjoy the rhythm of crocheting—this is the relaxing part!
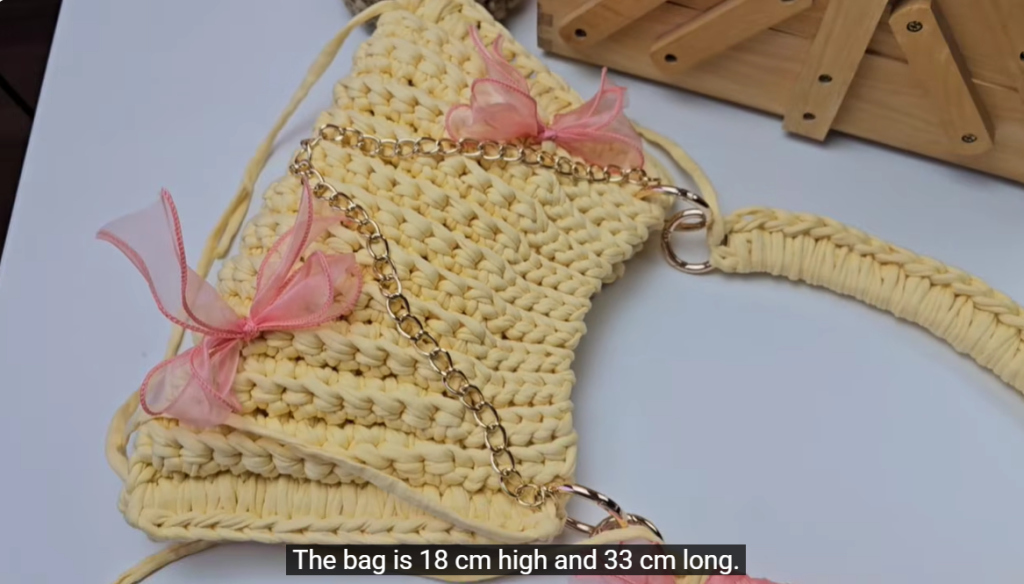
Step 5: Making the Handle
You can choose a short or long handle:
- Short Handle:
- Chain 15–20 stitches
- Attach to the opposite side with a slip stitch
- Long Strap:
- Chain 60–80 stitches
- Secure firmly to both sides
Make sure the handle is tight and secure.
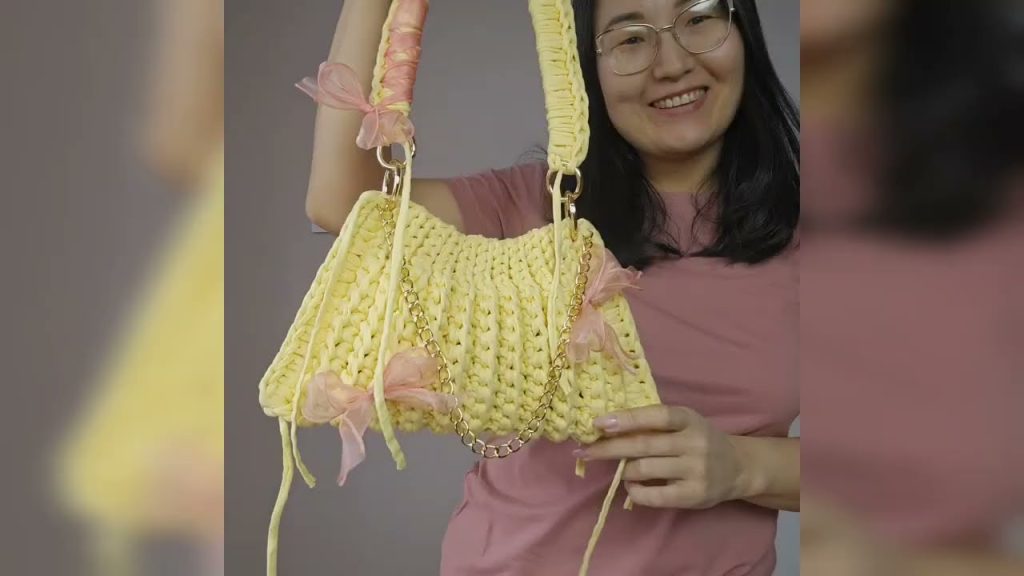
Step 6: Finishing Touches
- Cut the yarn, leaving a small tail.
- Pull through the last loop and tighten.
- Use a yarn needle to weave in loose ends.
Optional: Add buttons, tassels, or fabric lining for decoration.
Tips for Beginners
- Keep your stitches loose to avoid hand strain
- Don’t worry about mistakes—crochet is easy to undo
- Take breaks and enjoy the creative process
- Each bag will look unique, and that’s part of the charm!
Conclusion
Making a mini bag from recycled T-shirt yarn is an enjoyable way to learn crochet while helping the environment. This beginner lesson introduces basic skills, encourages creativity, and results in a practical handmade item. With practice, you can experiment with colors, sizes, and designs to create your own crochet style.
Happy crocheting! 🧶✨
Watch tutorial: