by
by Sure! Let’s go through how to make a knitted headband or hat step-by-step, from materials to finishing. I’ll include both a headband and a hat option, since they’re closely related — the headband is basically the first part of a hat before you start shaping the top.
🧶 MATERIALS YOU’LL NEED
- Yarn: Choose any yarn, but worsted or bulky weight is great for beginners.
- Knitting needles: Use the size recommended on the yarn label (often 4.5–6 mm / US 7–10).
- For a headband, straight or circular needles work.
- For a hat, circular needles (16 in / 40 cm) or double-pointed needles (DPNs) are best.
- Scissors
- Tapestry needle (for sewing in ends)
- Measuring tape
- Stitch markers (for hats)
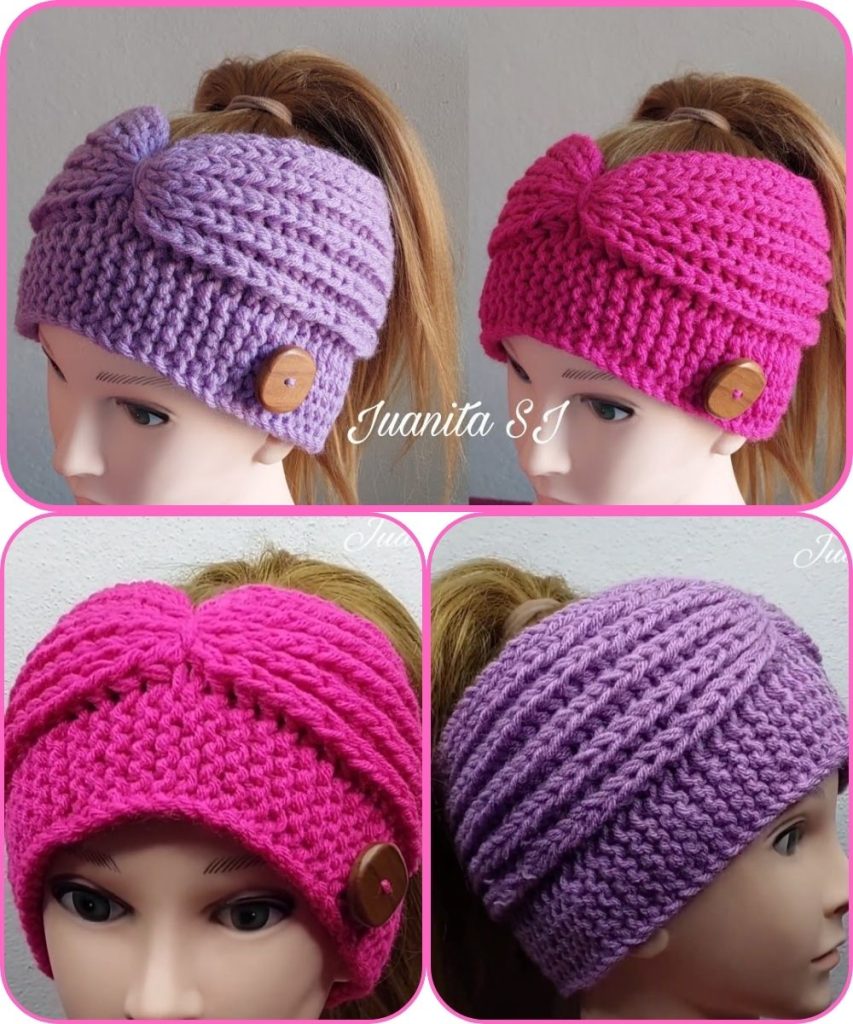
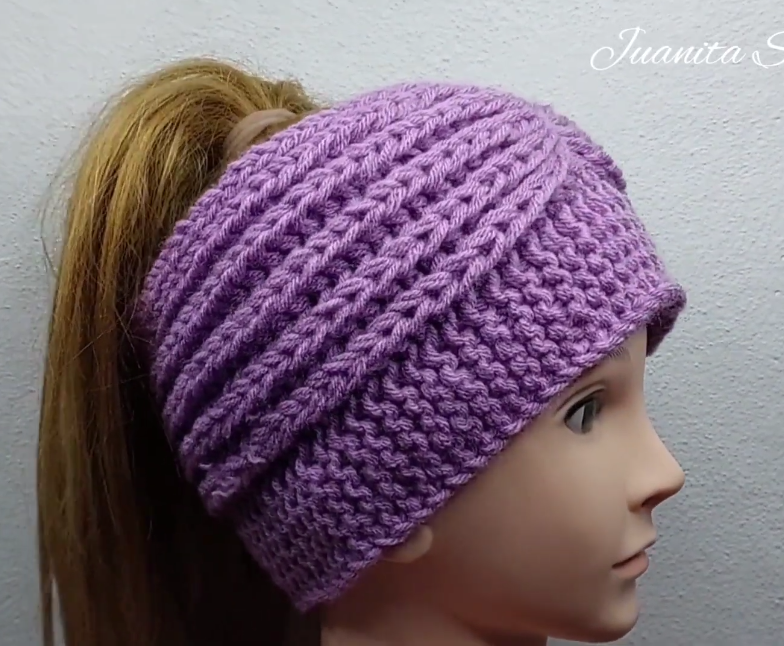
🧵 PART 1: KNITTED HEADBAND
Step 1: Measure Your Head
Measure the circumference of your head (around your forehead and ears).
Most adult sizes are 20–22 inches (51–56 cm).

Step 2: Cast On
Use a stretchy cast-on like the long-tail cast-on.
- Cast on enough stitches to reach your head circumference.
Example:- Using worsted yarn and 5 mm needles, about 80–90 stitches fits an average adult.
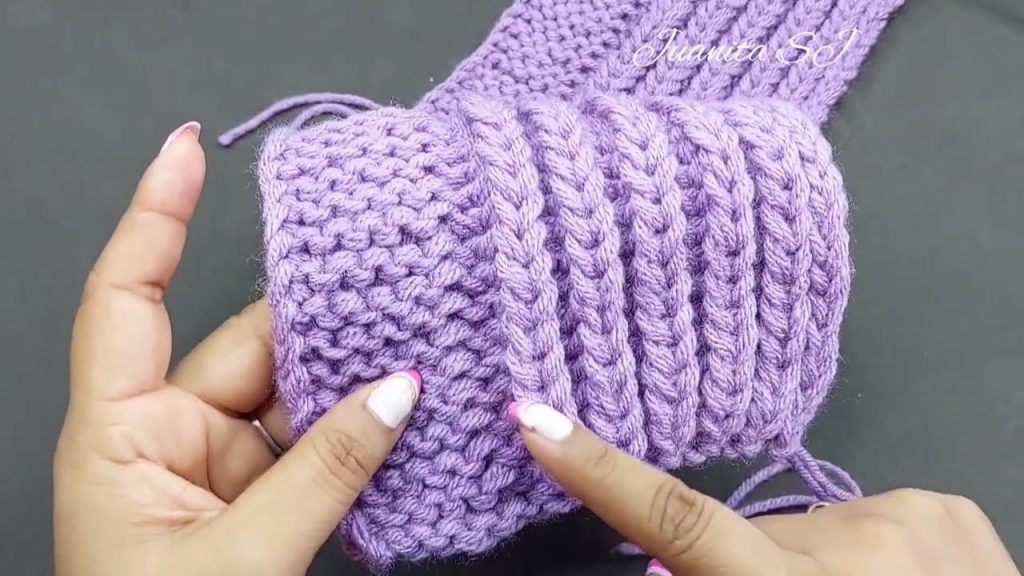
Step 3: Knit the Ribbing
This helps the headband stretch and stay snug.
- Knit K2, P2 (knit 2, purl 2) across every row for 2–3 inches (5–7 cm).
Step 4: Pattern Section (Optional)
You can continue in ribbing or switch to another pattern:
- Garter stitch: Knit every row (simple, stretchy).
- Stockinette stitch: Alternate knit 1 row, purl 1 row (smooth on one side).
- Cable or twist pattern: For a decorative look (requires cable needle).
Knit until your band is about 4–5 inches (10–13 cm) wide or as wide as you like.
Step 5: Bind Off
Use a stretchy bind-off (like Jeny’s Surprisingly Stretchy Bind-Off).
Step 6: Sew the Ends Together
Use the tapestry needle to sew the short ends of the headband together.
You can:
- Sew flat for a simple band, or
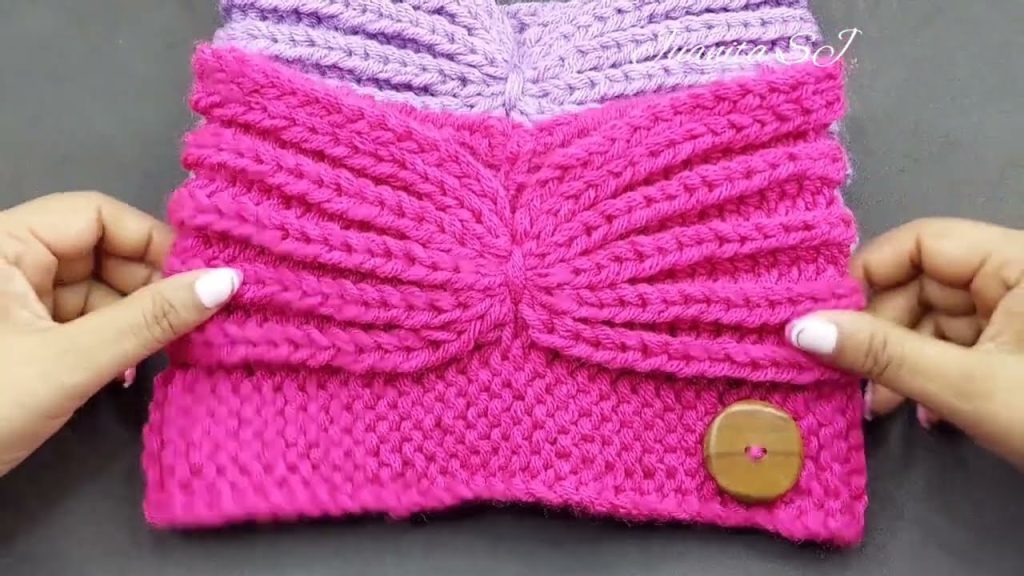
- Twist once before sewing for a “turban-style” headband.
Step 7: Weave in Ends
Thread your yarn tail through the stitches on the inside to hide it.
✅ Your knitted headband is done!
🧢 PART 2: KNITTED HAT (Beginner-Friendly)
Step 1: Cast On
- Using circular needles (16 in / 40 cm), cast on 80–100 stitches depending on size and yarn weight.
- Join in the round (be careful not to twist stitches).
- Place a stitch marker at the beginning of the round.
Step 2: Knit the Brim
Work K2, P2 ribbing for about 1.5–2 inches (4–5 cm).
Step 3: Knit the Body
Switch to stockinette stitch in the round (just knit every round).
Continue until the hat measures 6–7 inches (15–18 cm) from the cast-on edge.
Step 4: Shape the Crown (Top)
Decrease evenly:
- (K8, K2tog) repeat to end of round
- Knit 1 round
- (K7, K2tog) repeat
- Knit 1 round
- Continue this pattern, decreasing the number between K2tog by 1 each time, until you have about 8–10 stitches left.
Step 5: Finish
- Cut yarn, leaving a 6-inch (15 cm) tail.
- Thread it through remaining stitches with a tapestry needle.
- Pull tight to close the top.
- Secure and weave in ends.
Optional:
- Add a pom-pom or button on top.
✅ Your knitted hat is finished!
🧵 TIPS FOR BEGINNERS
- Always knit a gauge swatch if you want the exact size.
- If using circular needles, ensure you have the correct length — too long and your stitches will stretch.
- For extra warmth, use double strands of yarn.
- Practice tension; consistent stitches make a neater look.
Would you like me to give you a specific pattern with stitch counts (e.g., adult medium hat or child-sized headband)?
I can write it row-by-row with exact numbers if you tell me your yarn weight and needle size.
Watch tutorial: