 by
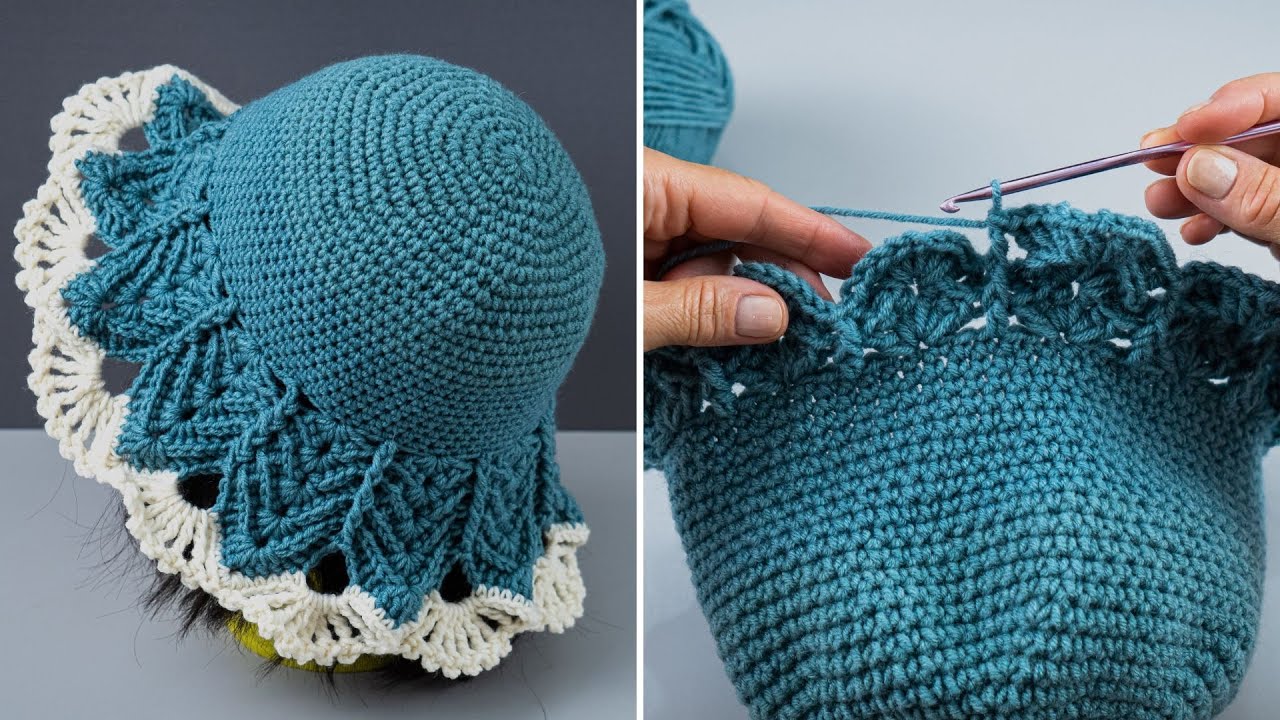
by Sure! Here’s a detailed, step-by-step tutorial on how to make a quick and easy crochet bucket hat — perfect for beginners and intermediate crocheters alike. I’ll include materials, stitches, sizing tips, and optional styling ideas. 🧶👒
🧵 Quick & Easy Crochet Bucket Hat Tutorial
🌸 What You’ll Need:
- Yarn: 1–2 skeins of medium-weight (category 4) cotton or acrylic yarn
(Cotton gives structure; acrylic makes it softer.) - Hook: 4.0 mm–5.0 mm crochet hook (check yarn label for best match)
- Scissors
- Tapestry needle (for weaving in ends)
- Measuring tape (to check your hat size)
🪡 Basic Crochet Stitches Used:
- MR (Magic Ring) or Ch 3 and Sl St to form a ring
- Ch (Chain)
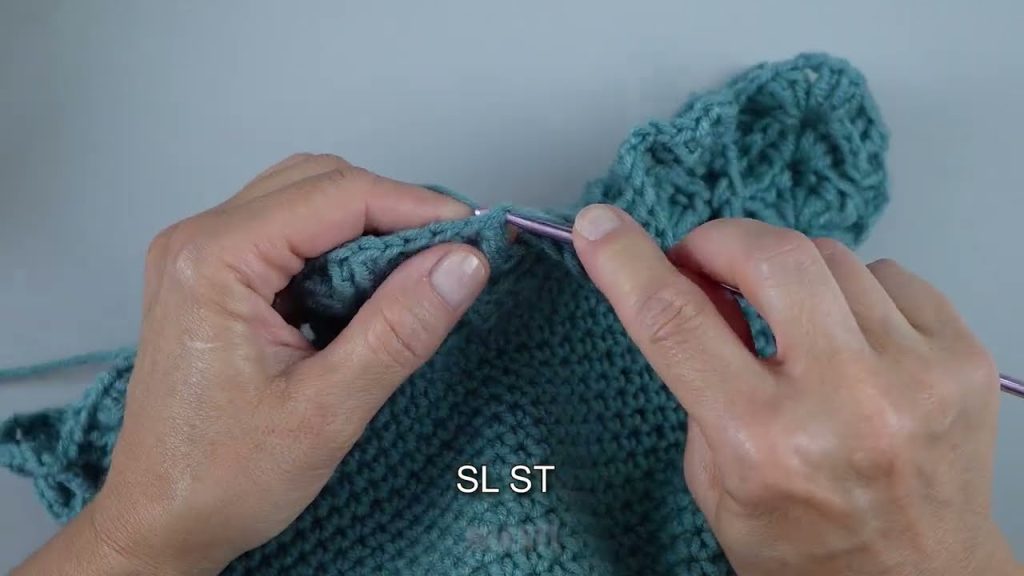
- Sl St (Slip Stitch)
- Sc (Single Crochet) (US terms)
- Hdc (Half Double Crochet) or Dc (Double Crochet) — depending on your preferred texture
- Inc (Increase) – 2 stitches in the same stitch
Tip: You can use Hdc for a tighter, denser hat or Dc for a more relaxed fit.
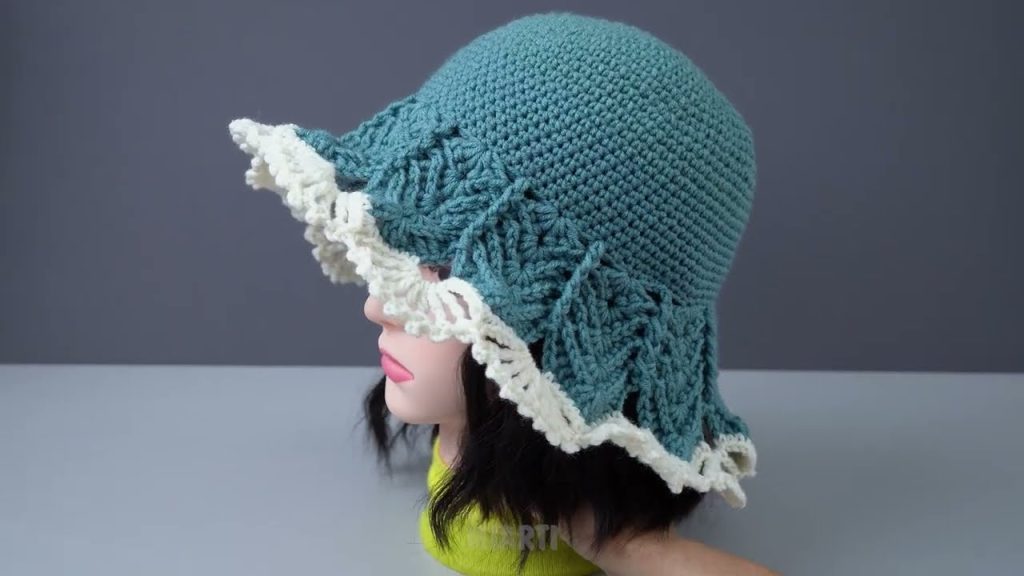
🎩 Pattern Overview:
- Crown (Top of the Hat)
- Body (Sides of the Hat)
- Brim (Flared edge)
🧶 Step-by-Step Instructions
1. Crochet the Crown
- Round 1:
Make a magic ring. Work 10 Hdc into the ring.
Join with a Sl St to the first Hdc. (10 stitches) - Round 2:
Ch 1. 2 Hdc in each stitch around.
Join with Sl St. (20 stitches) - Round 3:
Ch 1. (1 Hdc in next st, 2 Hdc in next) repeat around.
Join with Sl St. (30 stitches) - Round 4:
Ch 1. (1 Hdc in next 2 sts, 2 Hdc in next) repeat.
Join with Sl St. (40 stitches) - Continue increasing in this pattern — adding 1 more regular stitch between increases each round — until the crown’s diameter = about 6–6.5 inches (for adult size).
- Child: 5–5.5 inches
- Teen/Small Adult: 6 inches
- Large Adult: 6.5 inches
2. Crochet the Body (Sides of the Hat)
- Once the crown is the right size, stop increasing.
- Ch 1. Work 1 Hdc in each stitch around. Join with Sl St.
- Continue this for 10–15 rounds (or until the hat reaches the desired height).
- Typical adult bucket hats = 6–7 inches tall before the brim.
- Optional: Try it on and adjust — this is where you shape your hat’s depth.
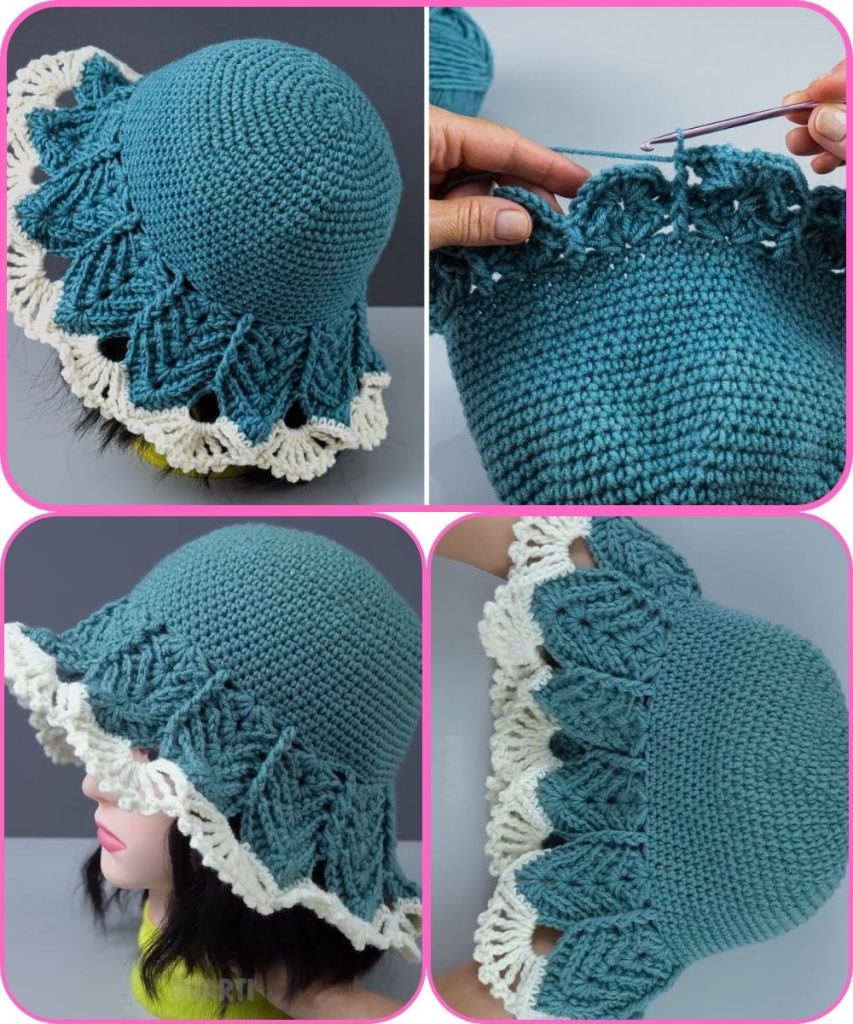
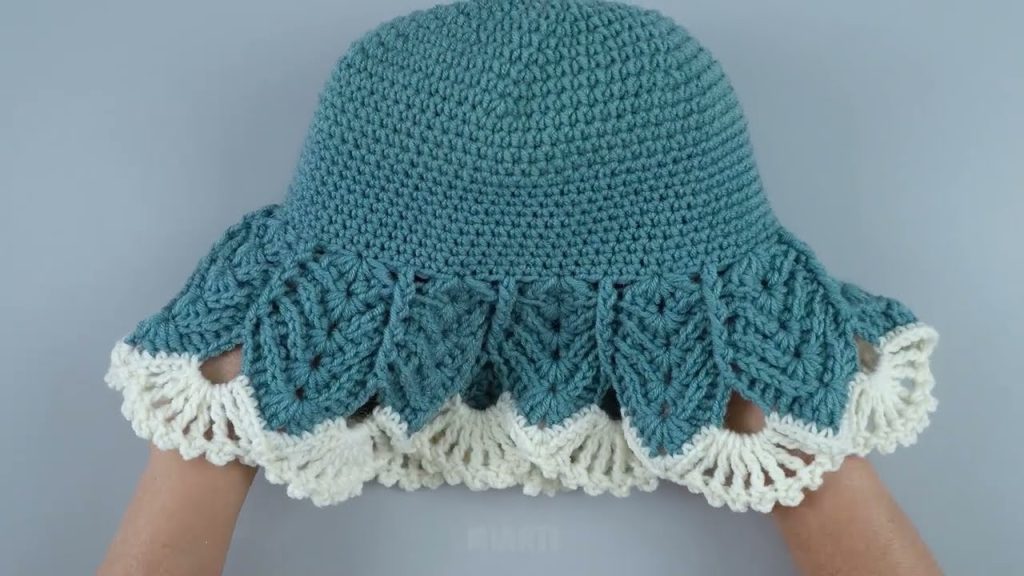
3. Crochet the Brim
- Round 1:
Ch 1. (1 Hdc in next 3 sts, 2 Hdc in next) repeat around.
Join with Sl St. - Round 2:
Ch 1. (1 Hdc in next 4 sts, 2 Hdc in next) repeat around.
Join. - Continue increasing every few stitches until the brim flares out to your liking.
- For a narrow brim, do 3–4 rounds.
- For a wide brim, do 6–8 rounds.
- To finish: Work 1 round of Sc around the brim for a neat edge.
4. Finishing Touches
- Cut yarn and weave in ends with a tapestry needle.
- Lightly block (shape) your hat if needed using steam or water spray.
🎀 Optional Add-Ons:
- Color changes: Switch yarn colors between the crown, body, and brim for a fun look.
- Embroidery: Add flowers, initials, or stripes.
- Brim edge trim: Use a contrasting color for the final round.
- Chin strap: Crochet a simple chain and attach it under the brim.
📏 Sizing Tips
| Size | Head Circumference | Crown Diameter | Hat Height |
|---|---|---|---|
| Child | 18–20 in | 5–5.5 in | 5 in |
| Teen/Small Adult | 20–22 in | 6 in | 6 in |
| Large Adult | 22–24 in | 6.5 in | 6.5 in |
💡 Time Estimate:
⏱️ 1.5 to 3 hours depending on your speed and yarn thickness.
Would you like me to format this as a printable PDF pattern (with round-by-round counts and diagram), or keep it as a written text tutorial for now?
Watch tutorial: